We all know one of the most appealing parts of the airplane is the cowling. When we started the Panther project one of the main goals was to design a sexy airplane. All of the design work showed exactly what we wanted, but making it happen was another thing. Time is money, and fiberglass work is time consuming so we were looking for options to eliminate the grunt work. We decided to start with the Cleanex nose bowl and RV-3 cowling. We knew the Cleanex nose bowl fit the Corvair engine specs regarding things like the starter upfront. We also preferred the round inlets versus the square on the RV-3. What we were going for was a meld between the two – pulling from both to create a Panther cowl specific to our vision. So – here is how it went…
We had a Cleanex nose bowl on the shelf, so we ordered the old poly-ester rv-3 cowl and it arrived Friday. First thing Luke (7 year old) says is “the box is mine, I called it!”
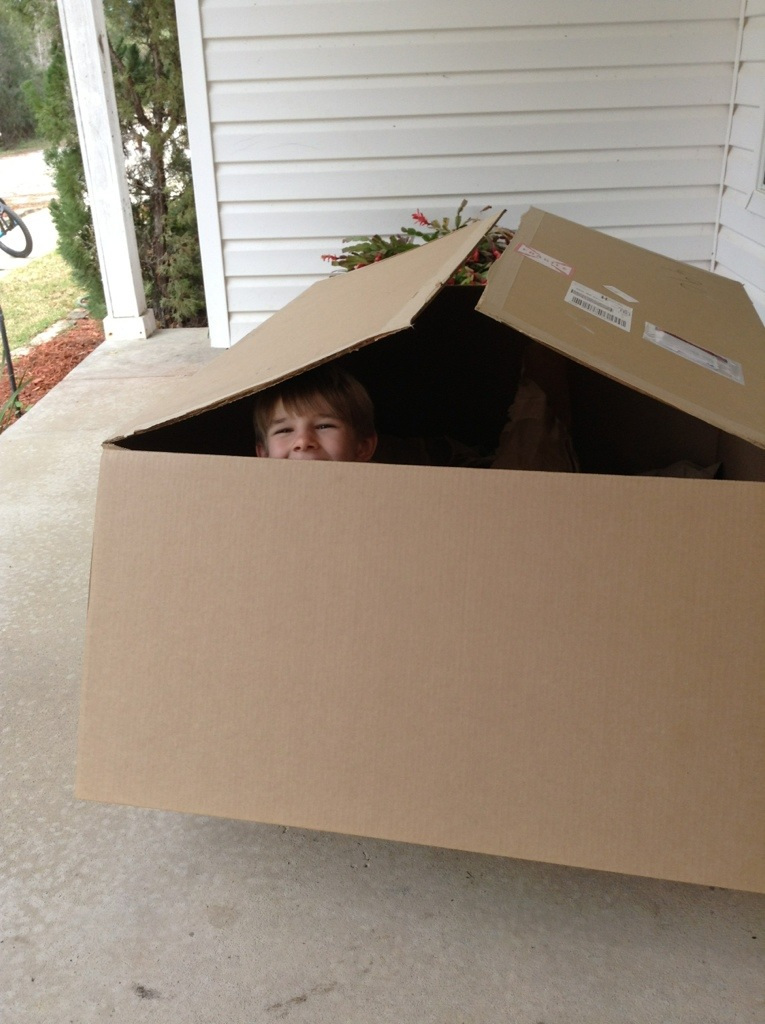
We take it out of the box and into the kitchen and are thinking “oh my, this thing is humungous”. We were going for sexy and this just looks way to big and bulky for what we need. We may end up with the ugly duckling instead…
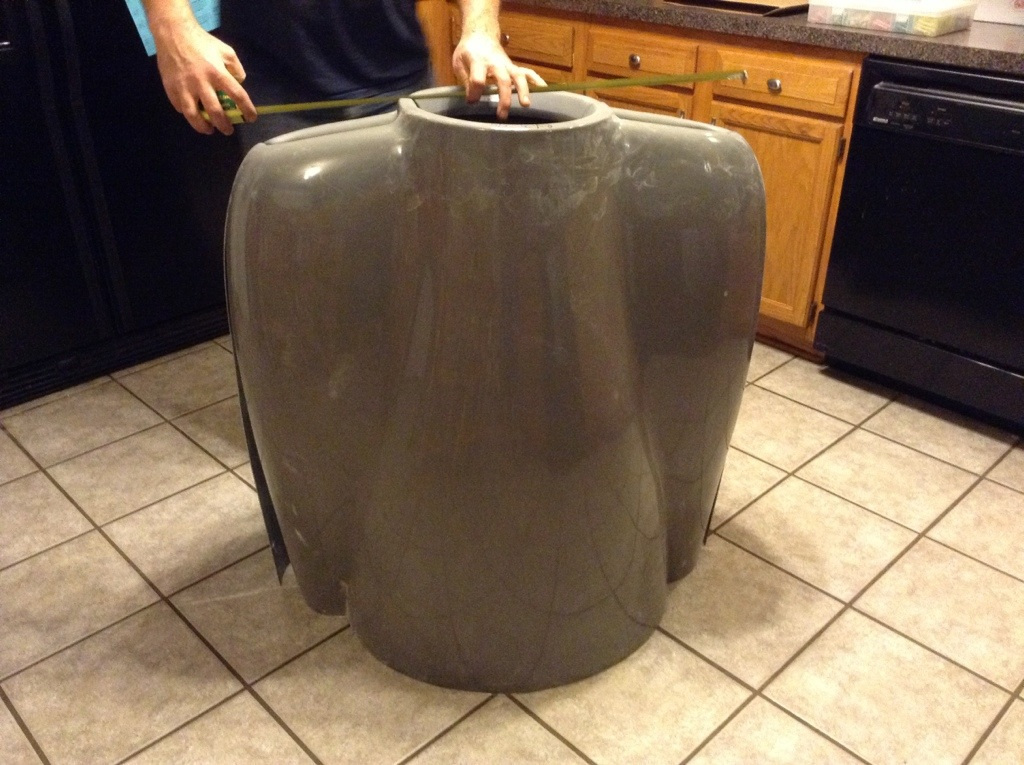
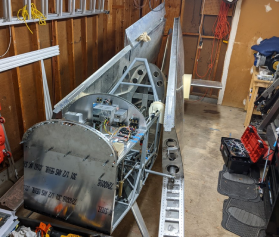
Then we truck out to the hangar to see what we can do, thinking (and hoping) it will look different when we try it on….
Our goal is to use the round inlets from the Cleanex nose bowl and the cheeks from the RV – 3 and make the rest meld with some smooth lines….all with as little body work as possible.
Here is how it goes.
Bottom cowl first.
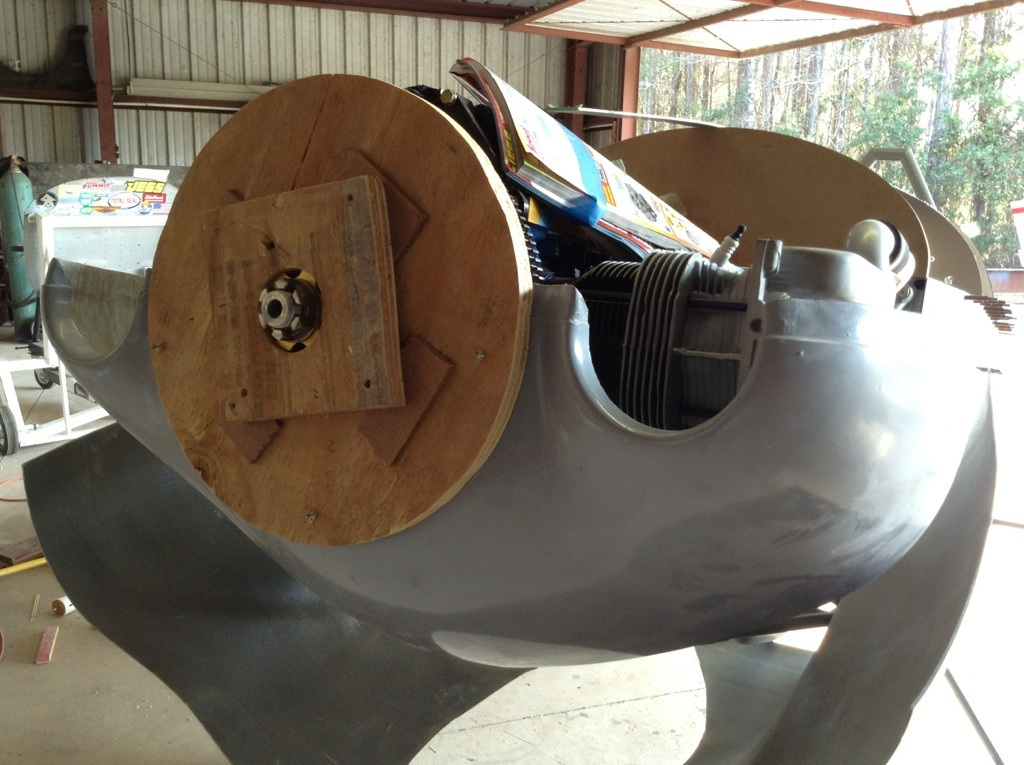
The spinner is a 13″ from Van’s. We start by making a spinner attach plate to hold the front together in place.
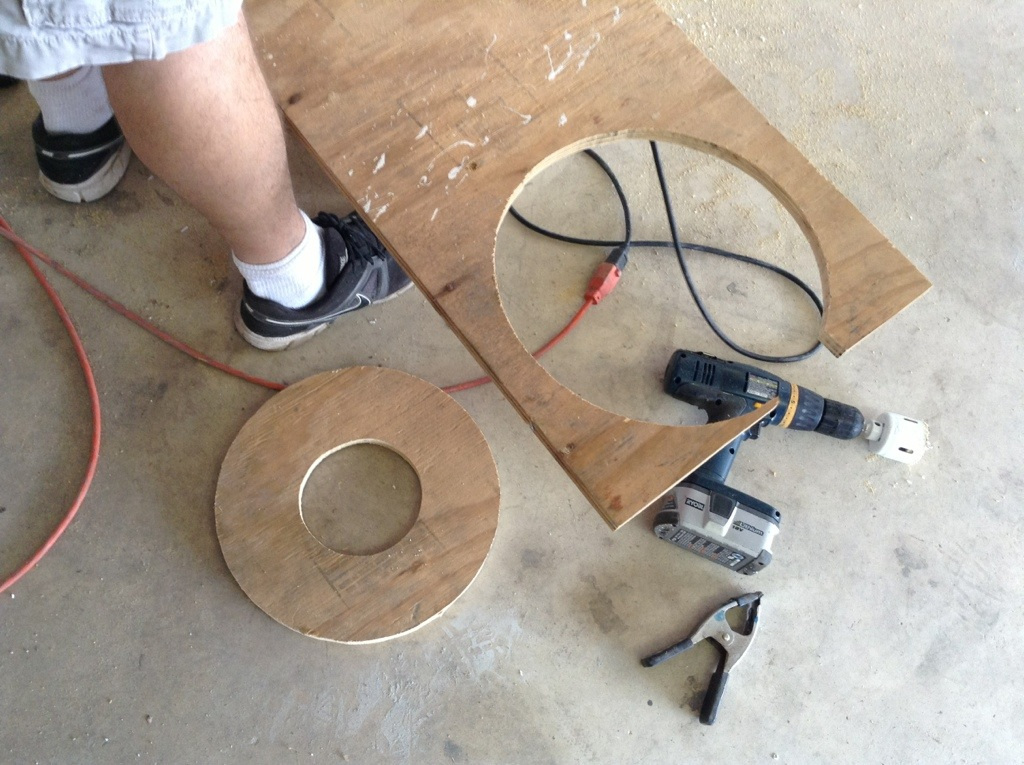
Trace the spinner attach plate to a piece of OSB and cut out, then cut out the hub hole and shim as needed..

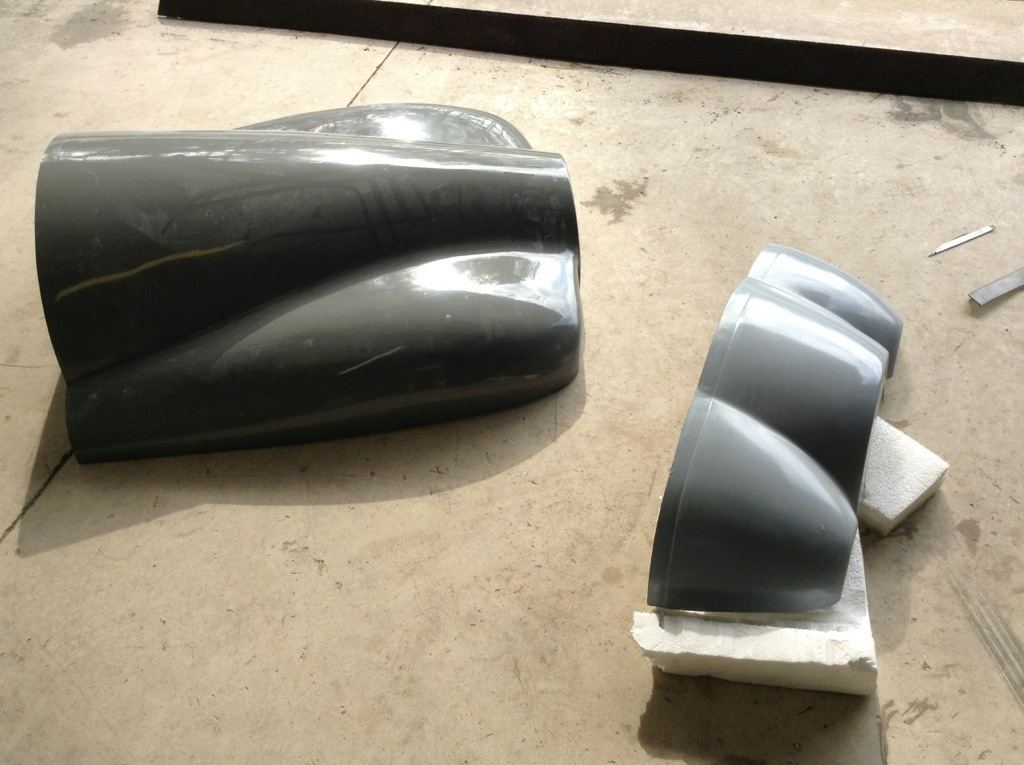
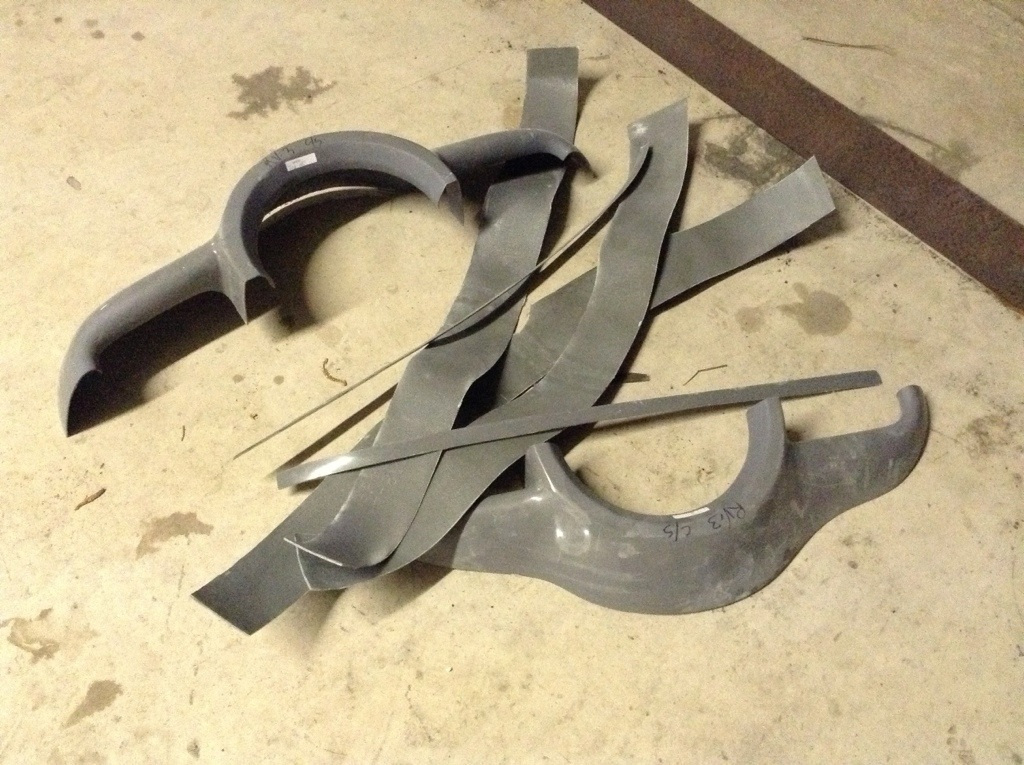
The RV-3 cowl is offset, so the bottom ram air inlet was off center as well. Dan cut this off with the grinding wheel.
Then we did a lot of standing back, scratching our heads, and pushing on it. We knew we wanted cheeks, and Dan had it drawn out in CAD – so he did some measuring and used a sharpie to outline the thrust angle and cheek centerline.
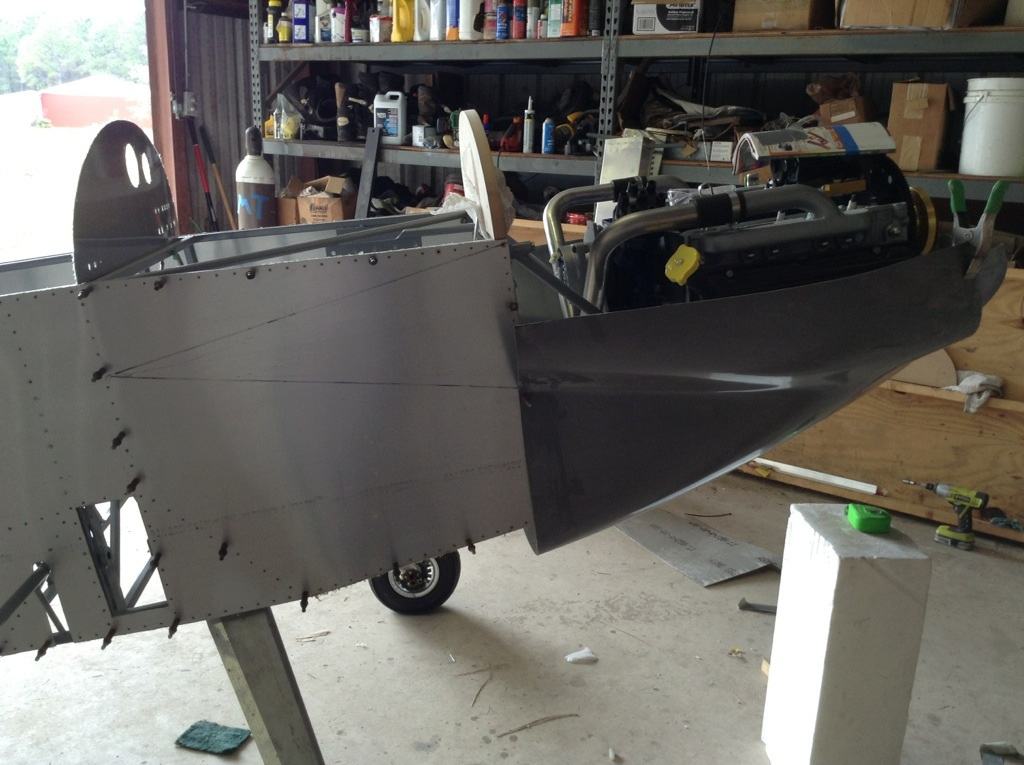
Then it was trim a little with the grinding wheel, cleco, trim and cleco some more. Check clearances with exhaust, intake and starter. Repeat.
The front of the RV-3 bottom cowl got replaced with the Cleanex bottom nose bowl.

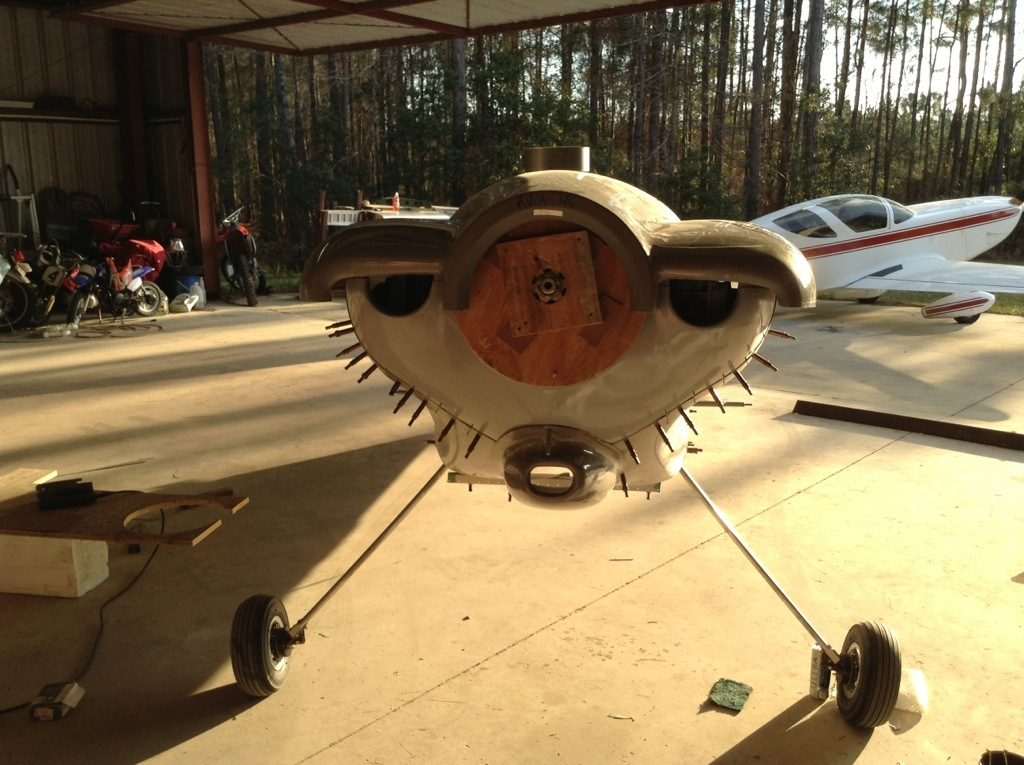
Looking good – but now the question was – ram air inlet or no ram air inlet?
Here is no air inlet –
Here is with air inlet –
My opinion hands down was with air inlet – but I want the inlet to be round vs. rectangular.
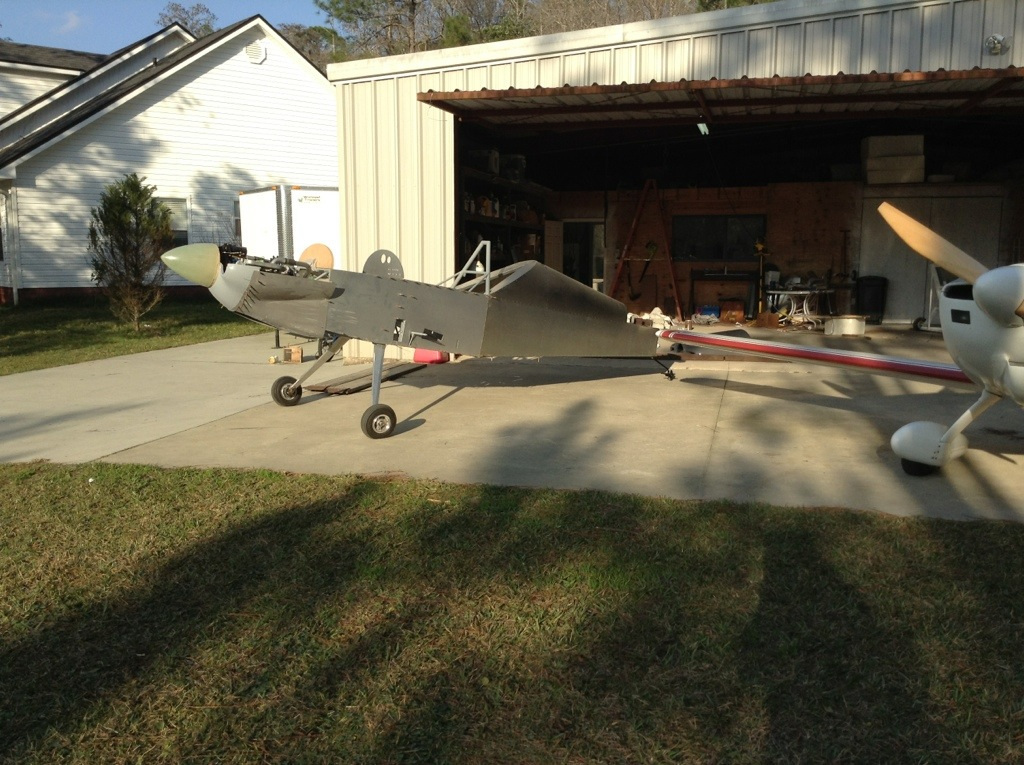
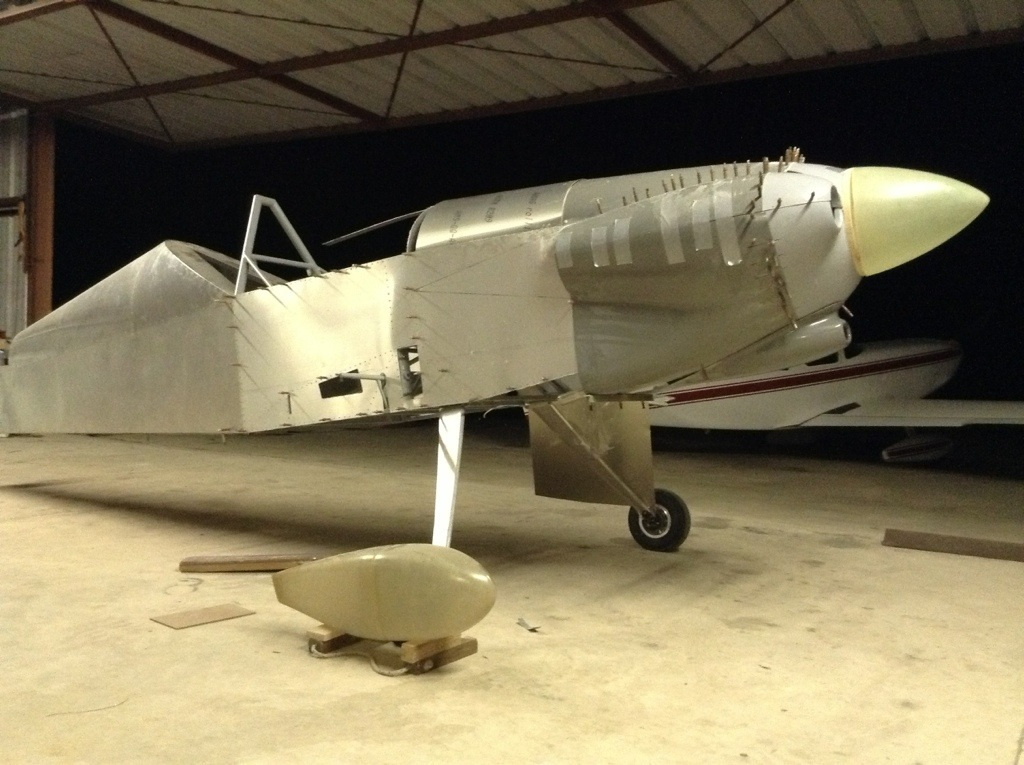
So – we were both very happy with how the bottom turned out. The cheek lines are very sexy. We rolled the Panther back into the hangar to start working on the top cowling. We laid the top RV-3 on and took a step back……
And we both laughed! For any of you who have kids or grandkids and know who “Sid the Sloth” is from the Ice Age movies – you will see the resemblance and giggle with me. For those who don’t know Sid see here
Back to trim, cleco, press, shape, stand back, check clearances and repeat.
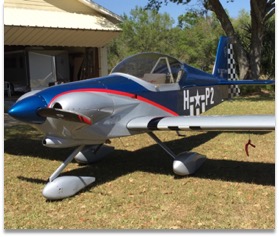
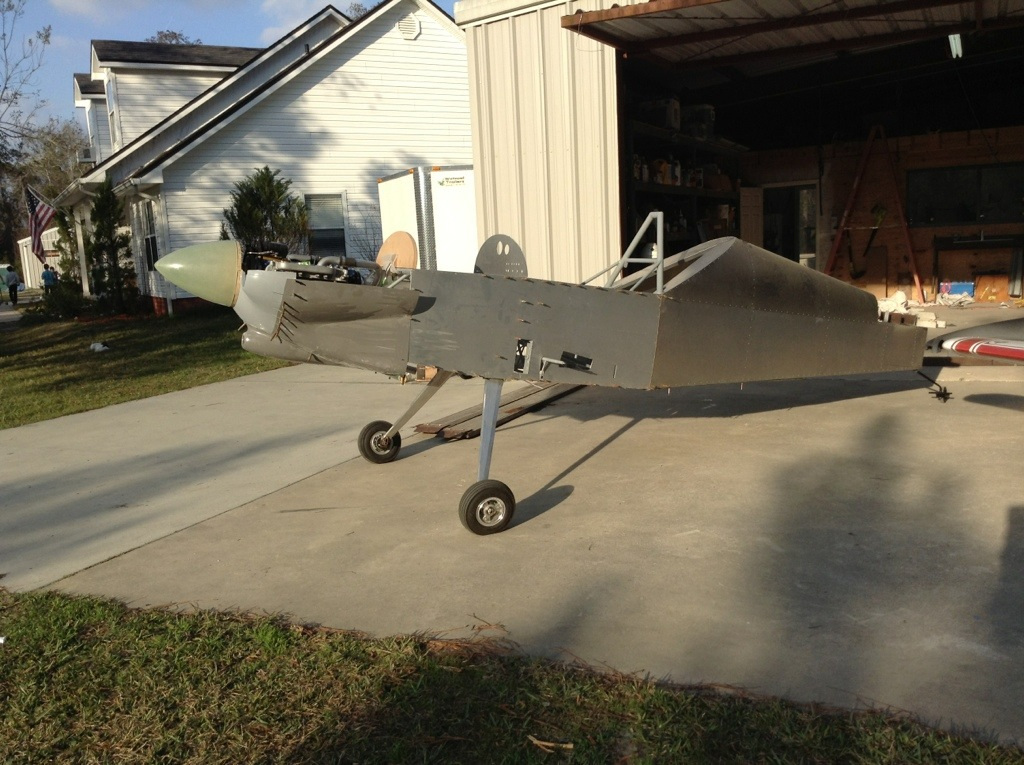
Wow – we were really liking how she was turning out. No ugly duckling or Sid the Sloth around here any more. She looks sexy and powerful!
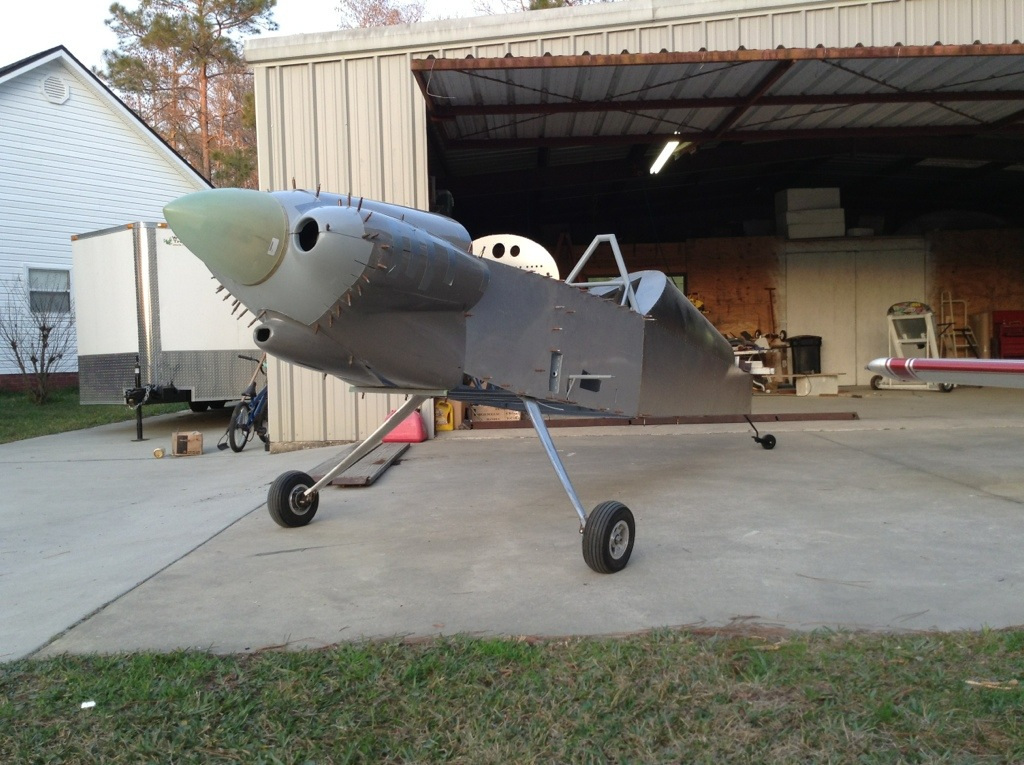
Mock up the wheel pant for visual aide and she sure does look good!
Now it is time for body work. Between this and the fuel tanks the next few weeks are going to be smelly and gooey. Stay tuned….