•You can now verify all holes have been up drilled to # 30. When satisfied disassemble the tail cone, debur all holes.
•If using flush rivets, Dimple any holes in sheet metal that receive flush rivets and carefully machine counter sink the longerons.
•Prep and prime all aluminum parts at this time if desired.
•Install the 1 inch OD x3/4 id snap bushings (qty 4 ) in bulkhead 1 and 2 on both sides
•Reassemble the tail cone with clecos starting with the lower TC. Cleco as much together as possible before any riveting to ensure no twist is introduced.
•You can install the rivets according to plans sheet as you go to “reclaim” clecos if need but see notes below first!
NOTES AND CAUTIONS
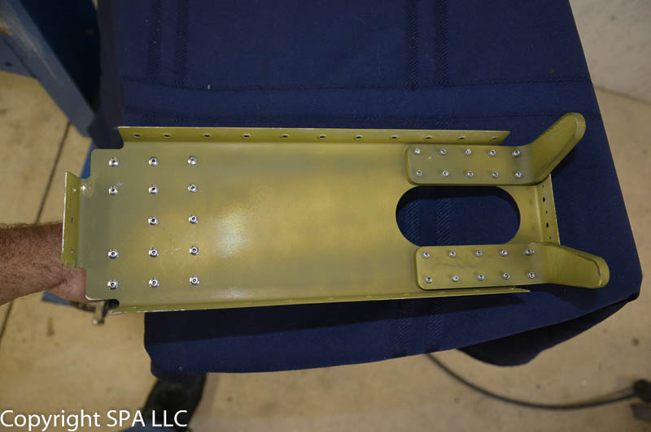
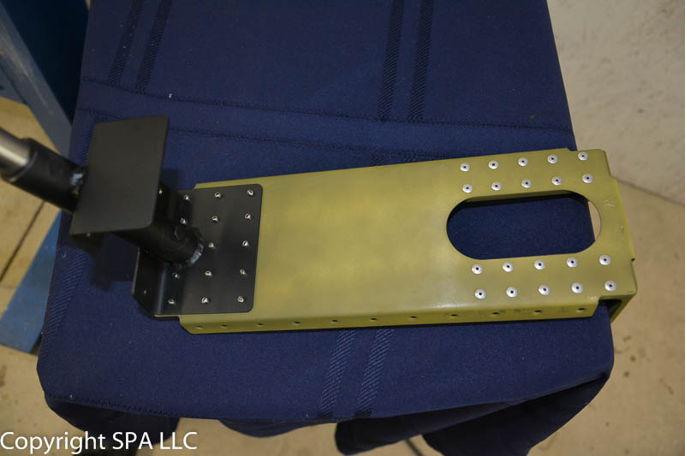
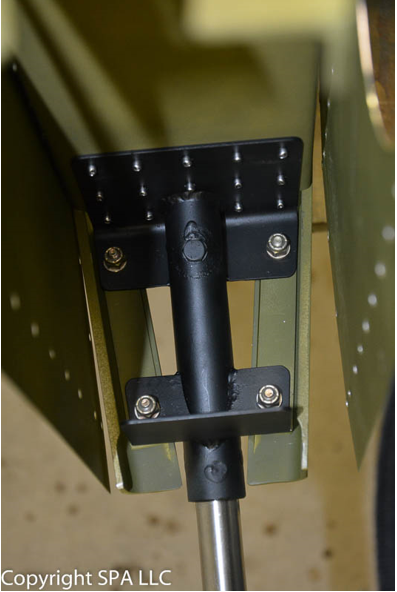
•Install the P-F-TC tail wheel mount (steel) to bulkhead 4 with CCP-42 rivets (stainless steel rivets)
•DO NOT permanently install bulkhead 5 with rivets at this time
•DO NOT install rivets along upper longerons from bulkhead 4 aft at this time (the lower HT faring sheet metal gets installed here at a later time)
•DO NOT rivet the last 3 rivets on lower longeron side at aft end (rudder stop plates install here during rigging).
•DO NOT permanently install (rivet) the pushrod cover sides or top until after joining front fuse and tail cone.
•DO NOT permanently install (rivet) P-F-TC-former 1 R/L until after joining of front fuse and tail cone.
•DO NOT install the lower skin until much later time (after joining fuse, trim cable install rigging VT HT mounting ELT, possibly battery etc).
•DO sit back and admire your work (it’s getting closer to airplane noise time).
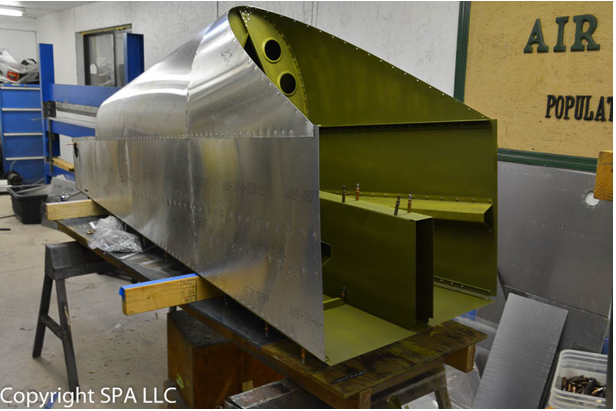
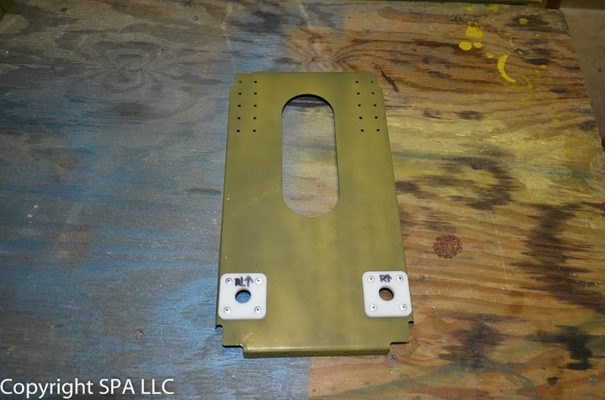
NOTE: Misc photos follow for reference
