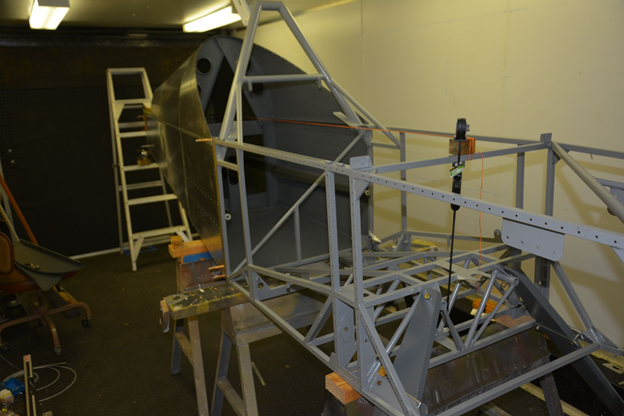
1. Set the forward fuselage on 2 sawhorses. We recommend a 2x4 all the way across under the rear spar area of the fuselage, and one 2x4 under center of main spar box (picture shows 2 small 2x4 under sides). The center 2x4 makes it easier to level the fuselage instead of 1 all the way across. Use another sawhorse under the forward portion of the tailcone, and the tailwheel sitting on a block of wood on a step ladder. Or any stand will work, including roller stands for table saws. Don’t worry about leveling everything perfectly right now - roughly level will do, because first there is some trimming and checking to do. You will be pulling the tailcone off several times before finishing. Removing the forward side, and top forward tailcone skins (if not riveted yet) will aid in access to the longeron splice joints.
2. Trim upper longerons to fit around roll bar tubes of the forward fuselage. The right side is shown here, the left side is similar.
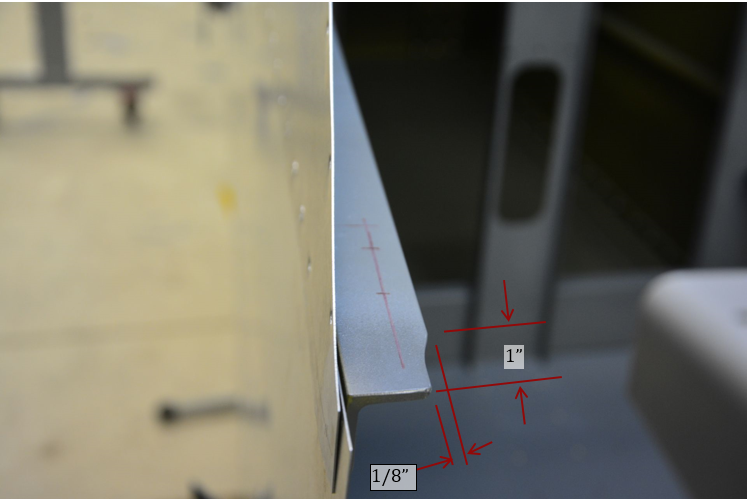
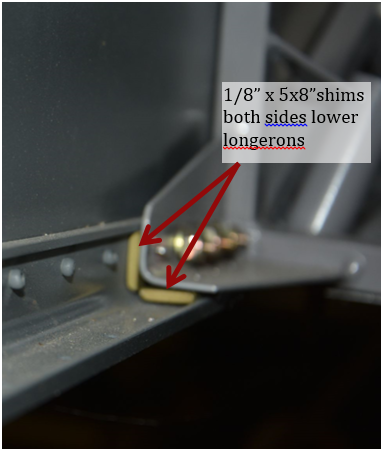
3. Fit shims inside of lower longeron (made from P6511). Shims only need to be the length of the tab on the rear of the fuselage.
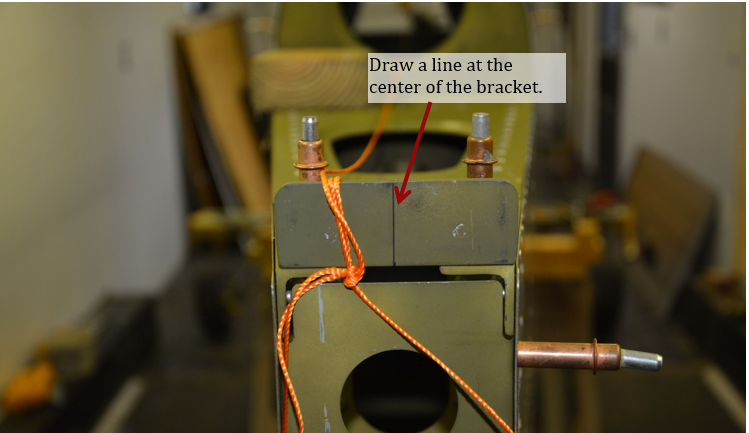
4. Draw lines at the center of the fuselage front and rear as shown to aid in alignment.

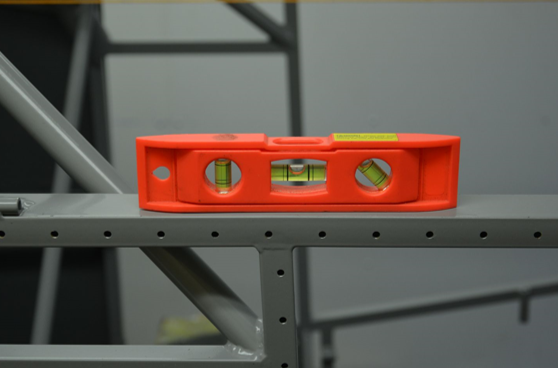
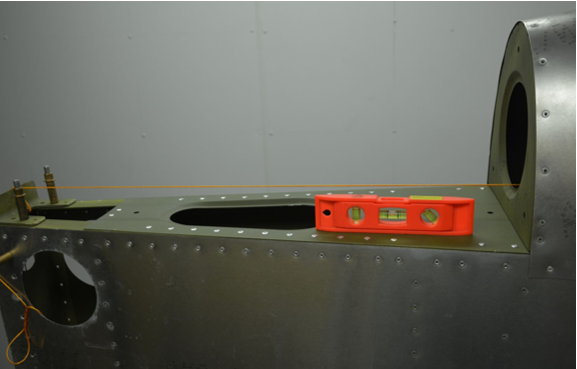
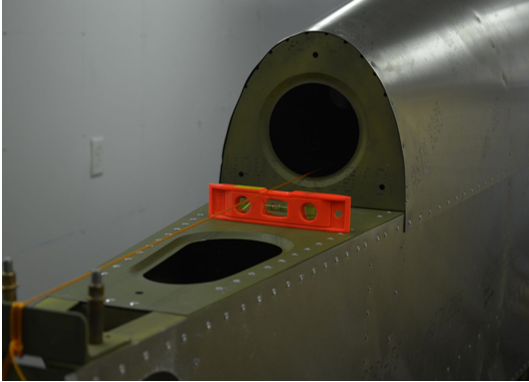
5. Slide the 2 halves together and level fuselage halves in both directions by shimming as necessary under the fuselage. A 6” level works well particularly on the tail cone. Using the same level in the same orientations helps minimize any errors with the level.
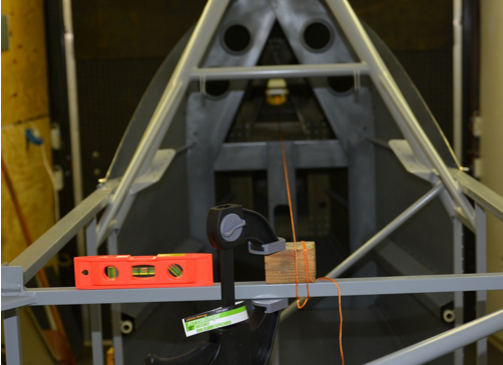
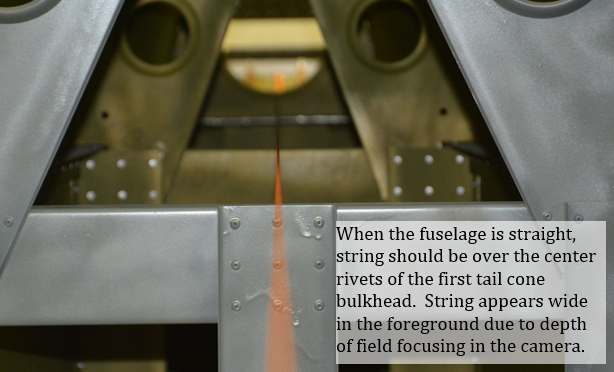
6. Tie a string to the rear bracket, and stretch to the front of the fuselage.
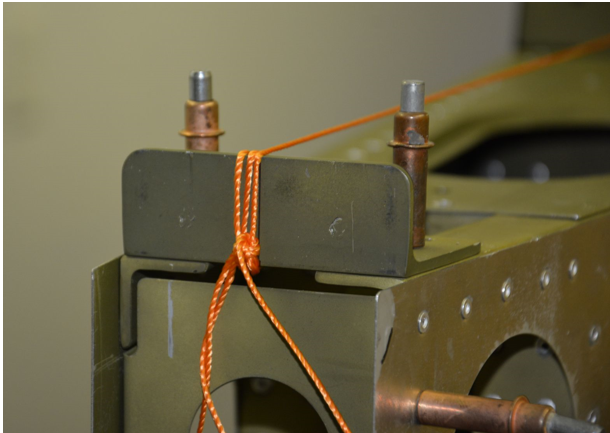
7. Clamp a piece of 2x4 to the top of the tube, and draw a line up from the 14” mark previously made on the tube. Pull the string tight and tie off on the mark.
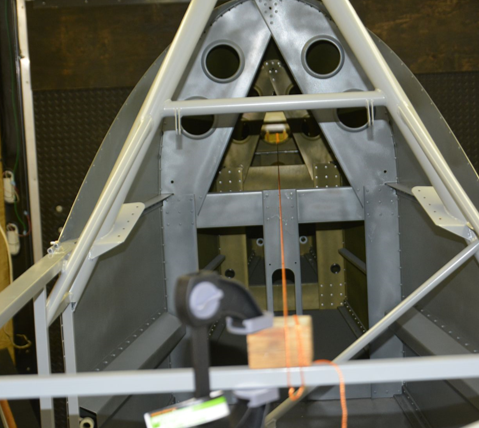
8. When the fuselage is straight, the string will be in line with the center rivets on the first bulkhead of the tailcone.
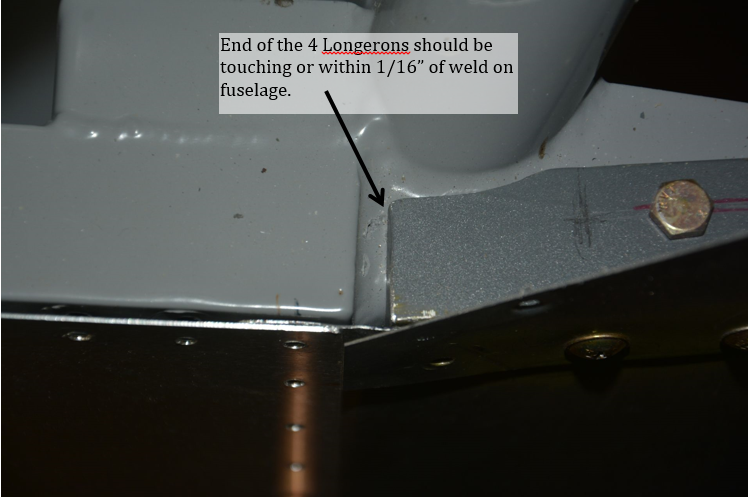
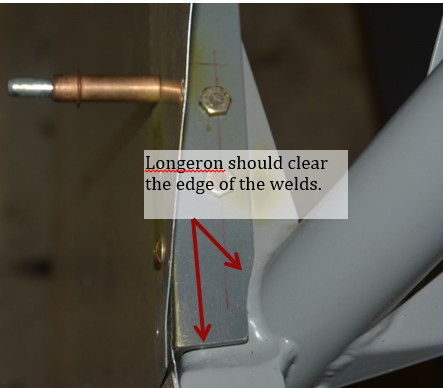
9. Check where the 4 longerons end in comparison to the welds. All of them should be within a 1/16” of the weld, if only some of the longerons are touching, you can sand/file the long ones down, until everything matches. Also make sure the tailcone skin extends to or slightly past forward edge of the vertical tube on steel fuselage cage to assure proper edge distance when drilling the skin.