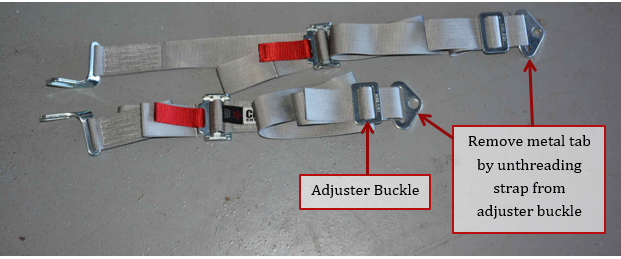
1. On shoulder harnesses, remove the metal mounting tab by unthreading the free end of the strap through the adjuster buckle. Leave the strap loose for the next step.
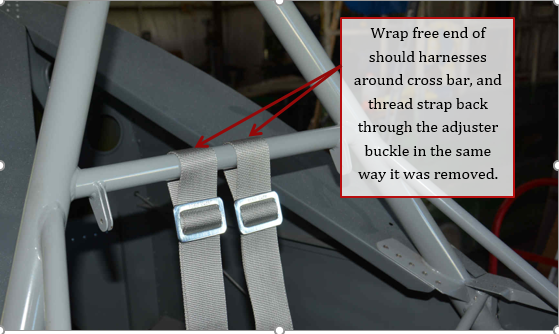
2. Wrap free end of the shoulder harnesses around the cross bar of the roll cage. Thread free end back through the adjuster buckle the same way it was removed.
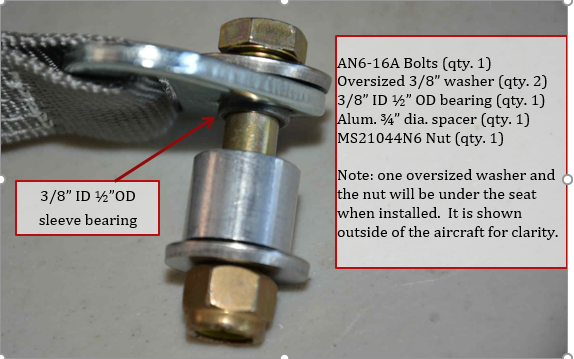
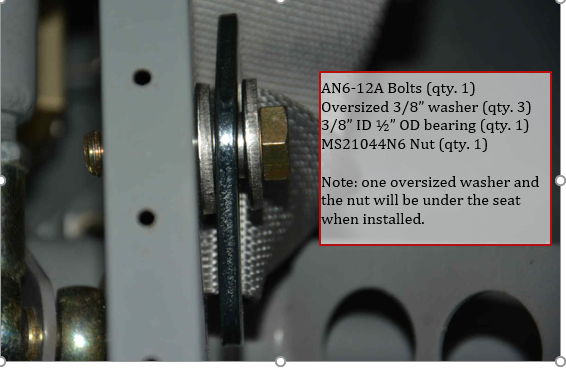
3. The waist belts are held in by a combination of bolts and spacers. The assembly is shown outside of the aircraft for clarity. The sleeve bearing takes up the difference between the hole in the mounting tab and the bolt. The bearing is slightly longer than the mounting tab is thick, this will allow the tab to swivel freely.
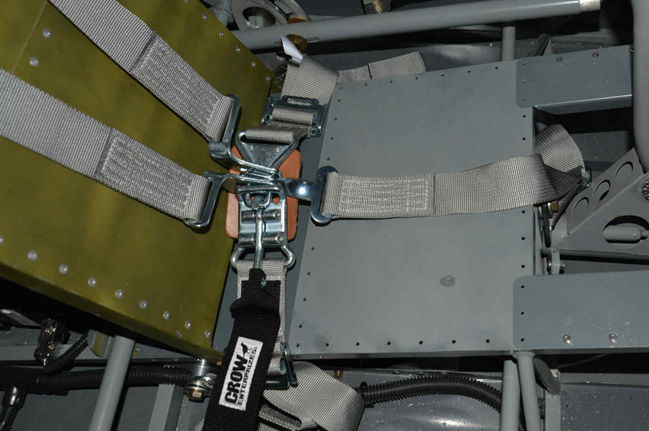
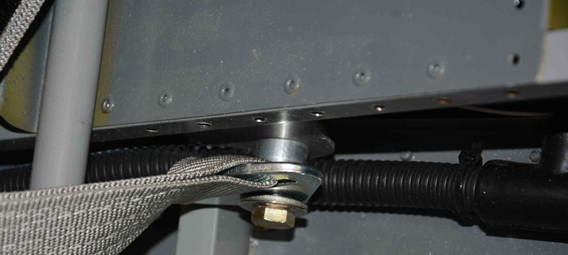
4. The waist strap with the buckle end is installed under right side seat tube. The left side is similar.
5. The anti-submarine strap uses similar hardware as the waist straps but without the aluminum spacer, and uses one extra oversized washer. The bolt is also shorter. The mounting point for this strap is under the front rail of the seat, just behind the control stick.
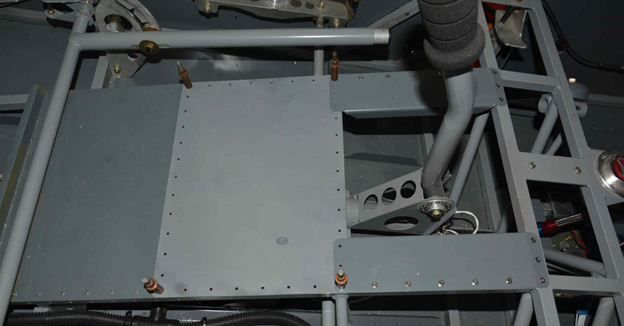
6. The seat bottom can be installed now or can wait until later. If you have a roll servo or other avionics mounted under the seat, you may want to wait until everything is installed. Also, the center bottom seat plate can have a cutout made to access the items under the seat.
7. The seat back can be installed with either bolts or with pins. The pins can be rather expensive, around $20 each new. They can also be found used sometimes at air shows for much less. The picture below shows a AN3-11A bolt to hold the bottom of the seat back in place. There are 2 holes in the seat back bottom, upper and lower. The lower holes can be used for almost all seat locations. But, some arrangements with the seat back in the aft holes, with the most reclined positions may require the upper holes to be used so the adjuster arms on the seat back will not hit the angled bulkhead of the tail cone.
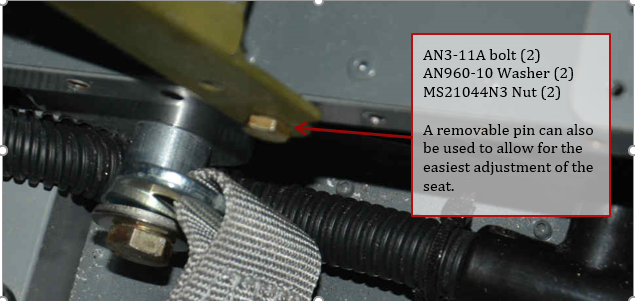
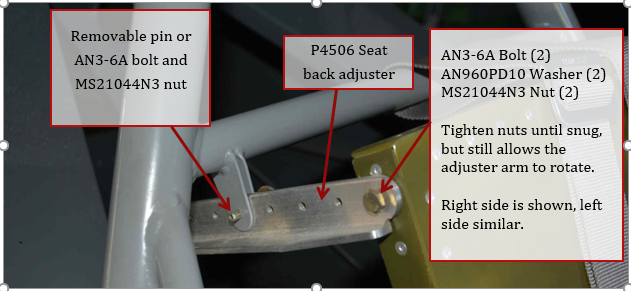
8. The top of the seat back is held in place with the seat back adjuster angle P4506. The adjuster is held to the seat back with a bolt, and to the roll bar with either an removable pin or bolt. Right side is shown, left side is similar.
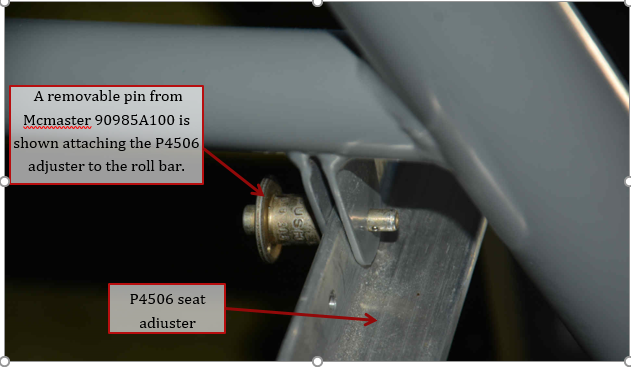
9. A view from the back or the removable pin holding the seat adjuster in place. It is very handy to have a removable pin for this as a wide variety of pilots can be accommodated by just adjusting how much the back reclines.
10. View of the seat and seat belts installed.
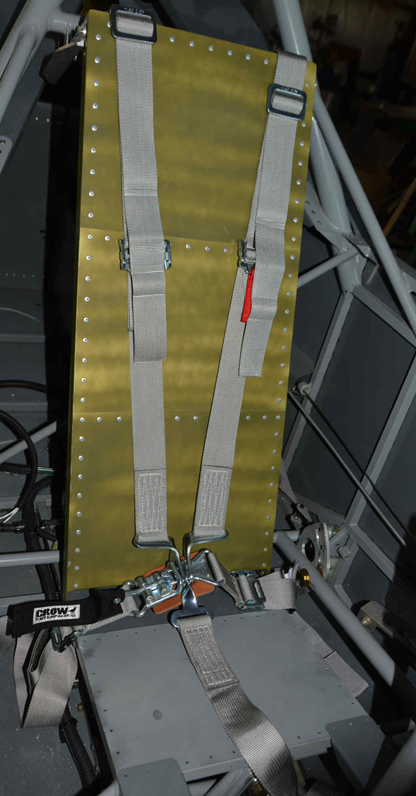
11. Close-up of the seat belts buckled.
