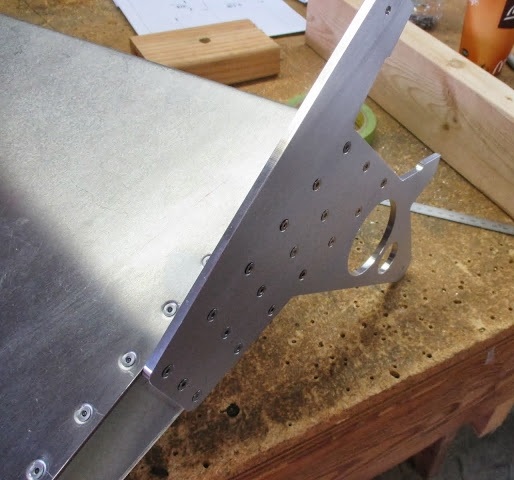
1.Using plans P-T-VT-rudder details fit the rudder control horn to lower rib (P-T-VT-R-rib 1). De-bur but do not rivet at this time!
2.Un-cleco the rudder horn from rib 1.
*NOTE again use care when drilling hinge and the aft of the skin to ribs to prevent damage to outer adjacent skin surface!
3.Trim P-T-VT-R-skin stiffeners from the “strip” and cleco to skins. Trim as needed.
4.Fit ribs per plans and cleco in place. Fitting the ribs correctly requires applying pressure to the ribs so they are forced to fit tight against the front skin.
a.Fit the bottom (largest) rib first, tight against the skin front and drill at the center line. (shown in photo below)
b. Drill furthest aft hole on the center line (shown in photo below)
5.Flip the rudder over and drill forward hole verifying the trailing edge bend centerline is on the centerline of the tooling holes (see photo below)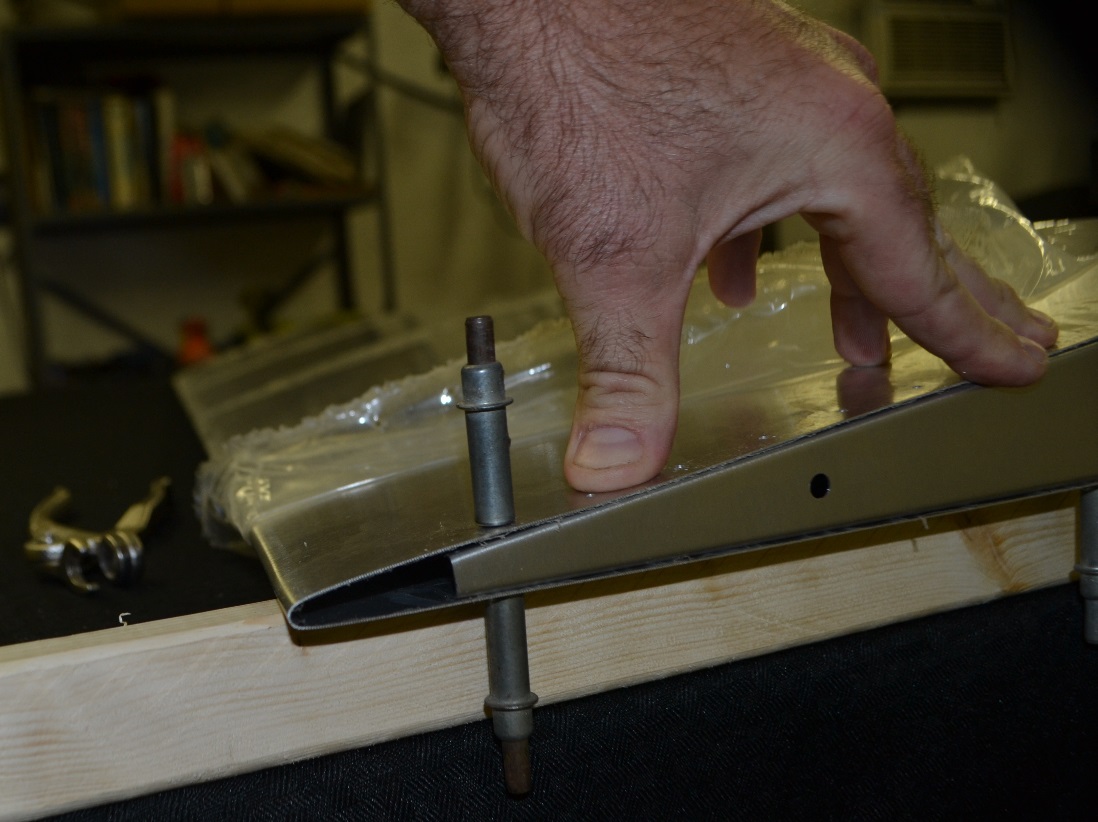
a.Move to the forward hole and drill pressing down firmly when drilling (see photo below)
b. Then using firm pressure so the corner of the skin is tight to the rib side and front drill the first hole in the front (see photo below)
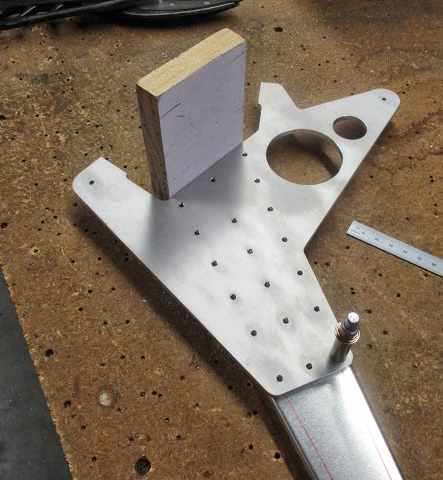
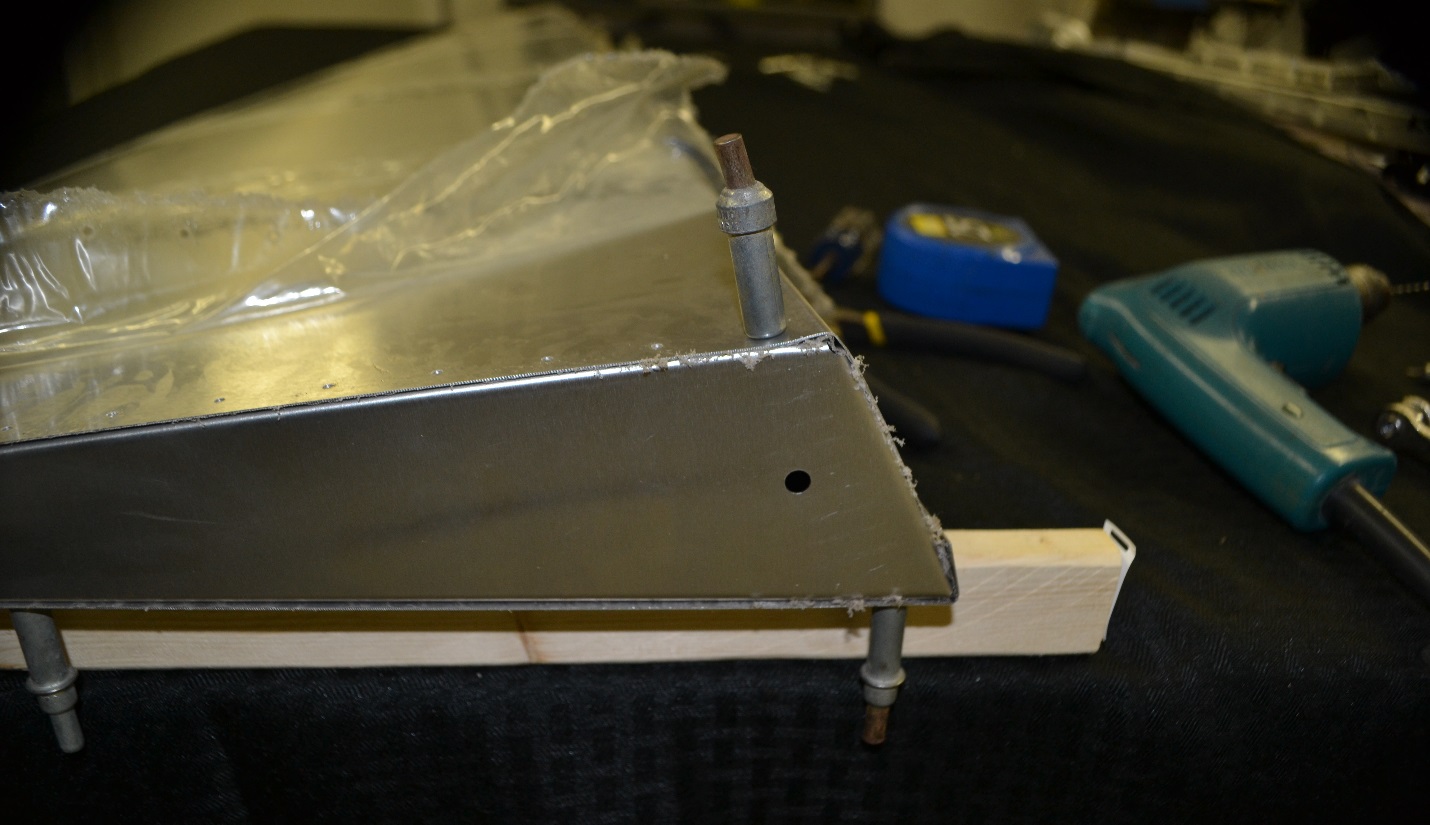
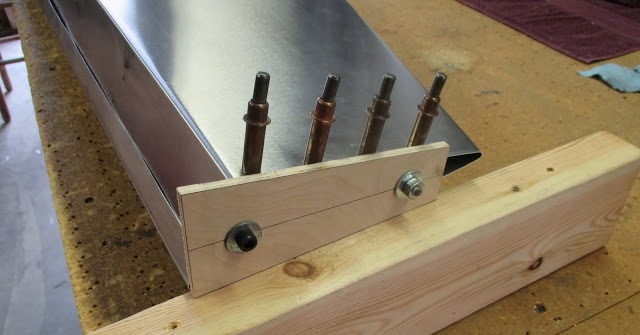
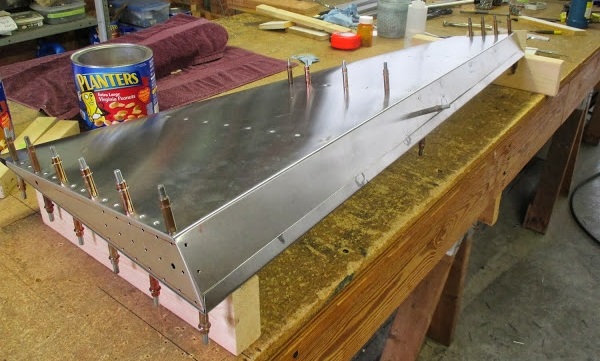
6.IMPORTANT STEP: Uncleco the top (small rib) and attach the fixture block to rib 3 with ¼ inch bolts. See plans for fixture block information. Cleco back in place and set on the 2” x 4” blocks. (see photo below)
7.Remove the clecos from the ribs on right side of rudder and place front of skin on front side of the shorter hinge flange. This makes it much easier to drill the front rivet row in the skin as the longer “flexible” side is supported by the short “stiff” side.
8.Lay out and drill rudder hinge per drawing.
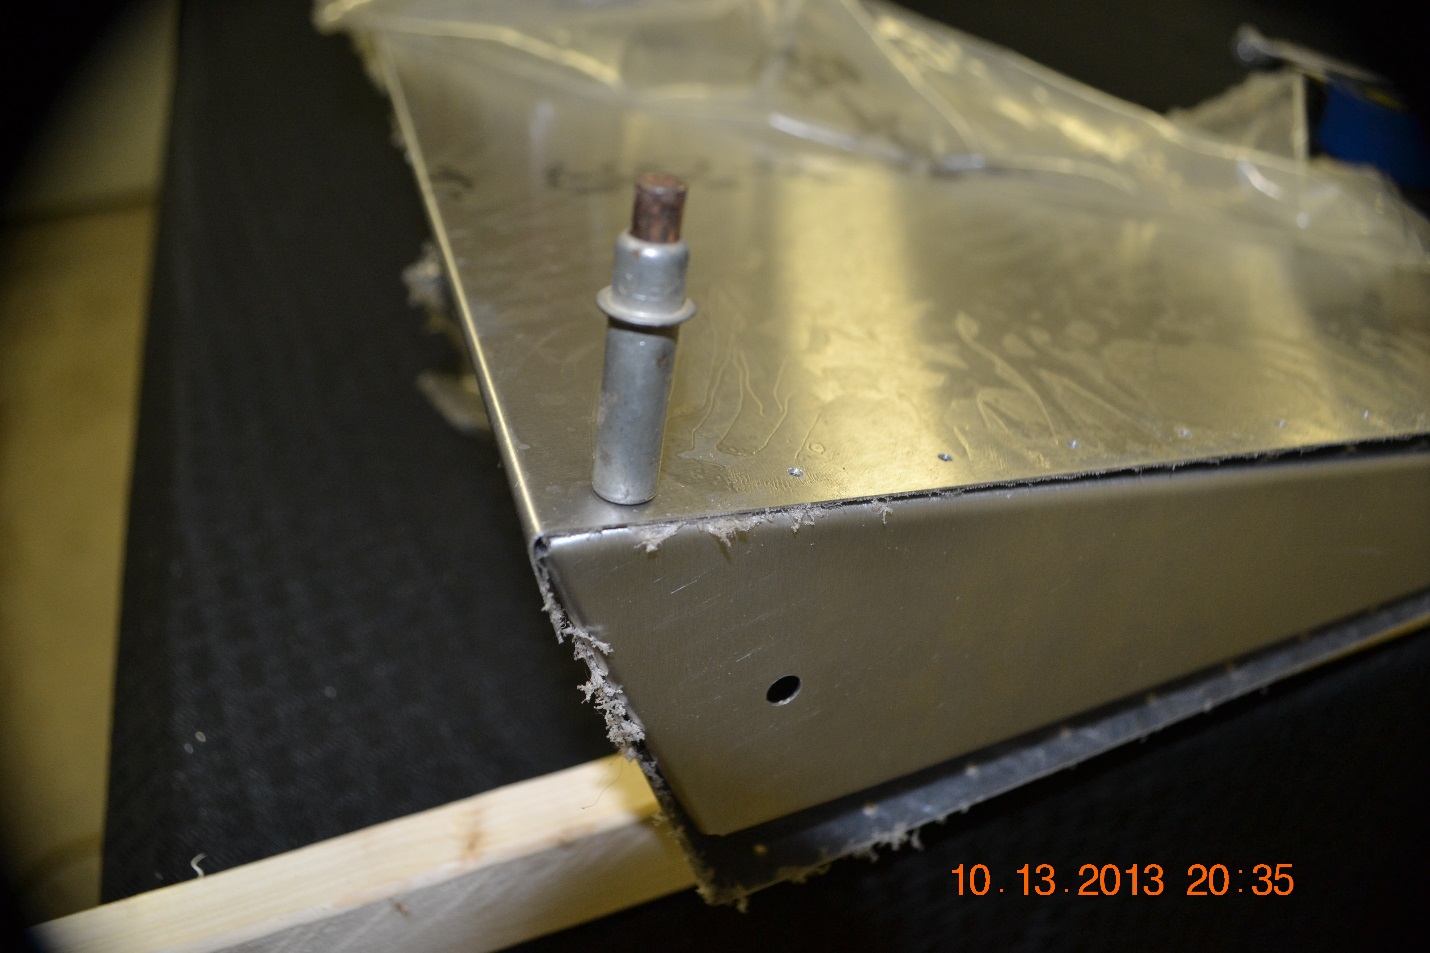
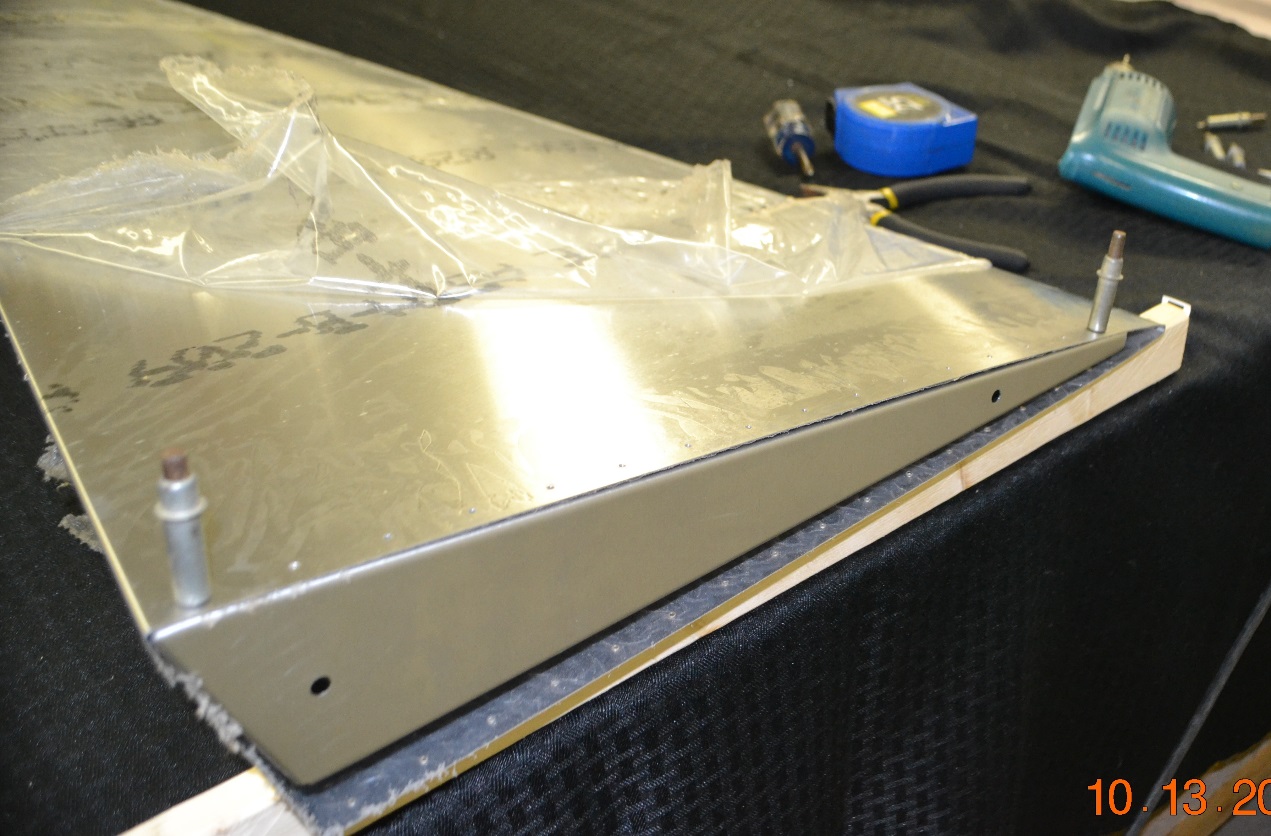
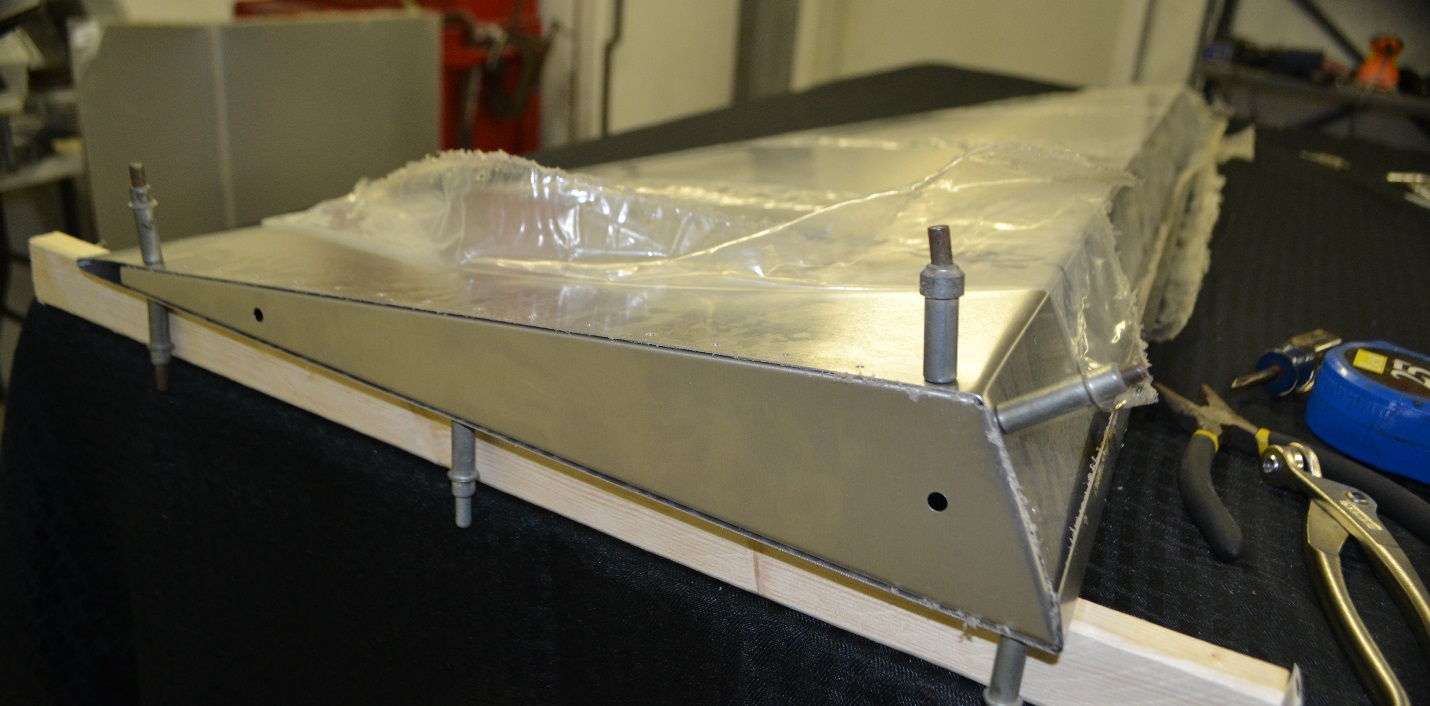
9.Working on a flat surface, rest the bottom end of the rudder on a 2” x 4” block and the fixture block at #3 on a 2” x 4” block. This will prevent a twist in the rudder and allow room for clecos holding ribs in place to clear the table top.
10.Align hinge on rudder per plans. Drill/ cleco #40 hinge using care so it and leading edge of rudder is straight.

11.Remove the clecos from the hinge and right side of rudder and return the skin front to under the shorter flange and re-cleco rudder and hinge. With rudder on flat surface up drill all holes to #30 cleco-ing as you go.
*NOTE again use care when drilling hinge and the aft of the skin to ribs to prevent damage to outer adjacent skin surface!
12.Disassemble, debur and dimple as needed.
13. Re-assemble and rivet with rudder on flat surface except rib 3.
14. With all other rivets installed un-cleco rib 3 and remove the fixture block, then re-install rib and rivet.
15. Install and rivet the rudder horn (fitted in step one, but not riveted until now)