
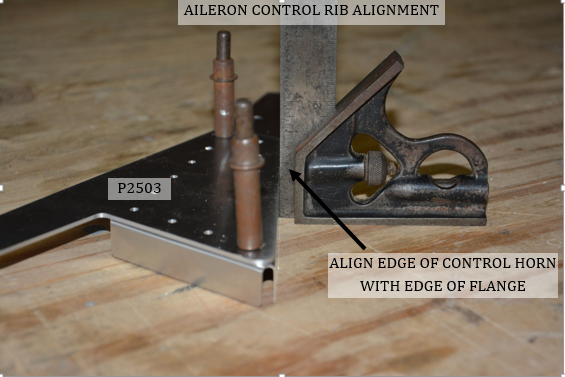
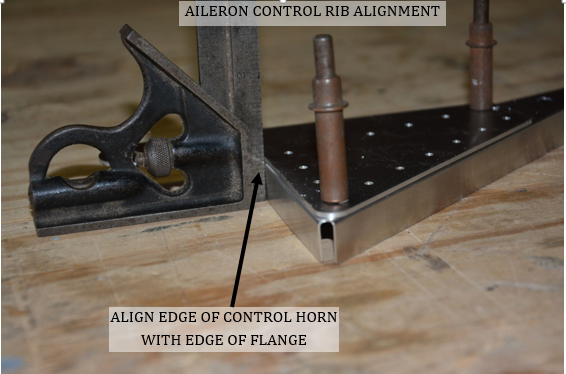
1. Align and drill 4 aileron control arms on 2 each of left and right aileron ribs. Control arms should be aligned with 2 edges of the rib flange as shown on the 2 pictures that follow.
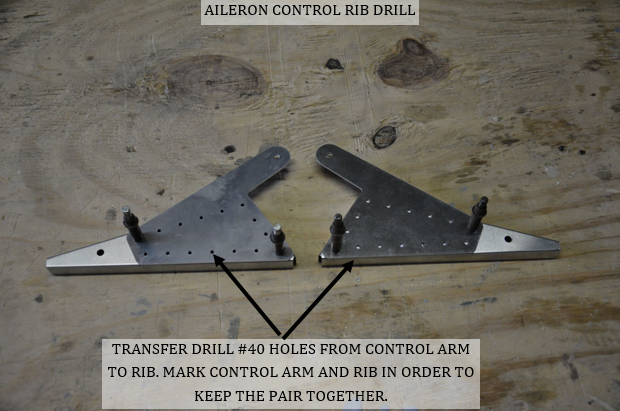
2. Transfer drill #40 holes from control arm into control ribs, and mark pieces to keep the pairs together.
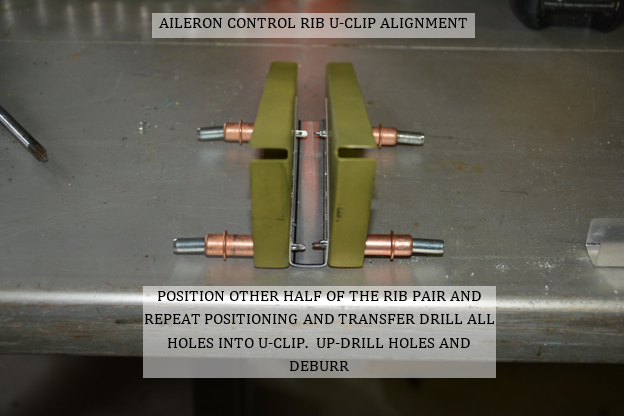
3. Using a rib pair, remove the control arms and position Control Rib U-clip aligned with the bottom edge of aileron rib and corner of rib. Transfer drill at least 2 holes to keep U-clip aligned.
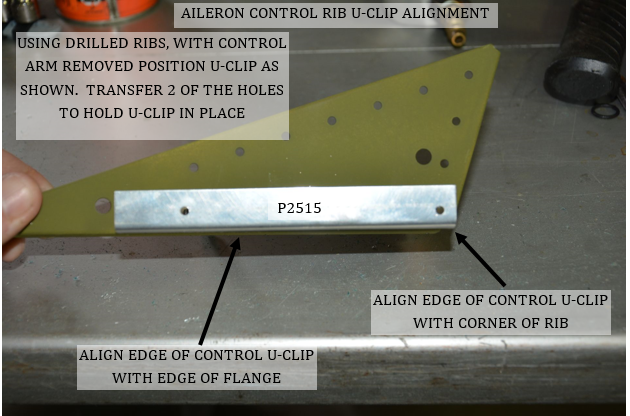
4. Position other half or rib pair and repeat positioning of other rib like the first one in step
3. Transfer drill at least 2 holes, and cleco in position. Transfer drill all holes through U-Clip and Up-Drill to #30 and then deburr.
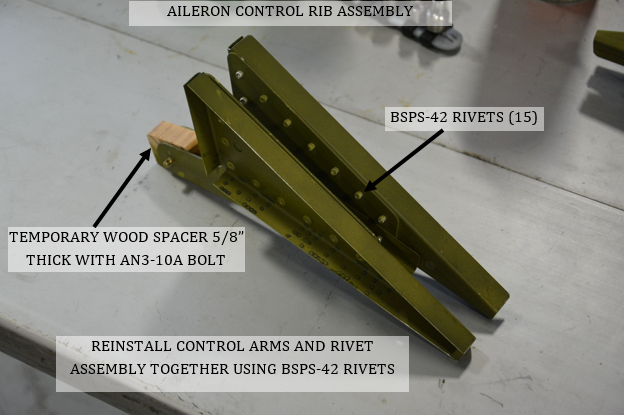
5. Reinstall control arms and rivet assembly together using BSPS-42 rivets. In order to keep proper spacing of the ribs, it is recommended to make and install a temporary spacer 5/8” thick between the control arms.
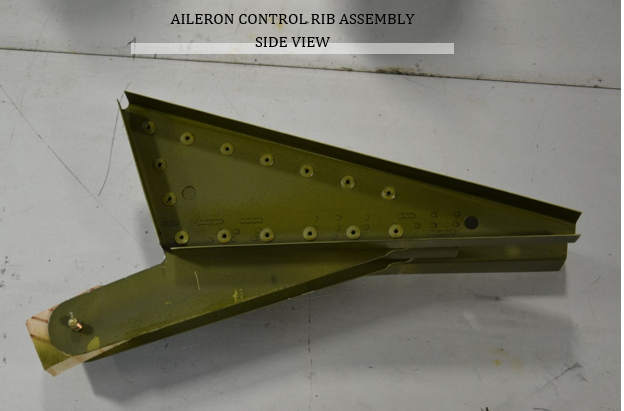
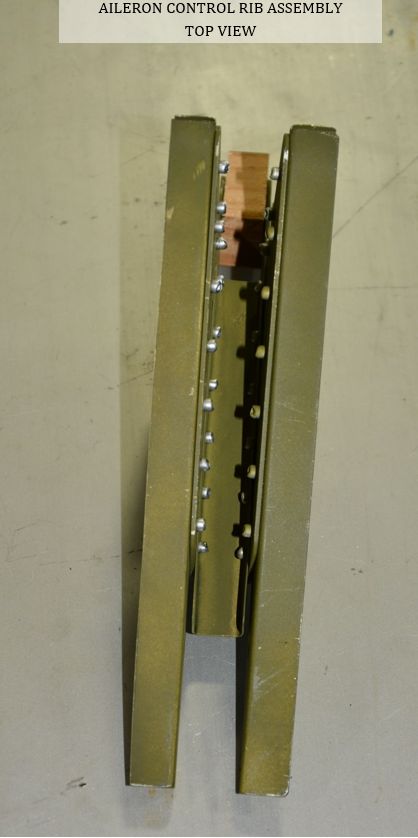
6. Repeat steps 1-5 to make a second assembly.
