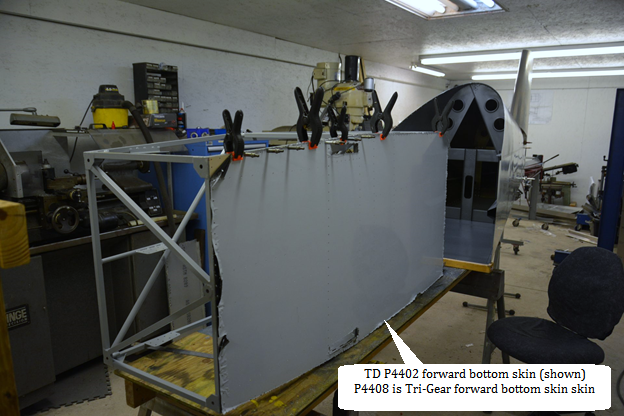
Fitting bottom skin to Forward Fuselage
Note: the tube structure is fixture welded. Much effort is spent minimizing the effects of welding on the thin tubes. Despite attention to detail, care, and fine tuning the process the tubes still ”pull” some during welding. The critical points are held in position, but tubes may bow slightly in centers. During QA we verify that they are acceptably straight, but they will not be perfect. When fitting skins the goal is overall good fit. The rivet rows may drift off centerlines slightly and edge distances vary, with no adverse effects.
Note: Use a sharp drill bit, medium speed, and medium pressure when drill the thin 4130 tubes.
Note: Use care and a drill stop if needed when drilling into the tubing so that it doesn’t strike and damage the opposing tube wall when it breaks through the outer wall.
Note: Tri gear Airframes differences (minimal) noted
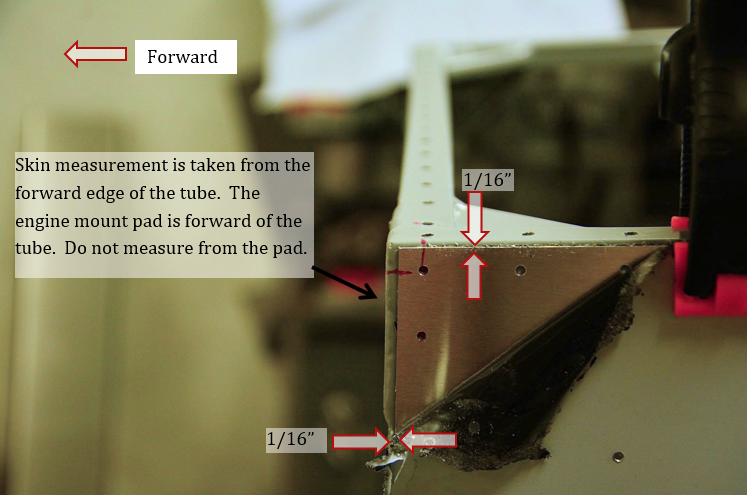
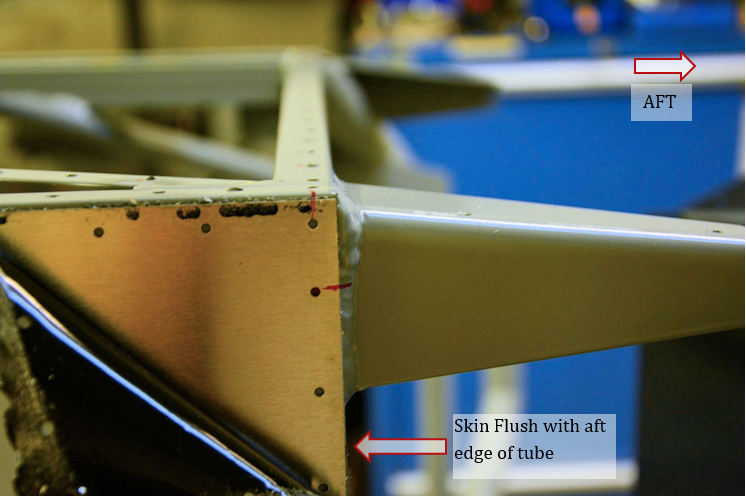
1. Clamp bottom skin to fuselage. Locate skin on fuselage frame in width approximately 1/16” (1.6 mm) from outside edges of tubes with the exception of the aft edge which is flush with the tube.
Note: it may be easier to flip fuse upside down for fitting/drilling bottom skin.

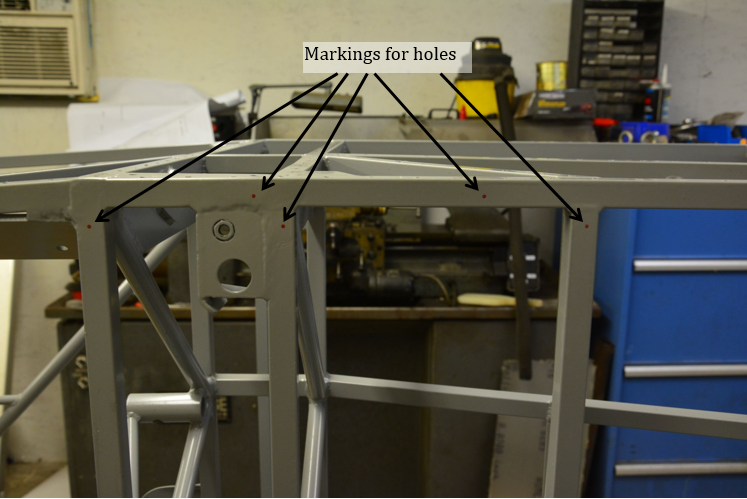
2. Make alignment marks so you can easily line up the skin again later. With a fine point marker, mark through several skin holes at each tube, onto the tube


3. Remove skin and see where the marks line up. They should be as close to center of the tubes. The “perimeter” holes will be offset slight inboard. You can move skin slightly if need for a better fit and repeat the marking /checking process. Continue until the skin is centered as well as possible. The goal is having rivet holes as close to tube centerlines as possible and still have a good fit around edges.

4. Re-clamp the skin in the best position and transfer drill #40 holes into the fuselage tubes and cleco. *See notes above before drilling
5. Turn fuselage and place it on some 2x4’s so cleco’s are not crushed.
