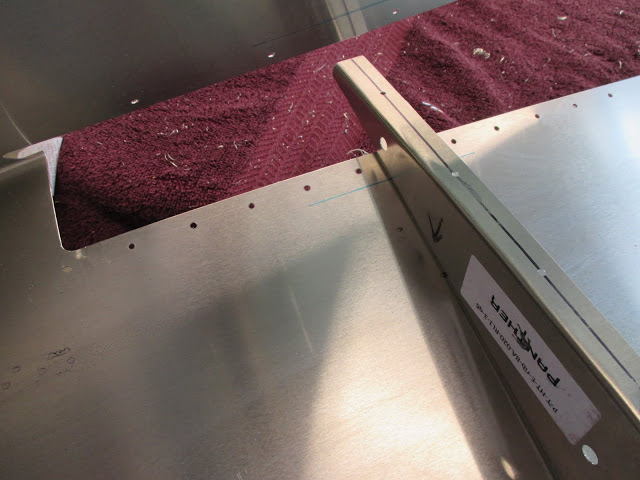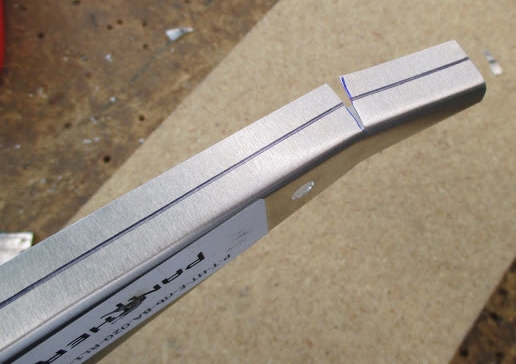
Note – Use caution! It is suggested you use a drill stop through the following procedures as it is easy to damage the opposing skins when drilling on the relatively thin cross sections of the control surfaces.
• Prepare all parts according to Parts Preparation
Note - The two outer ribs face inboard (toward the fuselage) and the inner rib (farthest left) faces outboard. See plans for more detail.
• The two inboard ribs will need to be trimmed according to the plans sheet.

•Starting with center rib – fit the rib to the lower side of the skin, ensuring the rib center line is aligned with the pilot holes and is sitting against both the lower skin and the forward skin. When satisfied with the fit – drill #40 and cleco to the both lower and forward side of the skin.
Tip – It can be difficult to fit the center rib. Another method is to fit the outboard end rib and drill #40, then move the rib to the center and cleco.
• Repeat with the two inboard ribs.
Note - The inboard rib needs to be slightly trimmed and front flange needs to be bent slightly more for the proper angle. Revision 1.1 and higher kit parts have this custom rib included as part number 1050 with description P-T-HT-E-inner rib-PA.020-L1-q1.
See P-T-HT-PA, Misc Details for a detailed drawing

•Flip the elevator so the top is facing up and place onto 2 leveled 2” x 4” blocks spaced so they clear the clecos in the bottom of the skin.
•Line up the center lines with the skin pilot holes and ensure the trailing edge profile is correct (ie not skewed up or down, but in plane with the ribs)
•Drill with #40 and cleco the top surface.
•Uncleco the top skin and tuck the flange from the upper surface of the skin behind the front of the skin and re-cleco the upper surface. This prevents the relatively flexible front skin from bending away from the drill bit when drilling the hinge in the next step.
• Prepare the P-T-HT-E-elevator hinge per the plan sheet by drilling holes at specified spacing.
•Ensure the elevator is level on both ends and has no twists or bows.
•Align and drill #40 and cleco the hinge to the elevator using a drill stop and light pressure to prevent damage to the upper skin.
