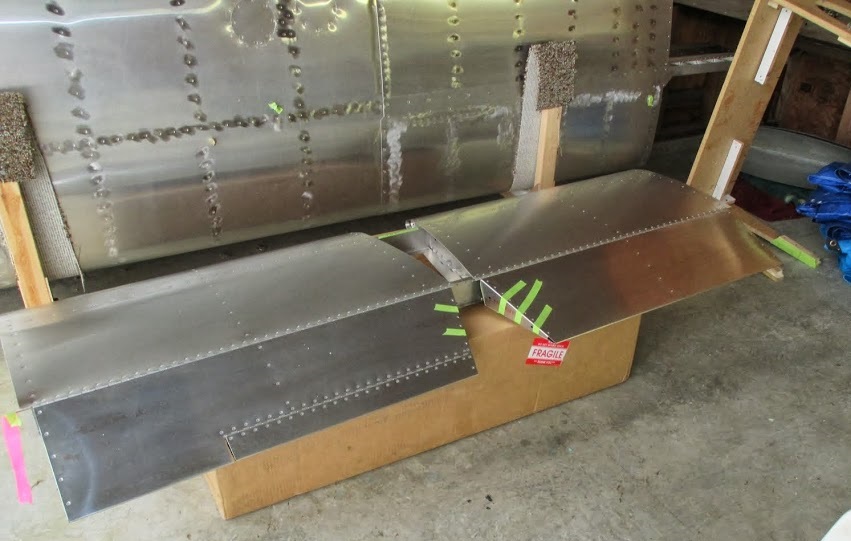
** NOTE - Regarding rivet options for hinge: The side of the hinge that attaches to the control surface will be a protruding head rivet, EXCEPT for the trim tab (depends if you are using countersunk or protruding head rivets on your skin). The side of the hinge that attaches to the main structure will use the rivet type you are using on the skin, and length according to rivet length guidelines.
**NOTE – If using flush rivets on the trim tab hinge, on the side that connects to the trim tab you will dimple the skin, countersink the hinge and NOT do anything to the trim tab spar (except drill). See plans sheet for more details
•Remove the ribs from the elevator so you can work on the trim tab.
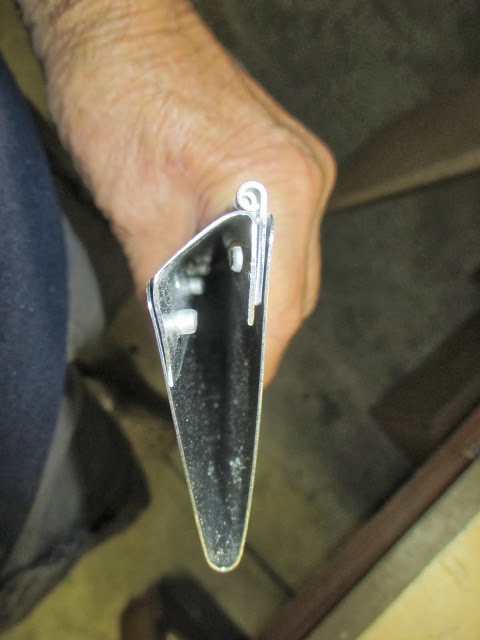
•Slide the hinge into place on the top skin of the trim tab and the elevator, clamp in place with cleco clamps. See plans sheet for more details
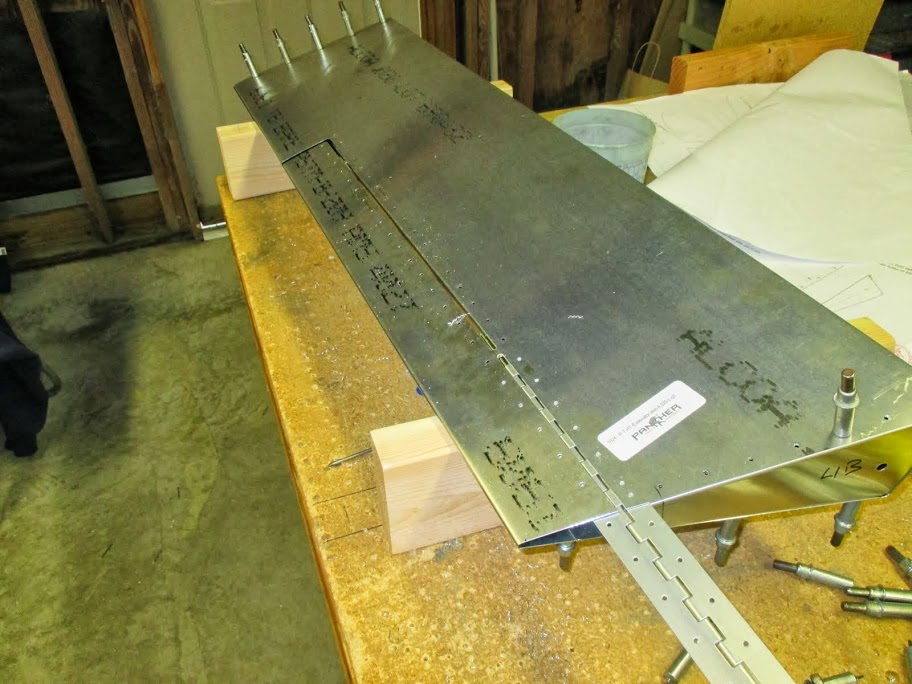
•Ensure the assembly is level on both ends and has no twists or bows.
•Align and drill #40 and cleco the hinge to the trailing edge of the elevator first using a drill stop and light pressure to prevent damage to the skin.
•Align and drill #40 and cleco the hinge to the leading edge of the trim tab using a drill stop and light pressure to prevent damage to the skin.
•Trim the trim tab support and spar according to plans sheet
•Remove the hinge from the trim tab/elevator
•Fit the trim tab support to the elevator trailing edge, align, drill #40 and cleco.
•Fit the trim tab spar to the leading edge of the trim tab, align, drill #40 and cleco.
•Flip the assembly and repeat on bottom side
See photos
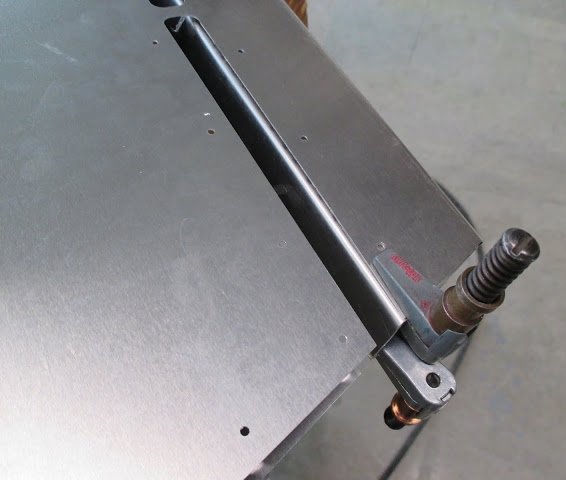
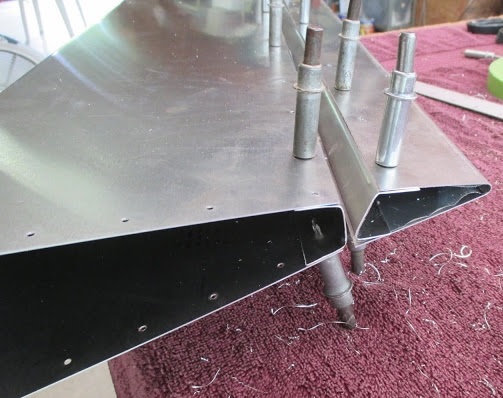
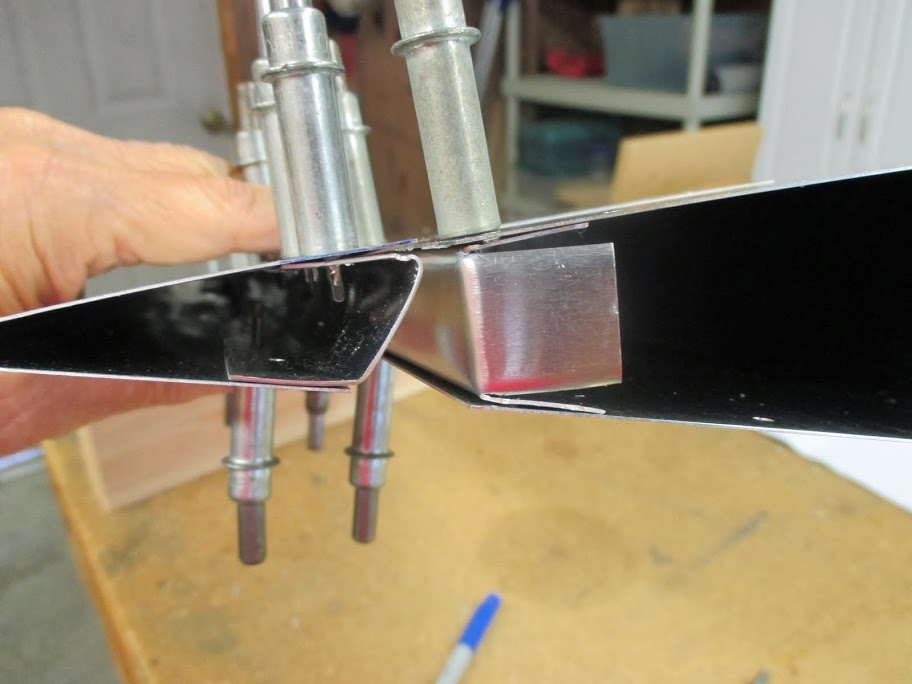
•Fabricate the Trim Tab Clip according to plans sheet P-T-HT-Details/Misc Details
•Fit trim tab clip and trim tab horn according to plans sheet P-T-HT-E-Elevator Details
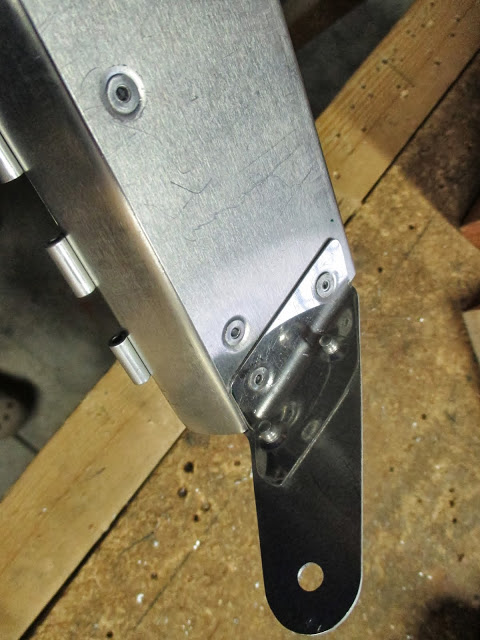
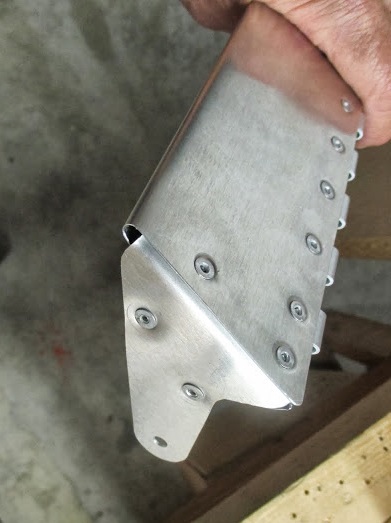
•Drill #40 and cleco
•Re-install the hinge for the trim tab/elevator
•Up drill #30 assembly replacing clecos as you go with the proper size.
•Disassemble and cut the trim tab free from the elevator skin. Use a dremel tool or file to remove the connecting tabs.
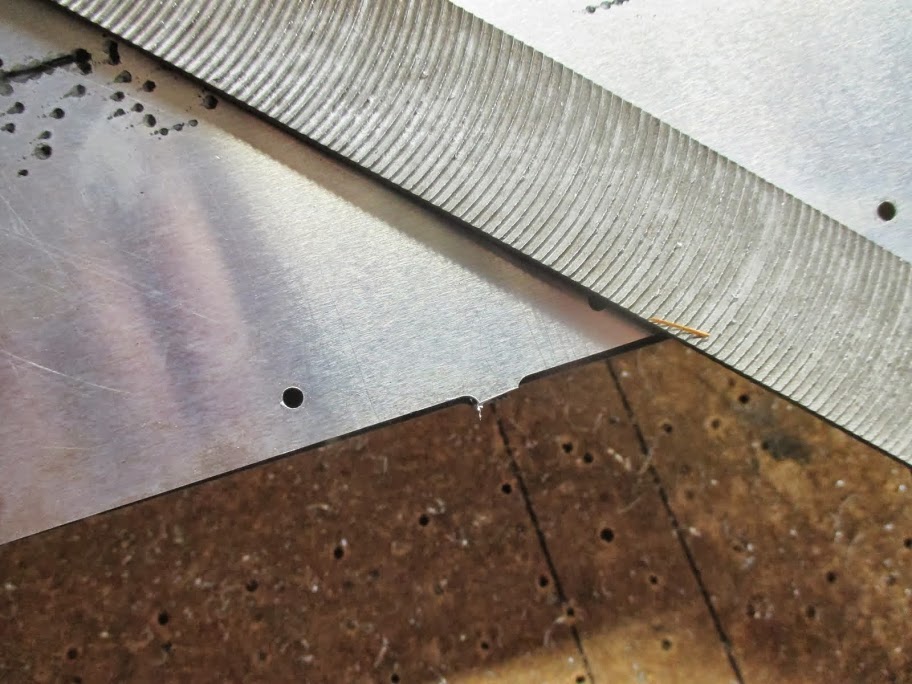
•Deburr and dimple if using flush rivets
Note – if using flush rivets - on the top of the trim tab and elevator dimple the trim tab and elevator skin, then countersink the hinge. You do not dimple the trim tab spar or the trim tab support on the top.
• DO NOT Rivet the inboard rib to the elevator assembly until the elevator joiner arm (welded assembly) is fitted (see finishing tail). Re-assemble remaining parts and rivet using chosen rivets, using caution to ensure the assembly remains twist free.
