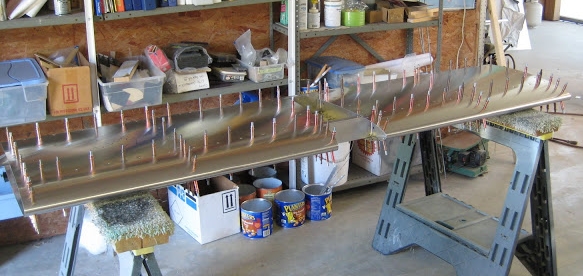
*NOTE – top of skin has closer rivet spacing along aft edge for hinges, bottom of skin has 2 notches to clear tail to fuselage mounting brackets
1.Fit the TOP trailing edge of skin first with cleco clamps. Clamp the skin down along the rear spar with holes in skin centered on the line drawn on spars and with the outer hole on centerline of the rib to spar channel attach holes.
2.Verify the outer hole in skin at front spar is centered on rib to spar attach holes, and clamp skin to spars
3.
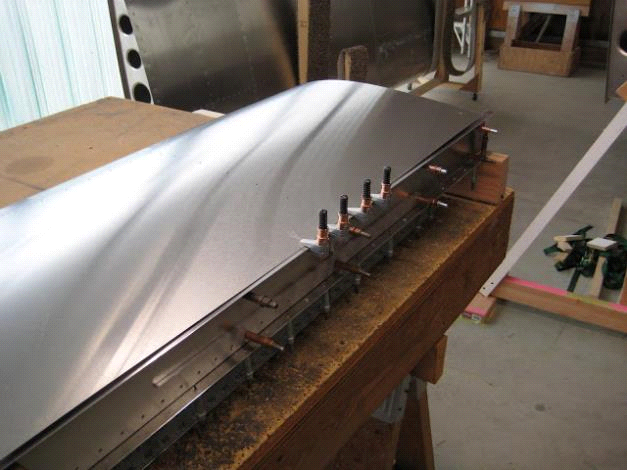
4.Adjust the main ribs left and right until you see the rib centerlines through the skin.
5.When satisfied with fit, starting from the middle and moving out – drill and cleco (#40) the skin to the aft spar flange.
*NOTE- use care when drilling near the rear spar stiffener to avoid damaging the stiffener
6.Working trailing edge to leading edge and from the center out, drill and cleco (#40) the ribs, then the forward spar
a.Adjust center lines of the nose ribs as needed.
b.Working from the forward spar, drill the nose rib (#40) and cleco
c.Up drill all holes to a #30 (or #31 if flush rivets) and cleco.
7. Attaching the bottom of the skin
a.Turn the assembly over – so the top of the horizontal stab faces up, verify level and square and re secure to blocks
b.Attach the bottom aft edge of the skin to the rear spar flange with cleco clamps and use ratchet straps to pull down the skin. Use wood blocks along the rear spar and at the nose to avoid bending the trailing edge of the skin. Use gentle pressure and only enough force to allow rear rivet holes in skin to center on the line drawn previously 7/16” line from the forward face on rear spar (see above) and verify the outer holes centers on the rib to spar channel attach holes.
*NOTE – the front skin profile may not match the nose of the ribs or side views of plans. A small gap (1/8 inch or more) may be found around the extreme leading edge of skin.
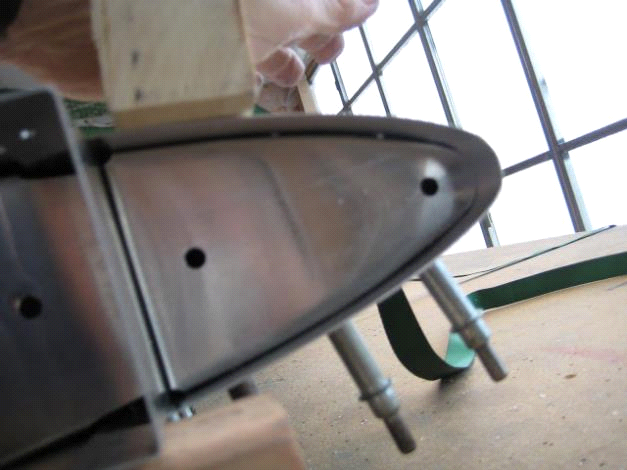
CAUTION: use care and only use enough pressure to allow holes in skin to align with the CL of forward and aft spars!!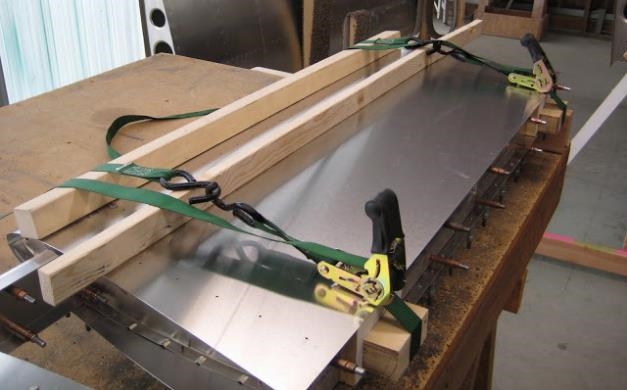
c.Starting at rear spar center and working forward/ out drill #40 and cleco using care to align rib centerlines with holes
*NOTE – use care when drilling near the rear spar stiffener to prevent damage to stiffener
d.Fit P-T-HT- elevator hinge per dimensions on plans, drill/cleco(#40)
e.Drill all holes #30 (or #31 if flush rivets) and cleco
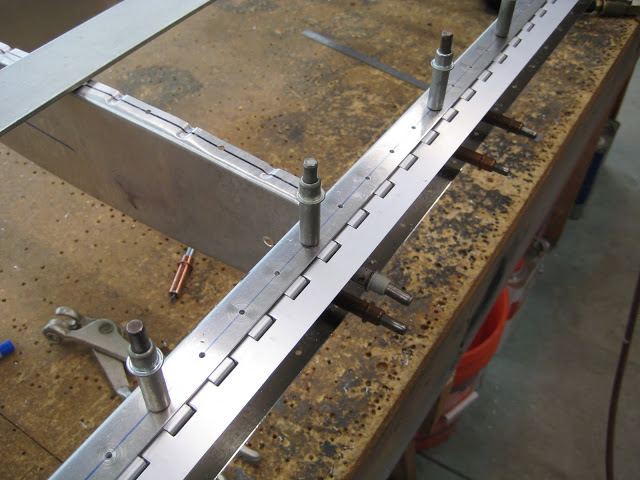
f.Disassemble debur and dimple (if flush rivets)
g.Rivet rear spar stiffeners to channel now if you haven’t already
h.Reassemble with clecos, verify level, secure to blocks top side up and rivet structure.
i.Turn the structure over, verify level (no twist) and rivet bottom
