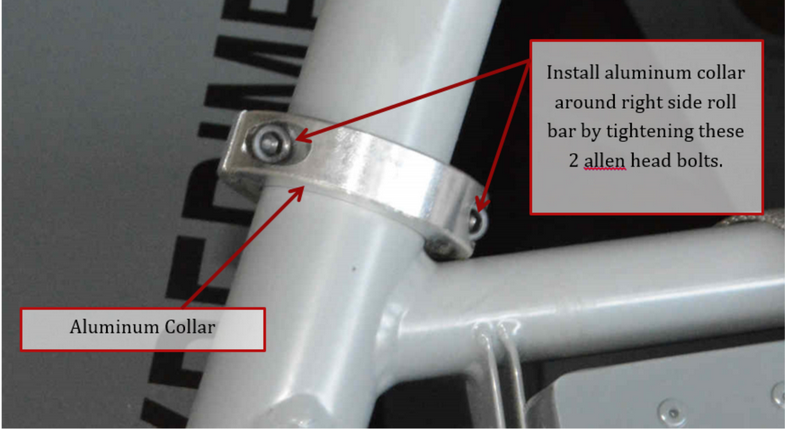
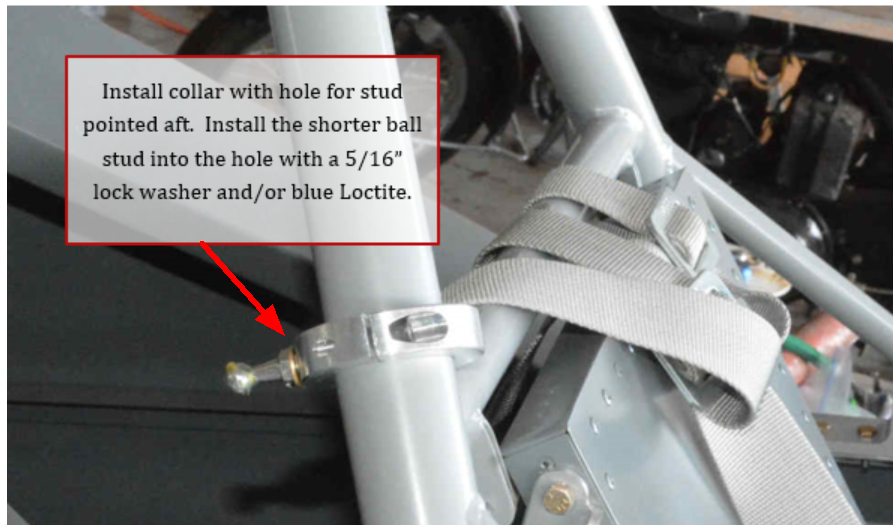
1.Separate the collar halves by removing the allen head bolts. Install collar around right side roll bar tube just above the upper seat adjuster bar. Threaded hole should be pointing aft. Tighten the allen head bolts evenly, there may be a small gap between the halves, but should be about equal on both sides. Install shorter ball stud into collar using a 5/16” lock washer or blue Loctite.
2.The next steps are easier with the canopy removed and upside down on a soft surface. Locate bottom doubler on left side of canopy stiffener flange. It should be centered on the flange, just aft of the cutout that was made in the flange to clear the roll bar. Transfer drill the 4 holes in doubler through flange using a #18 (0.169”) drill bit.
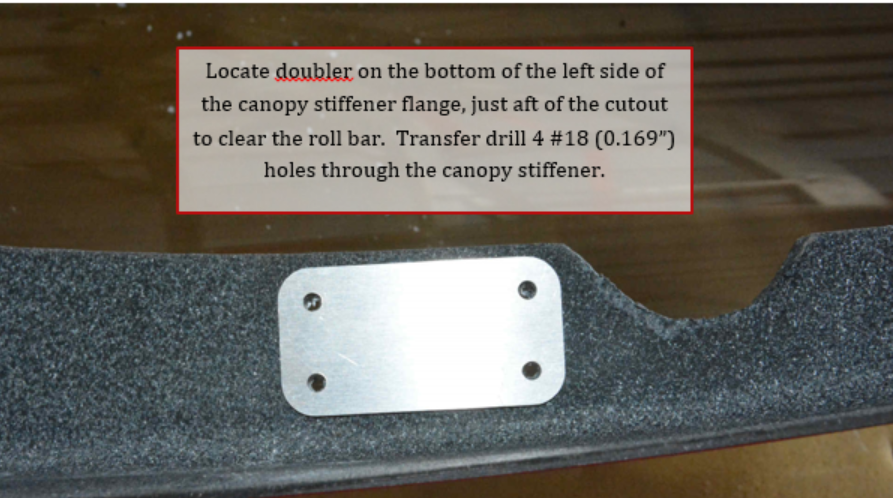
3.Countersink the 4 holes for a #8 counter sunk screws. Note: this is 100 degree countersink instead of the 120 degree version used for pulled rivets.
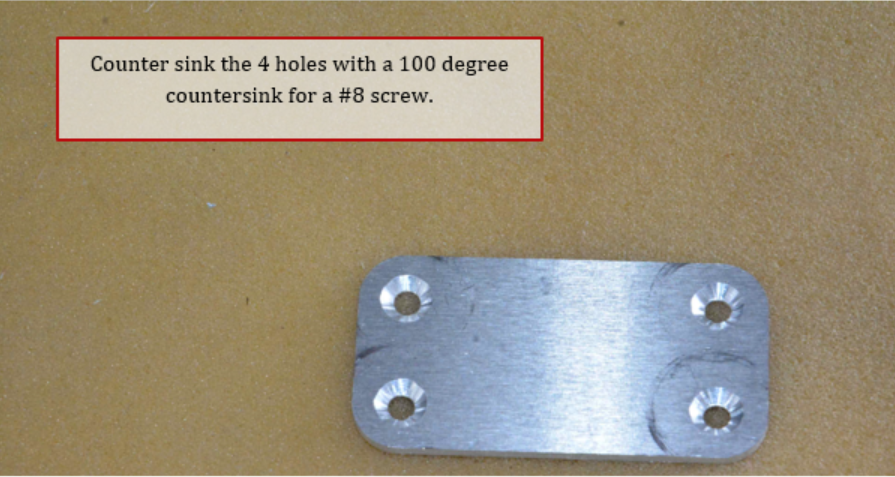
4.Install doubler and angle bracket on flange with 4 #8 screws 7/8” long. Use MS21042L08 lock nuts on the angle bracket side. Angled portion should be towards the aft side of the canopy.
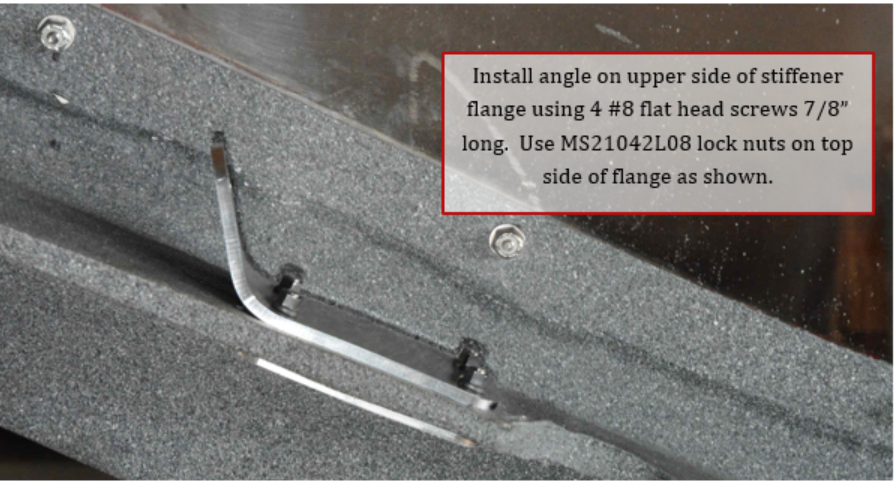
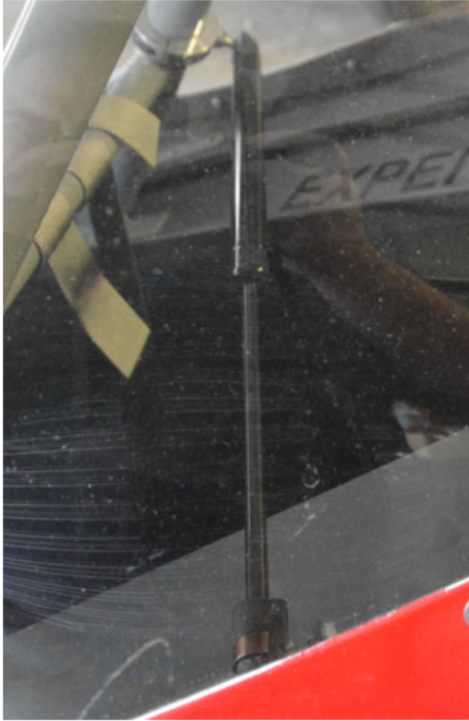
5.Install ball stud with a 5/16” 18 Threads per inch (course thread) lock nut. I had the ball on the forward side of the angle, to keep the strut as close to parallel as possible to the back of the roll bar. Install the canopy if removed. Thread strut ends on the gas strut. Snap one end of gas strut (smaller diameter end) on ball stud mounted on canopy.
![CanopyGasStrut6]](./images/canopygasstrut6].png)
6.Snap the other end of the gas strut onto the collar mounted on the roll bar.
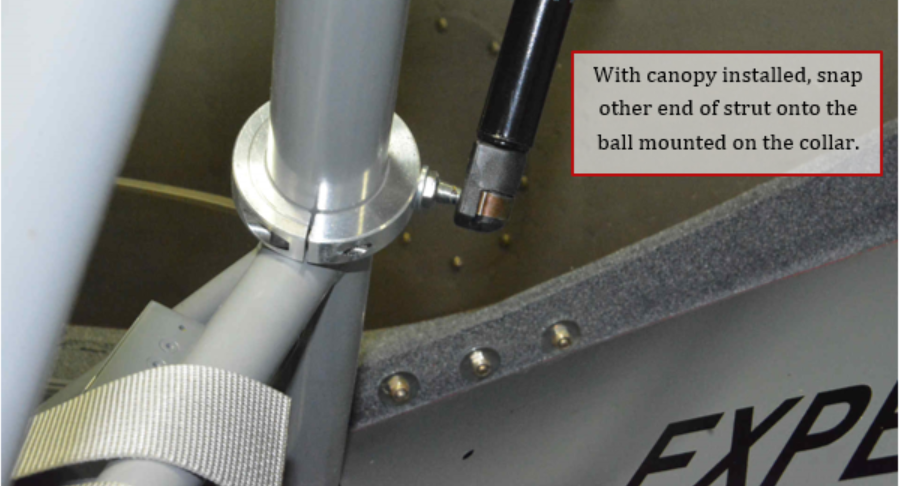
Photo showing strut holding canopy open.
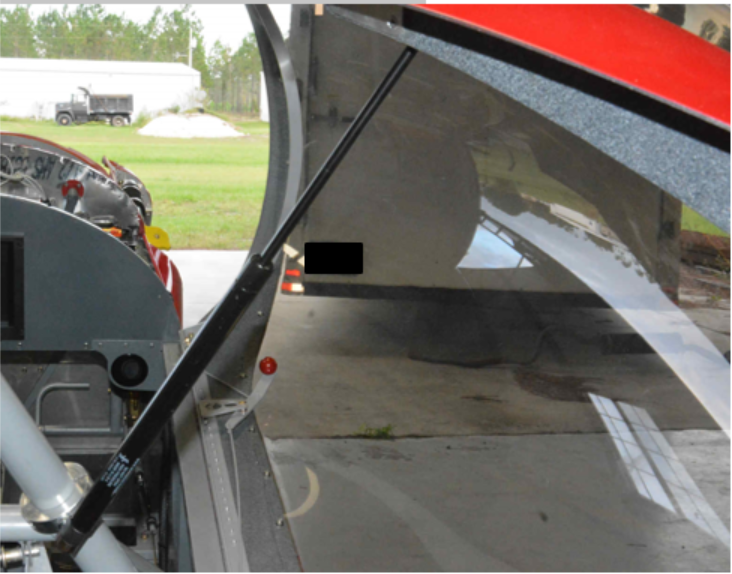
Picture with canopy closed
