Note: the parts in the Panther tank kits have evolved quickly. For most builders many of the
steps in section 2 and 3 are already completed. The latest tanks are almost fully matched
hole tool with no cutting or measuring require. Depending on kit “vintage” you may not
have to complete these steps. Follow the steps and verify they are completed.
1. Prepare parts per - Panther BM Getting Started – Processes Section under Getting
Ready to Build.
2. File or sand the front radius (nose) of the ribs slightly to smooth any sharp corners.
This allows ribs to slide fully forward in the skin and assures proper fit of match
tooled parts.

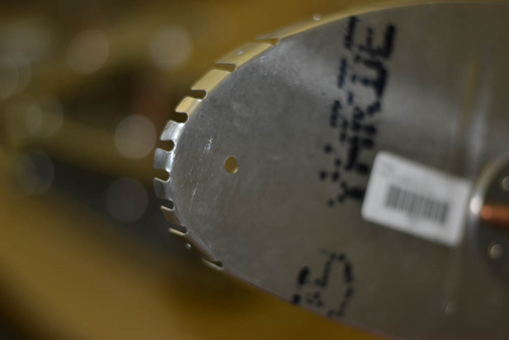
3. Verify if your P-W-FT- rib 2-5 R and L have fuel transfer holes and vent holes per plans. If not drill these holes now. We drilled a small centering hole then completed with a “step drill bit” (commonly called uni bit) (see photo below)
4. Mark the centerline on all rib flanges (not for matched tool ribs)

