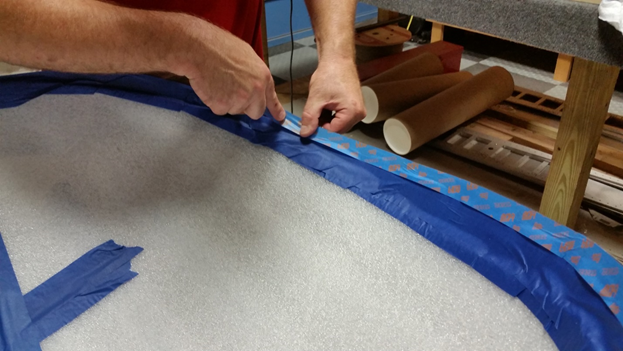
1. Tape (we recommend 2 inch wide masking tape) along the outside of the bubble about ½ inch above the skirt line from step 6 fitting the canopy bubble.
2.Protect the outside of the bubble with plastic wrap (or similar) See photos
3.Neatly tape 1/16 above the skirt line from step 6 fitting the canopy bubble. This will be your finish line for the small adhesive bead that oozes out and creates your seal line. We show masking tape, but electrical tape, or fine line masking tape used for laying out stripes works better.

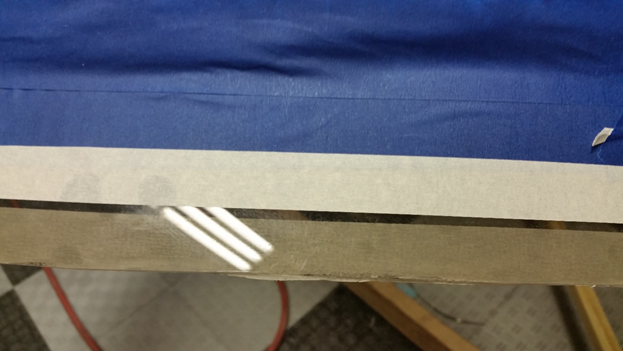
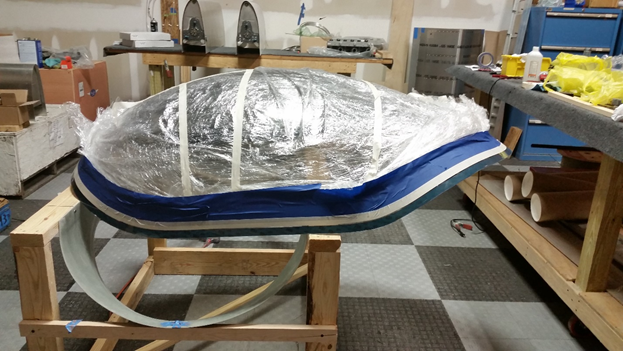
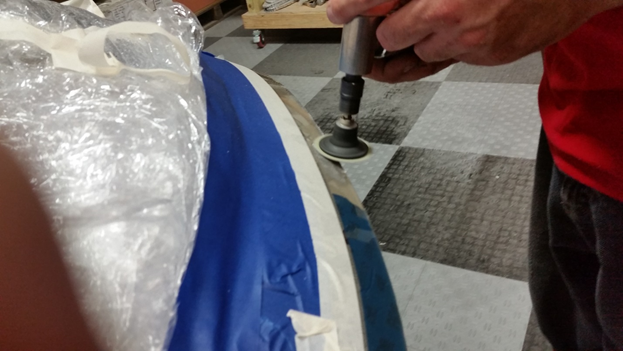
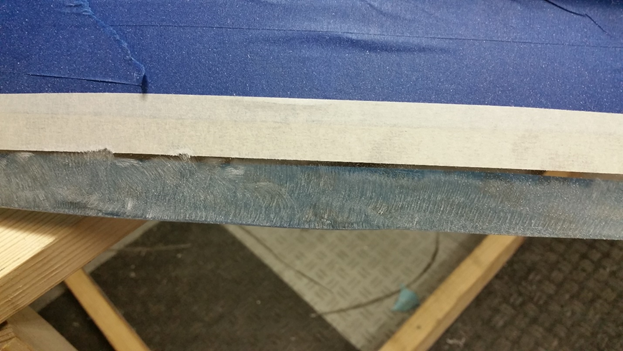
4. Now it is time to scuff along ¾” of the edge on the outside of the bubble, to give the adhesive something to bite on. You need to be very careful you do not go past your tape line as this will be visible on your canopy bubble if you do. You can do this using a 90 degree die grinder with a twist-loc sanding disk. Or use 180 - 200 grit sand paper by hand if you don’t have the control of or access to a die grinder.
5. Now it is time to tape up the inside of the bubble. Flip the bubble on it’s back. Again we are going to use the wide 2” tape and some paper or foam to protect the inside. Run the tape along the inside about ¾” from the inside edge. Then we will go back with our “paint strip” line to make our crisp pull back.
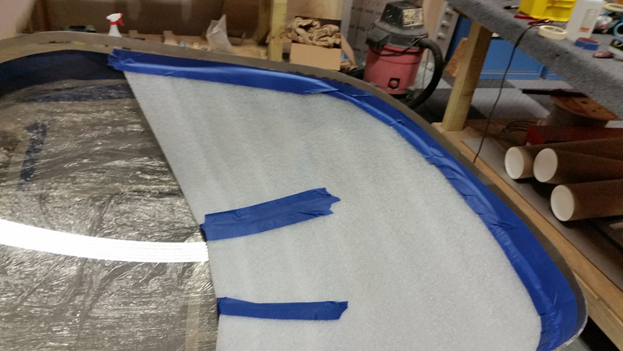
6. Now go back and run your ¾” tape along the inside all the way up to the edge. If the edge sticks past the bubble you can go back with a razor blade and cut it back. Remember to mark your cleco holes so you can find them.
