
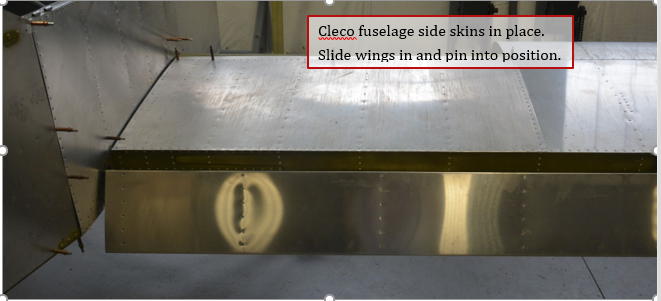
1. Cleco fuselage side skins in place. Install wings into fuselage and pin the wings.
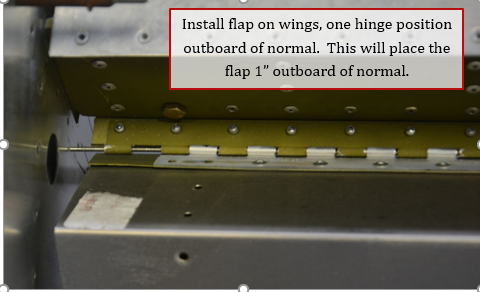
2. Install flaps on wing without the drive angle in place (inner rib can be out also), but one hinge position outboard of normal. See pictures for details.
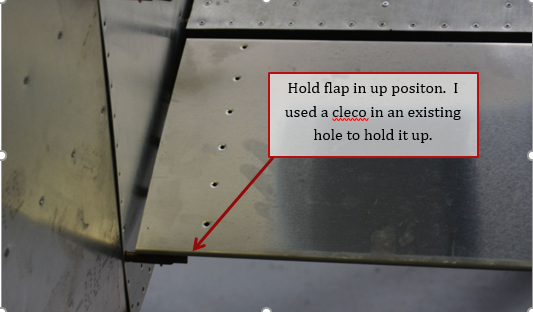
3. Hold flap in up position, use a cleco to hold it up.
4. Measure and mark flap 1 1/16” out from skin all the way around the flap. This allows some clearance between the skin and the rubber u-channel that will be installed around the flap later. Make sure skin is tight against the fuselage.

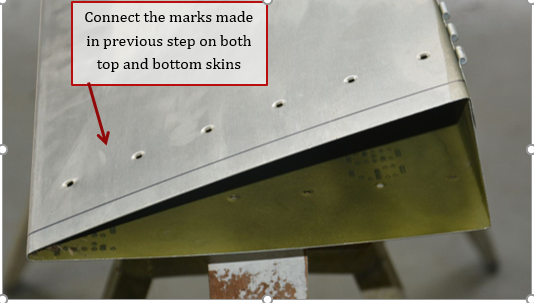
5. Remove the flap and connect the marks made previously on both the top and bottom skins of flap.
6. On the front face of the flap, connect the lines on top and bottom skins.
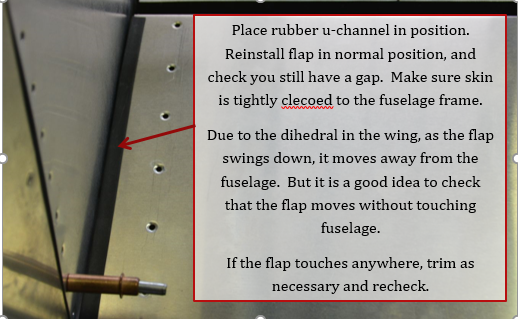
7. Cut flap skins on the lines drawn previously. Slide the u-channel on flap do not glue it in position. Reinstall the flap in the normal position and verify that you still have a gap
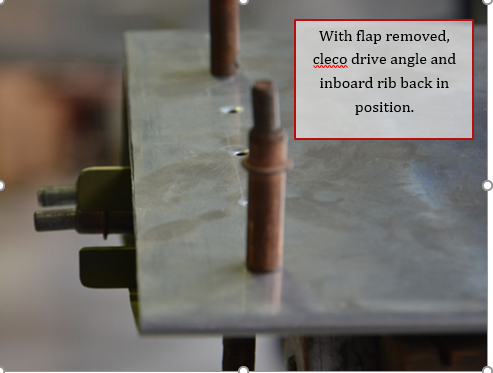
8. Remove the flap. Cleco inboard rib and drive angle back in position.
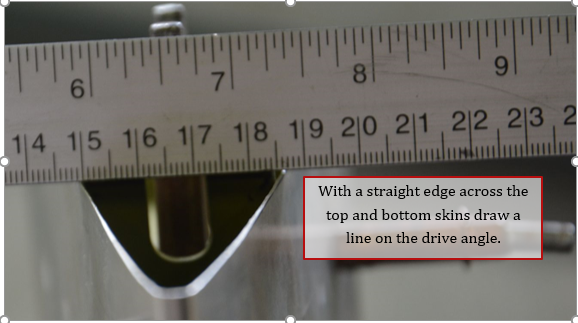
9. Lay a straight edge across top and bottom skin of the flap against the drive angle and mark a line.
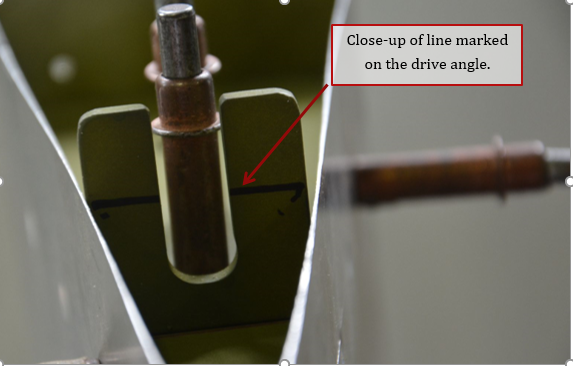
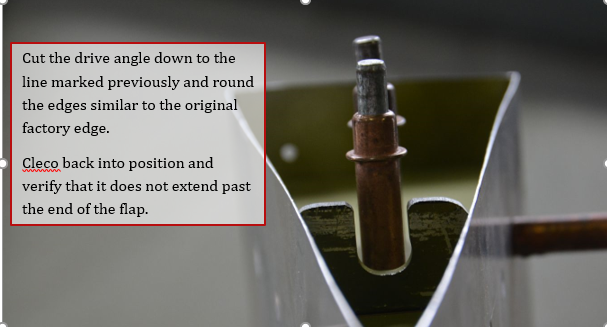
10. Remove drive angle and cut it at the line marked previously. Round the edges similar to original factory edges. Pay particular attention to rounding over the ones at the end of the slot, as this allows the drive angle to slide over the flap control arm easier when unfolding the wings. The round edge on top and bottom will allow the u-channel to fit easier. Cleco back into position and check that it does not extend past edge of flap.
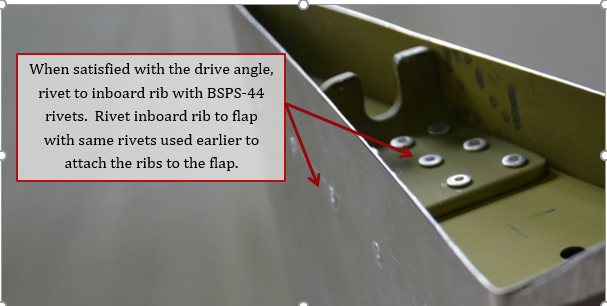
11. Rivet the drive angle and inboard rib into position.
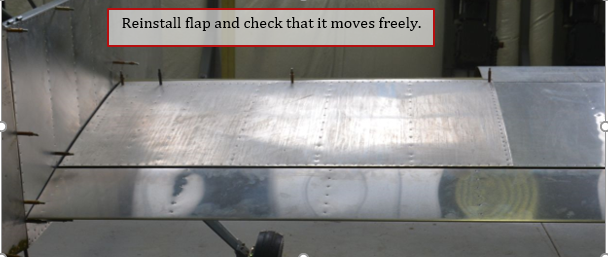
12. Reinstall the flap and verify that it moves freely.
13. Flap can be removed as flap control arms will be installed in part 3 of rigging manual along with final adjustment of flaps and ailerons.
14. Repeat for the left side flap.
