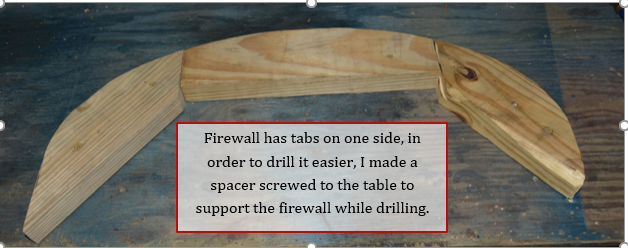
1. The upper firewall has to sets of flanges on it. This makes it difficult to drill the flange strip as there is no support under the firewall. To make this easier, I made some spacers that matched the outline of firewall from some scrap 2x4 wood, and screwed them to the work table.
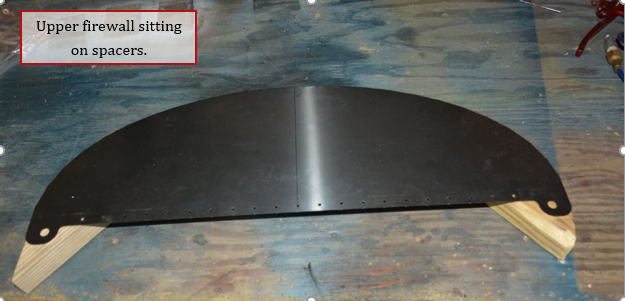
2. Firewall placed on top of spacers.
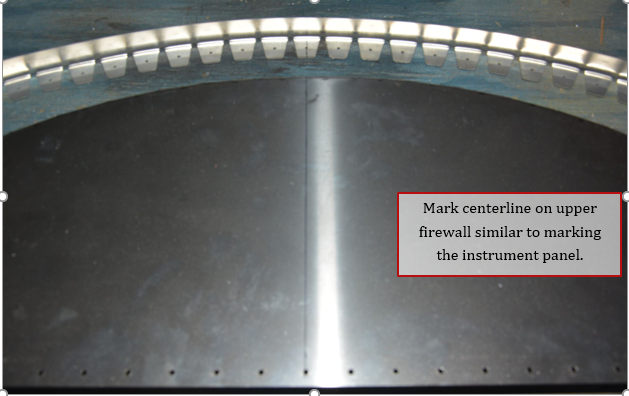
3. Mark center-line of firewall and flange strip.
4. Draw marks 1/8” in from edge of firewall. Flange strip will be positioned to these marks to allow for the thickness of the cowling.
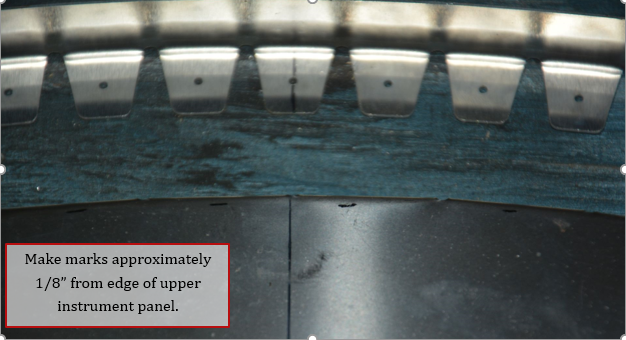
5. Start at the center and work your way to one side same as you did for the flange strip on the instrument panel.
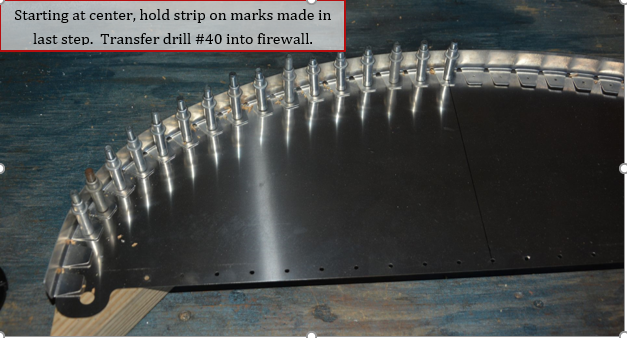
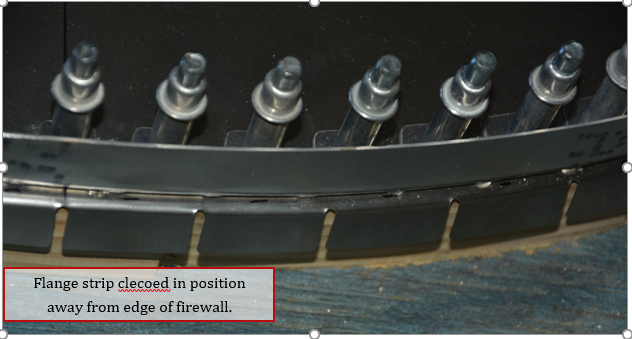
6. This picture shows how the flange strip is offset from the flange on the other side of firewall.
7. Draw a line 5/8” from bottom of upper firewall. Trim flange strip off even with this line on both sides. Do not leave any of the last tab on the strip.
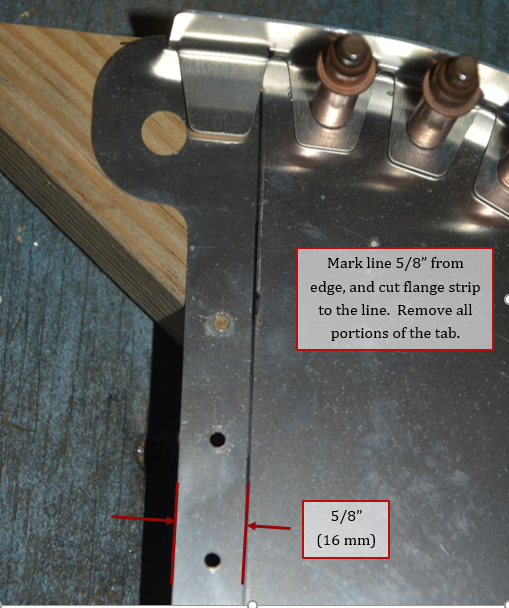
8. Picture below shows both tabs cut off.
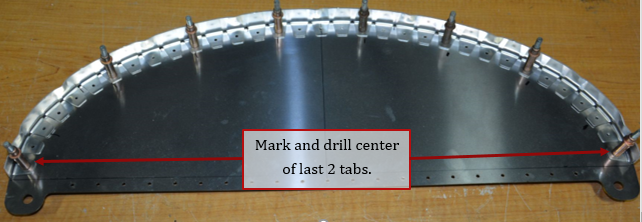
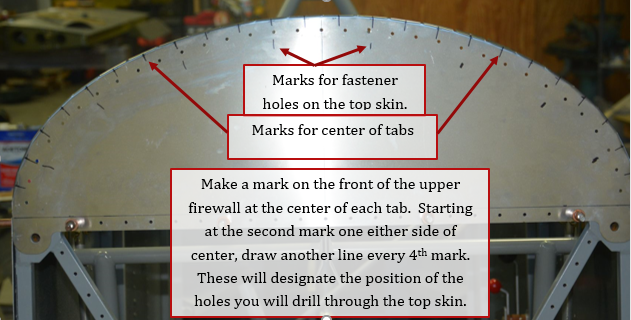
9. Remove flange strip from upper firewall. Cleco upper firewall to fuselage to prepare for installation of top deck skin. Make a mark on the front face at the center of each tab (not the holes). Starting at the second tab from center on each side, make a mark on every third tab. There should be 8 fastener hole marks for the firewall. These marks are where the fasteners will be drilled for the top deck skin. Note that there is not a fastener in the center, but actually 2 holes to either side of center.
