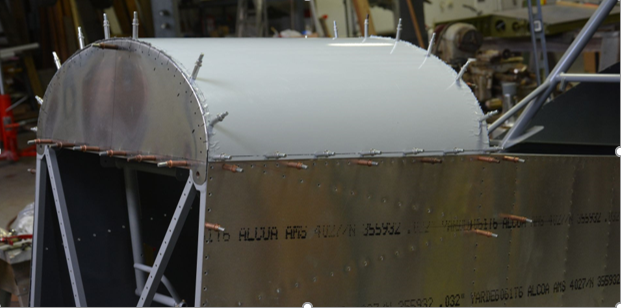
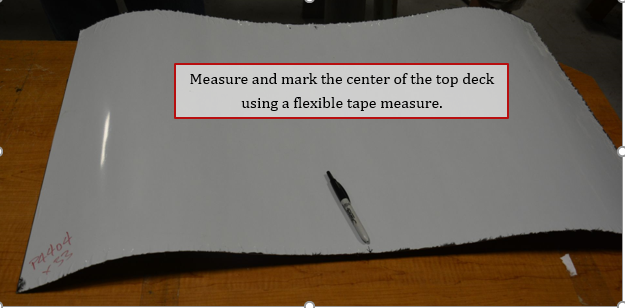
1. Mark a center-line on both long ends of the skin. These will be used to position the skin correctly.
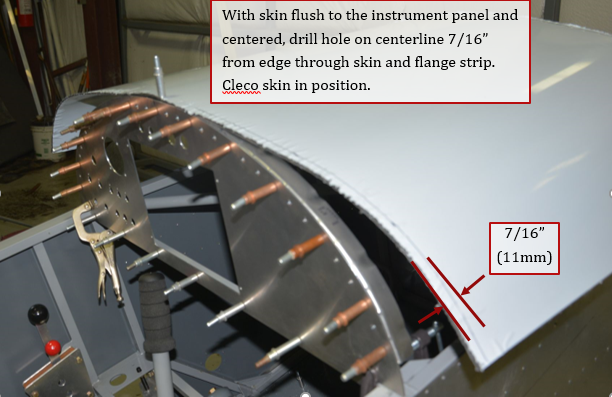
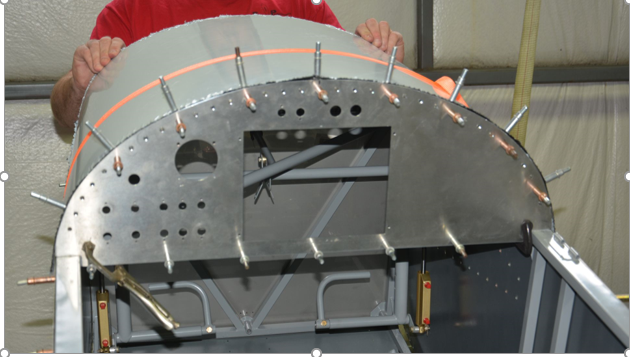
2. Position skin with the wide end centered on the instrument panel. Edge of skin should be flush with face of instrument panel. Use center line marks drawn in previous step to line with center mark on instrument panel. Draw a line 7/16” from edge of skin. Where the center mark and the 7/16” line cross, drill #40 hole through skin and instrument panel flange strip. Cleco skin in position.
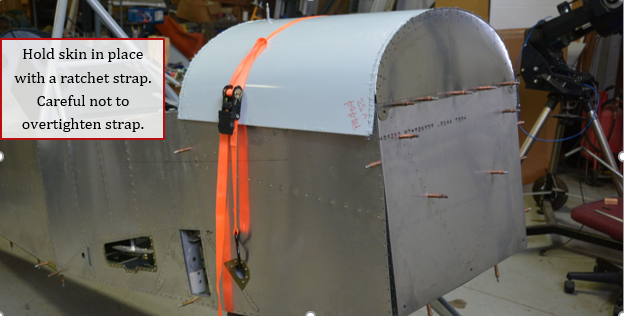
3. Use ratchet strap hooked into fuel line holes of skin and pull skin down against flange strips. Be careful and not overtighten strap and damage holes.
4. Using a square, draw a line on the top skin at the center of each cleco positioned earlier. (every 4th hole around instrument panel). These marks will be where the rest of the fasteners holes will be drilled in the skin.
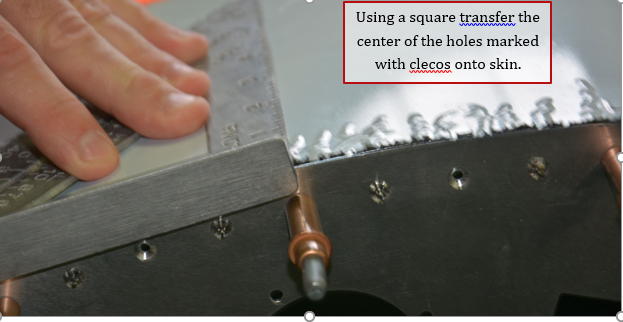
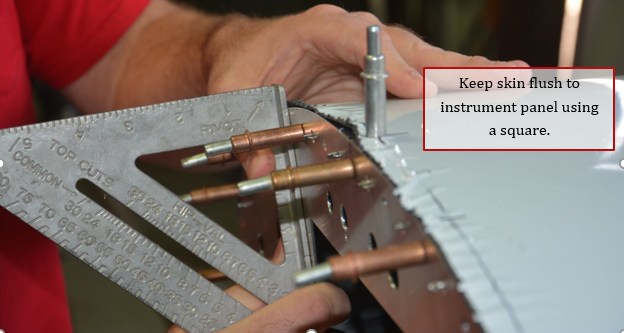
5. Make sure skin is flush to instrument panel with a square at next hole.
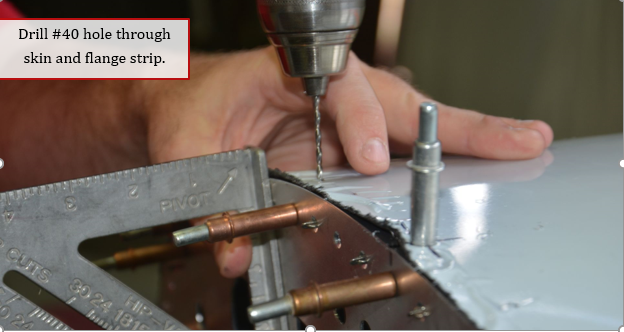
6. Drill #40 hole through skin and flange strip when aligned.
7. Cleco and move on to the next hole. Continue until all holes have been drilled through top skin around instrument panel.
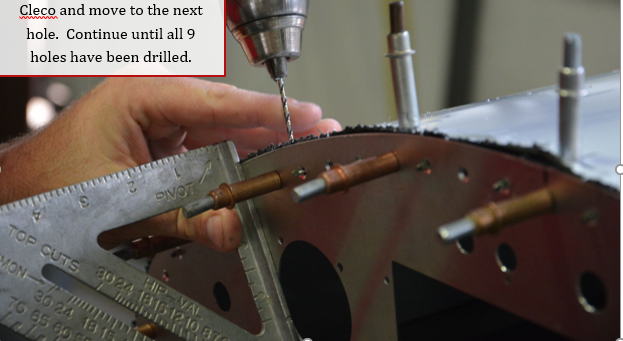
8. All 9 holes drilled through skin into instrument panel flange strip.
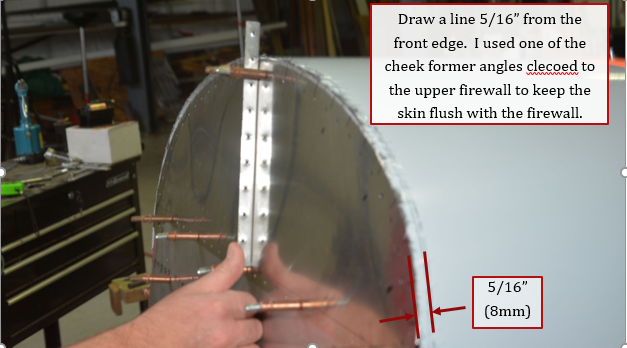
9. At the upper firewall, draw a line 5/16” from forward edge of skin. Using a scrap piece of angle, or in this case one of the cheek former angles clecoed to the upper firewall to position firewall flush with forward edge of skin.
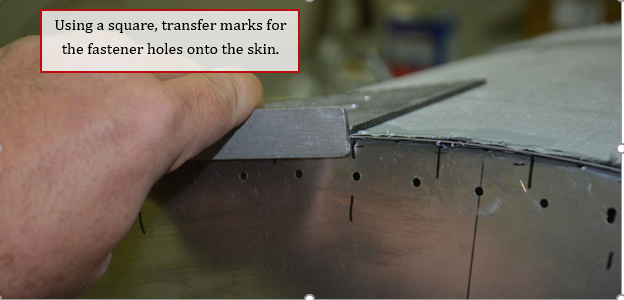
10. Using a square, transfer tab center marks on to the skin for each fastener location.
11. Drill #40 hole through skin and into tab of firewall.
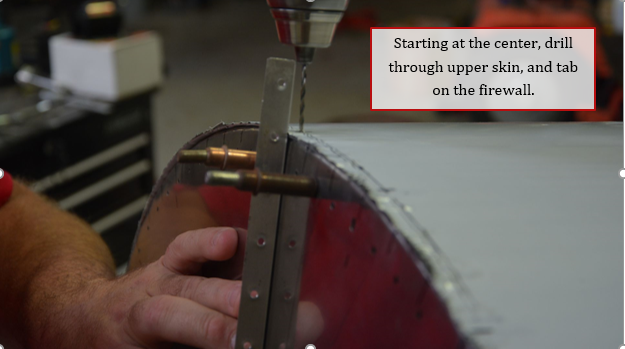
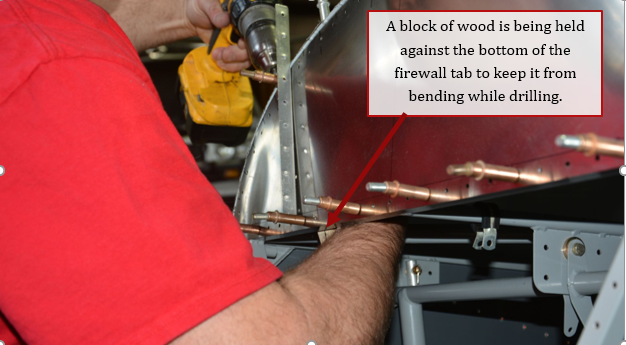
12. The firewall is stainless steel and can be difficult to drill, it helps to use a block of wood to hold tab while drilling. This prevents the tab from being bent while drilling hole. With the lower firewall removed, one person can do this operation as shown below.
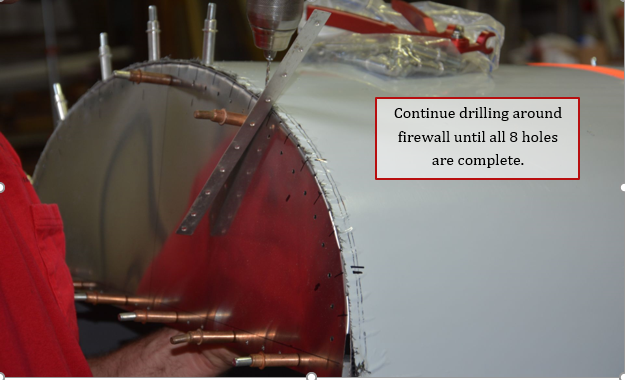
13. Continue drilling holes around firewall until all 8 holes are complete.
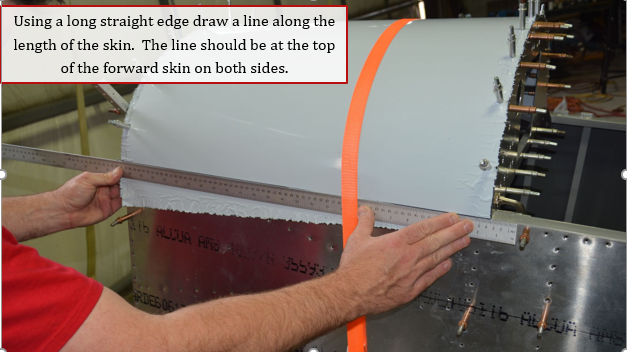
14. Using a long straight edge aligned with the top of the fuselage side skin, draw a line down the length of the skin on both sides.
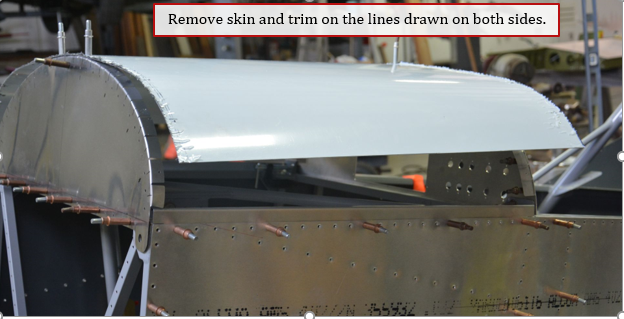
15. Remove skin and trim both sides along lines drawn previously.
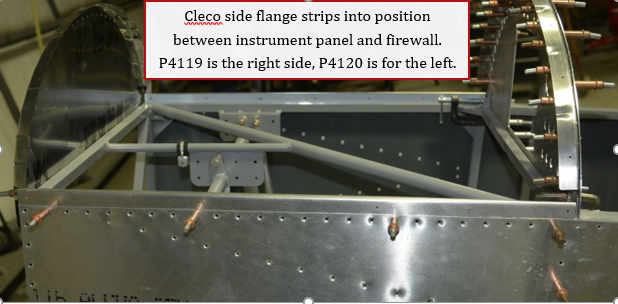
16. Cleco side strips into position on both sides between firewall and instrument panel.
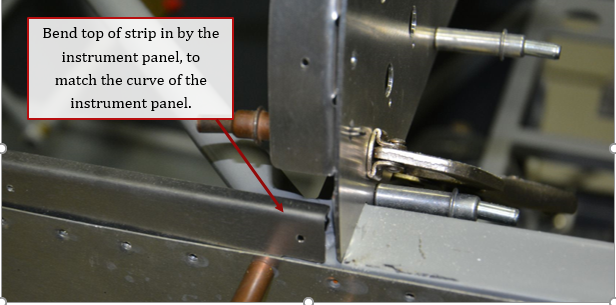
17. At the instrument panel end of the side strip, it will be necessary to slightly bend the top of the strip in to match curve of the instrument panel.
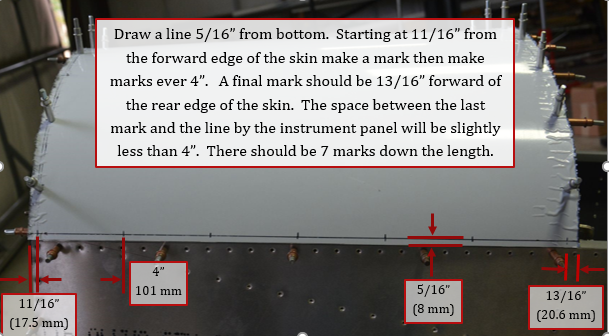
18. Cleco skin back into position and draw a line 5/16” from bottom of skin on both sides. Starting at the 11/16” from the front of skin make a mark, then mark for holes every 4 inches. The gap between the last mark drawn and the 7/16” line drawn around the skin for the instrument panel fasteners will be slightly less than 4 inches. There should be 7 marks for holes down length of skin.
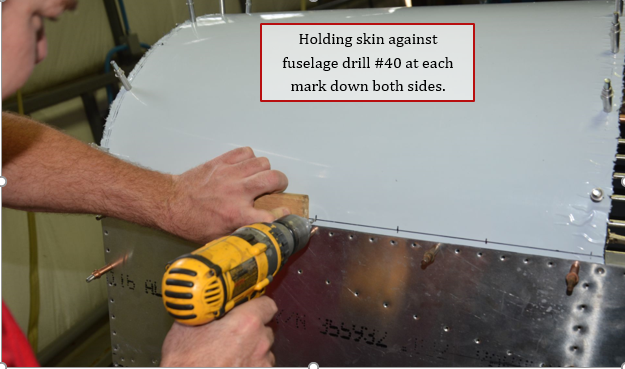
19. Holding skin against fuselage, drill at each mark down length of skin on both sides.
20. Completed skin. This panel is designed to be removable and held in place with either screws and anchor nuts or 1/4 turn fasteners (camlocs or equivalent). Skin will be installed later, so use this time to decide which fasteners you want to use. If accessed often like for baggage, then camlocs may be desirable.
