
1. Flip TC so bottom is down.
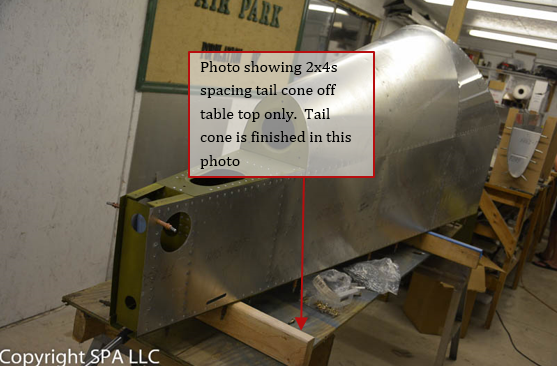
NOTE: If on table top use 2x4 boards as shown below to space the clecos off table. Verify table or saw horse top are still in same plane.
2. Cleco P-F-TC-aft deck (P6407) into P-F-TC-bulkhead 3, and 4
3. Cleco P-F-TC-former 4 (P6307) to aft deck
4. Fit P-F-TC-former 2, R/L (P6303, P6304) and 3 (P6305, P6306) in place as shown on Plans sheet P-F-upper TC.
Note: The bottom end of formers 2 and 3 slip between side and top of bulkhead 1 and 2. At top of former 2/3 the right side overlaps on the front of left side. See plans
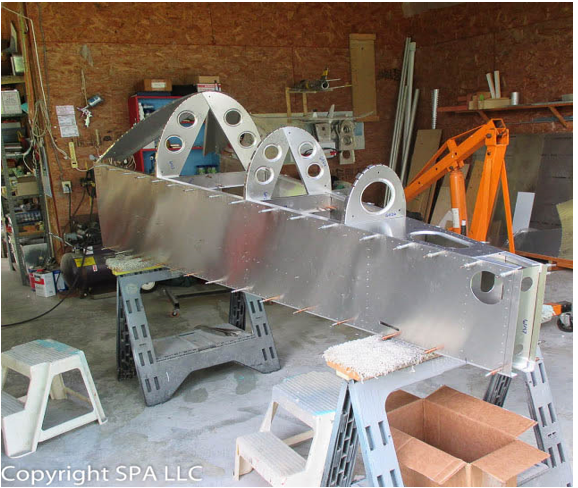
5.Lay a long straight edge or use a second person and a string across formers 2, 3, and 4 and verify the flanges are bent properly. Do this at several locations on side and top of the formers. Adjust (bend slightly) flanges if needed so the skins will lay nicely across the formers.
6.Remove clecos in upper longeron between former 2 and former 4
7.Starting at one side slide P-F-TC top skin (P6403) in between the TC side skin and the upper longeron, and cleco skin into lowest hole of former 2, 3 and 4.
8.Carefully work up and over clecoing the top skin into formers 2, 3, and 4.
9.An extra person is helpful in moving bulkheads forward and aft to align holes.
10.When nearing the second side, tuck the top skin between the longeron and side skin the same as the first side.
Note: The top skin will set the spacing of the R/L former halves for a good fit.
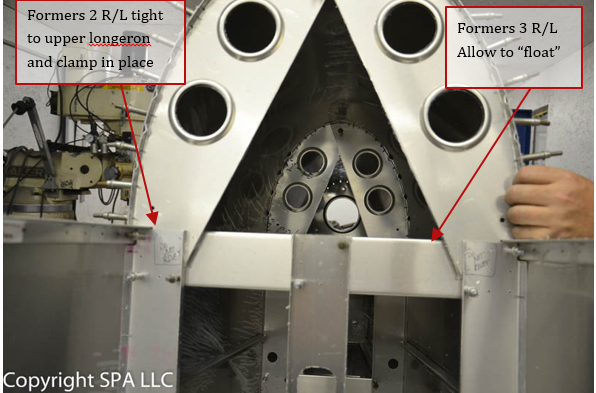
11. Push the skin/former assembly down and front so formers 2 R/L fit tight against the upper longeron and clamp with small C clamps. Allow former 3 R/L to “float” at the top longeron so it will seek its own position for a nice fit.
Note: If former 2 R/L cannot be made to touch the top longerons verify clearance of former 3 R/L at upper longeron. Trim formers 3 R/L slightly if needed
12.Verify that tail cone is not twisted (table or saw horse tops in same plane)
13.Drill and cleco former 2 R/L to bulkhead 1
14.Starting at aft end (at former 4) push former 4 down gently and drill #40 through side skin, into top skin and cleco through to longeron. Repeat on second side.
15.Continue forward drilling through side skin into top skin and cleco-ing as you go.
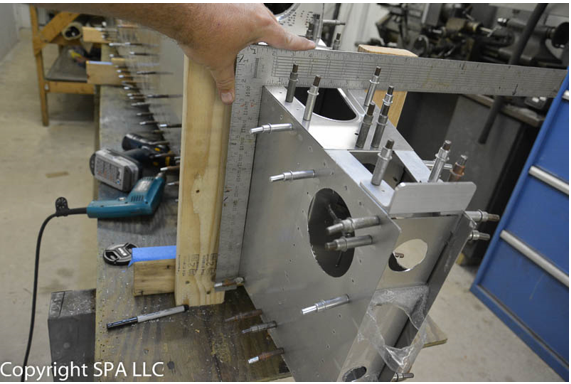
16.Verify the aft end of the tailcone is square as shown below
17.Drill aft deck (p6407) to longerons #40, and cleco to longerons
18.Rotate TC onto side using saw horses or table with 2x4s as show and un-cleco bottom skin as shown.
Note: Verify table top and 2x4s or saw horse tops still in same plane to prevent tail cone twist.
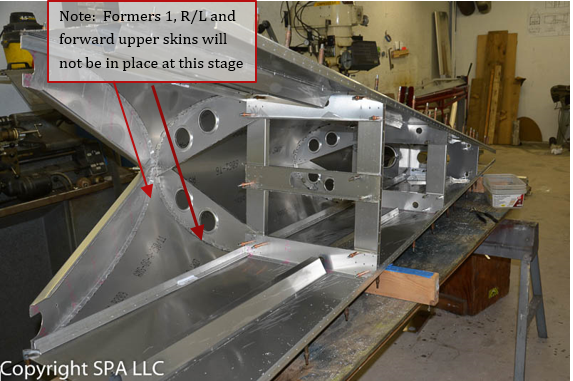
19. Drill former 3 R/L into bulkhead 2 #, allowing the skin to position them vertically (do not force down tight to top longeron if a small gap is found) and cleco
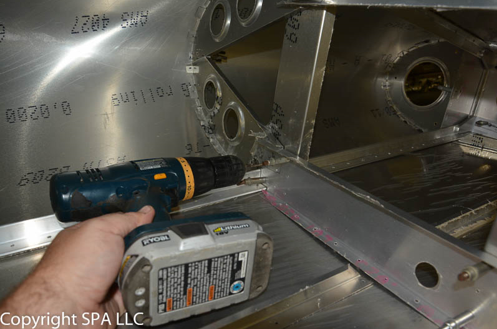
20.Drill the top end of former 2 R/L and 3 R/L where they overlap.
Note: Early Kits have the holes for lap joint on the right hand former. This is lapped behind the left which makes drilling difficult. We suggest drilling the lowermost hole and clecoing , then drill the remainder of holes with the TC top skin remover but the formers still clecoed to the bulk heads. Later kits have the lap joint holes on left hand side for easier drilling.
21. You can up drill the top skin and formers 3 R/L and 4 to #30, and the side skin along the top skin
Note: Do not updrill forward of the top of top skin or at former 2 R/L at this time
