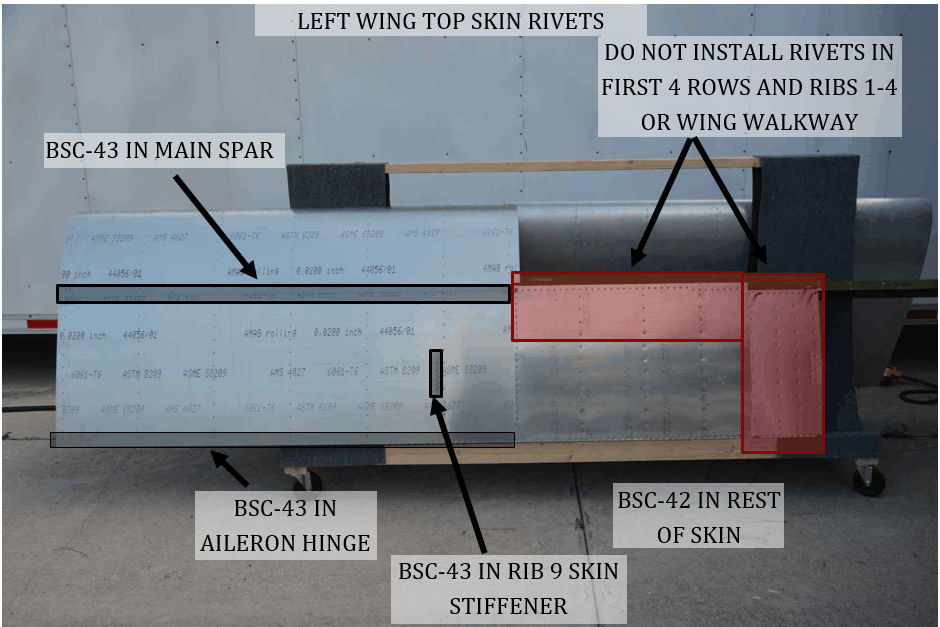
Note - the wing walk does not get installed/riveted at this time.
1. Updrill all holes to #30
2. Remove skins deburr all holes.
3. Dimple all holes in skin, ribs, and rear spar if using flush rivets. Carefully countersink main spar to fit dimples in skin.
4. Install rear spar attach fitting (Section 1.4.4 step 1), rib 1 brackets (Section 1.4.5.1 step 13) and rib 9 brackets (Section 1.4.5.3 Step 5) if removed to facilitate dimpling.
NOTE: Make sure that any pitot system tubing or wiring that you might want to install is in place before riveting skins in place.
5. Place skins back on frame, and cleco in position.
6. Locate left wing walkway doubler under top left skin and up-drill holes
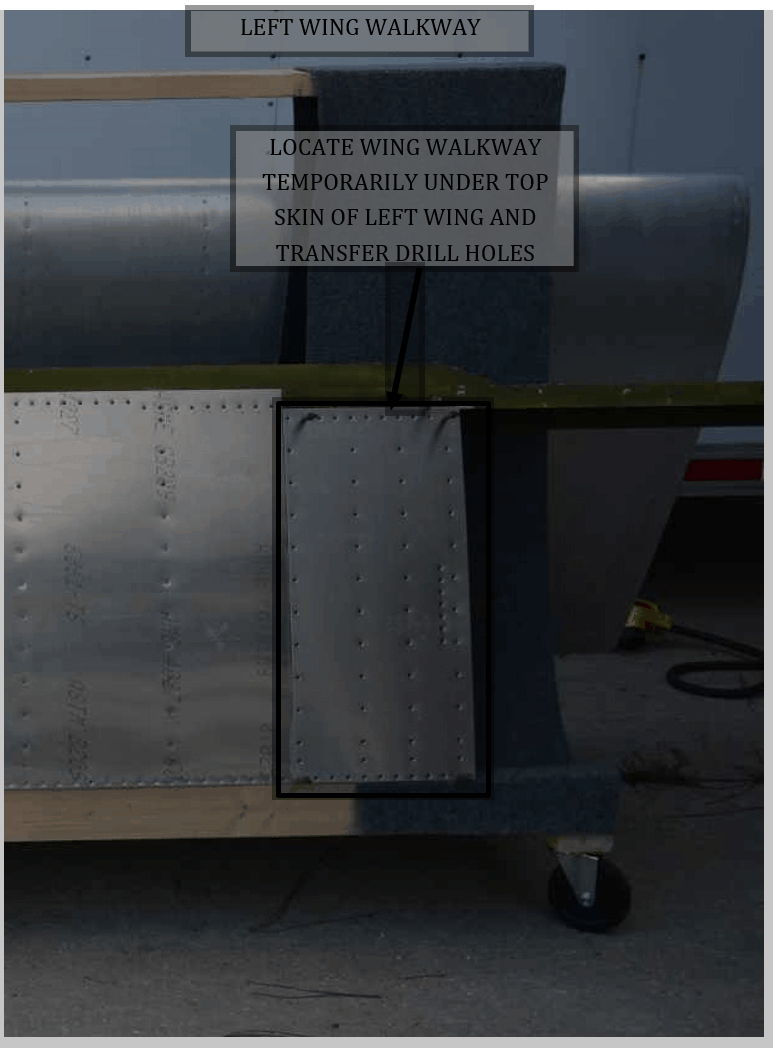
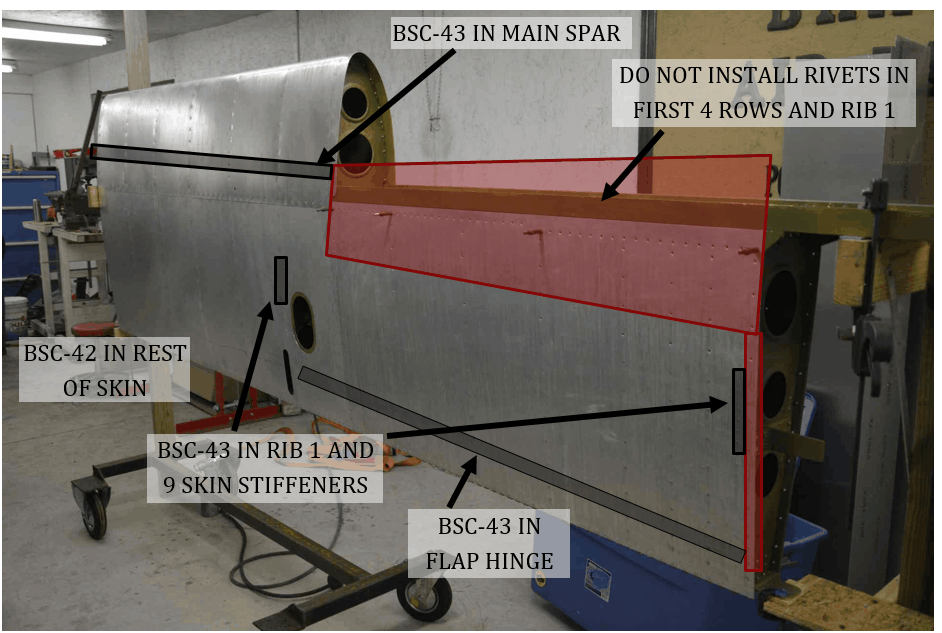
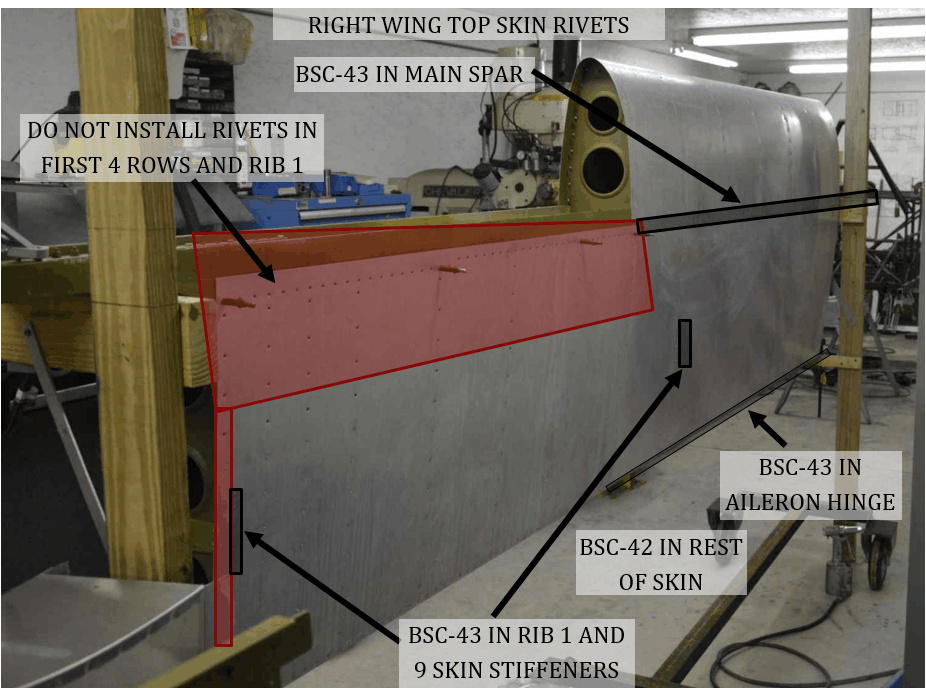
7. Install rivets through skins into ribs using rivets called out in the following pictures. Do not install rivets in first 4 rows of inboard skin until fuel tanks have been fitted and installed. Rivets in Rib 1 should also be left out until wing fillet strips have been fitted and installed. On the left wing, the upper skin also has a walkway doubler , that is not installed until the wing has been fitted to the fuselage
Right Wing Bottom Skin Rivets