See full manufacturers specs here: 3M 5200 Tech Specs for temperature conditions and tips.
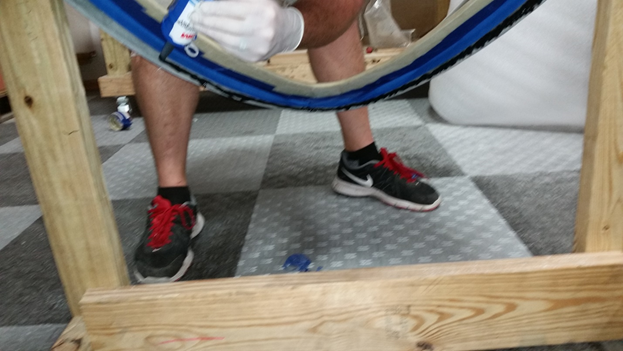
We have found that you need to smear both surfaces with the adhesive to eliminate voids between the two surfaces. We recommend starting with the rear ¼ panel of the canopy bubble and skirt. Fitting the canopy bubble into the skirt, and then applying adhesive to the sides (bubble and skirt), and finally the front of the canopy bubble and skirt.
1.Remove the canopy bubble from the canopy skirt.
2.Insert your 5200 cartridge into your caulk gun and snip off the tip so you have about a ¼” opening in the tip. Pre-load the gun.
3.Run a bead on the back ¼ panel of the canopy skirt. Spread the adhesive using a Popsicle stick.

4.Run a bead along the corresponding back ¼ panel of the canopy bubble and spread evenly with a Popsicle stick.
5.Using an extra set of hands squeeze the sides of the canopy bubble and insert the rear of the bubble into the canopy skirt. Get it lined up and insert the rear cleco into place.
6.Now it is time to do the sides. Starting on one side gently pull back and run a bead of adhesive on the canopy bubble and the skirt. Use a Popsicle stick or acid brush to spread evenly. Insert the rear side cleco.
7.Repeat on other side.
8.Now do the same adhesive procedure on the front of the canopy, making sure to smear on both the bubble and skirt. Insert front side clecos and finally front center cleco.
9.Using popsicle sticks run along the inside of the canopy bubble and skirt, where they mate, and remove any excess adhesive that oozed out, creating a cove type seal along the way.
10.Turn the fixture on its side to repeat last step on the sides, back and front of the canopy
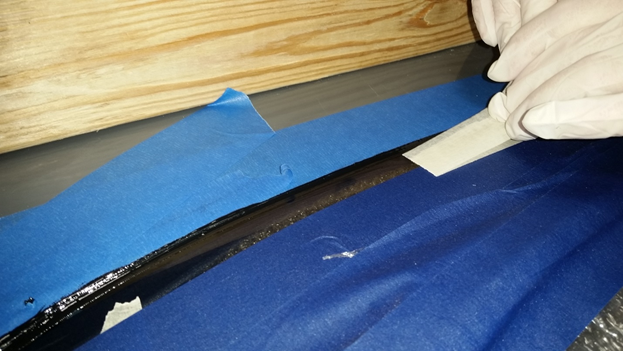
11.Once you are satisfied you have coved all areas then it is time to remove your tape for that crisp, clean look. DON’T let the tape sit, as it will be harder to remove the longer it is there!
12.Gently pull tape back on itself on inside of the canopy skirt. Then repeat for canopy bubble on the inside
13.Gently pull tape back on itself on outside of canopy bubble, then on the canopy skirt.
14.Clean up any erroneous adhesive with a clean rag and rubbing alcohol.

15.Use spreader bar if needed to gently press canopy sides out for a tighter seal.
16.If using the slow curing 5200 adhesive you will need to leave the canopy in the fixture for a minimum of 72 hours.
17.Recheck for any touchup areas after 24 hours as adhesive may pull back from some areas as it cures.
