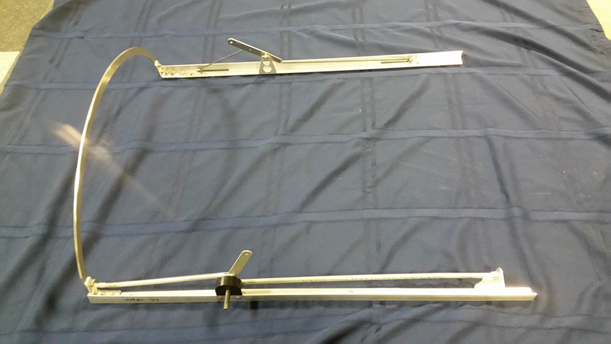
The canopy frame assembly drawing should be used along with this builder’s manual to assemble the canopy frame.
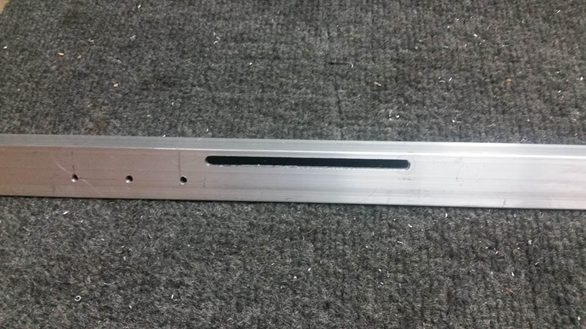
1.Mark the P8503 canopy sides left and right, then layout and drill all holes per plans sheet P-F-canopy details. If you are installing the quick release canopy layout and cut slots in the bottom of the right side angle. Drilling a series of holes and cutting between with a reciprocal saw and a thin blade works well. Finish with a small flat and round file.
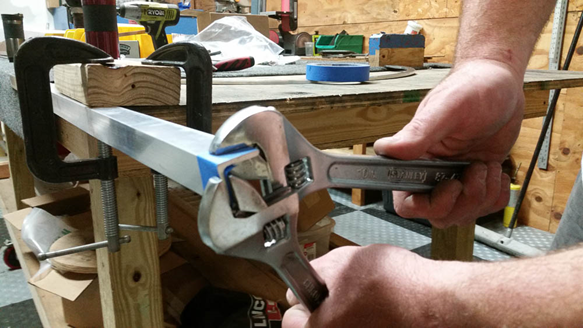
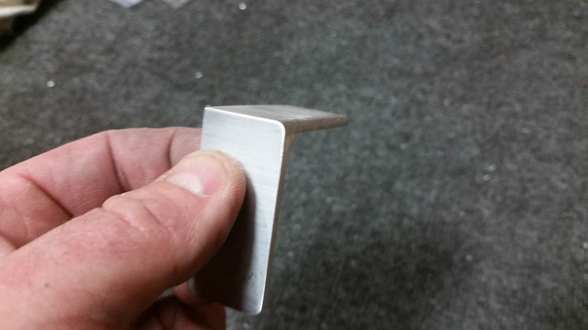
2.Twist the left and right sides approximately 8.5° as show on plans sheet P-F-canopy details. You can also clamp these in a vise. Protect the ends with masking tape. Be sure to twist them the correct direction.
Note: you will likely need to twist this slightly more when fitting the canopy skirt so that the aft portion lays nicely against the skirt)
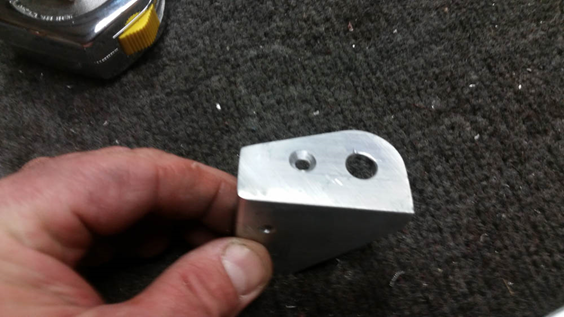
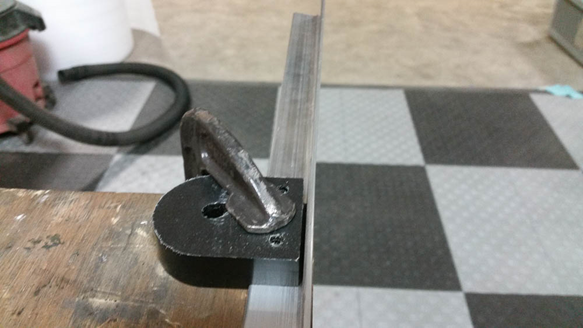
3.Deburr the P-4505s and bevel the outside bottom of each to clear the fillet in corner of the P8503 (see photo). Make a left and right.
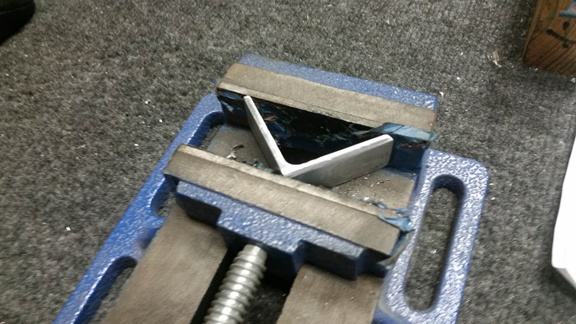
4.“Open” the angle of the P4505 as shown so the match the angle shown on plans sheet P-F-canopy details side view. A small vise makes this easy. See photo
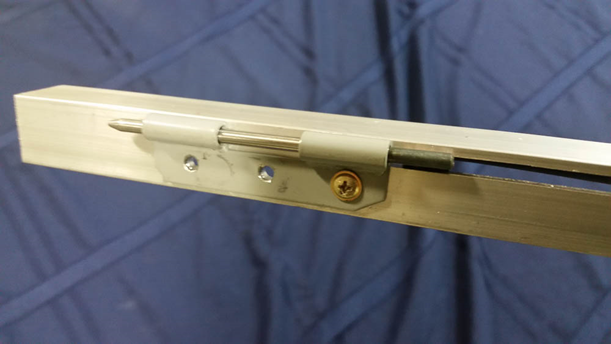
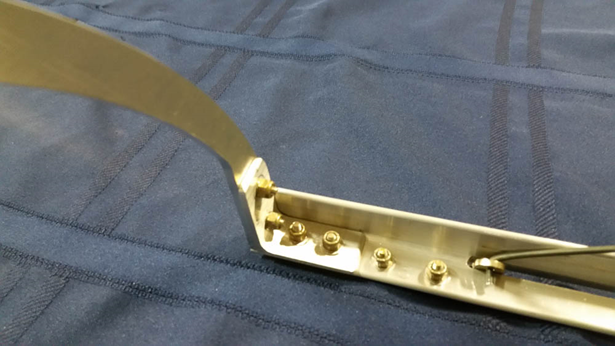
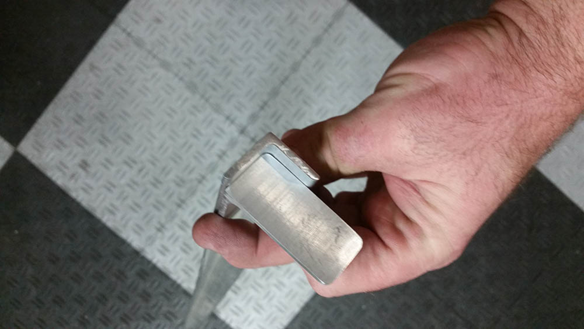
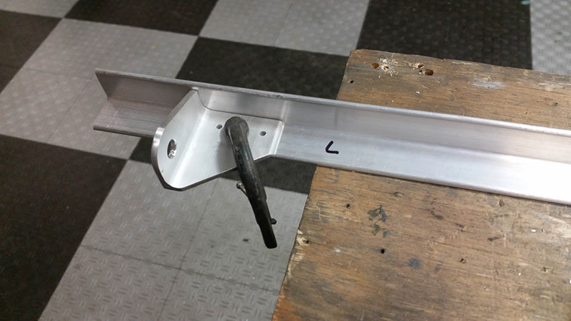
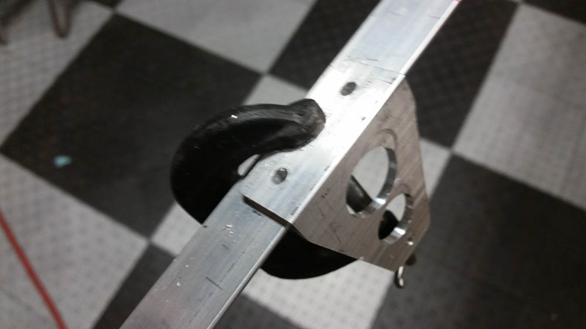
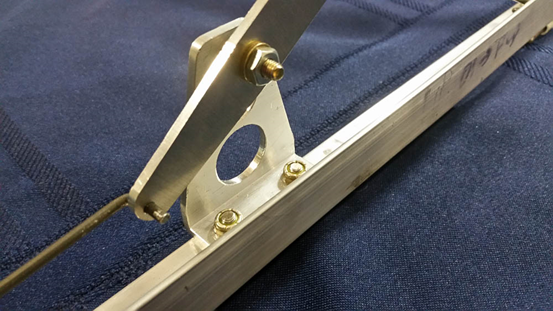
5.Deburr the P8502 and bevel per above to fit the left side angle. Drill a 3/16 hole for the latch spring per picture and counter sink so the spring mount will sit flush with aft side (see photos)
6.Make a temporary space from 1/8 thick aluminum (you should have some left over from the P8512 rudder stop plate stock)
7.On left side Clamp P8502 in place with temporary spacer as shown and drill #30
8.Clamp P8906 in place and drill to 3/16
9.Clamp the P4505 in place and drill # 30
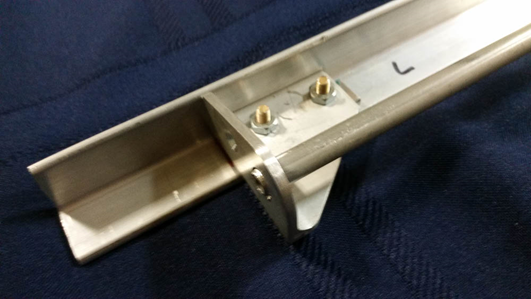
10.On right angle clamp the P8505 quick release mount in place and drill #30. We clamp it onto the bottom side and drill through holes in P8505, then move to proper side.
11.Clamp the P4505 in place and drill #30
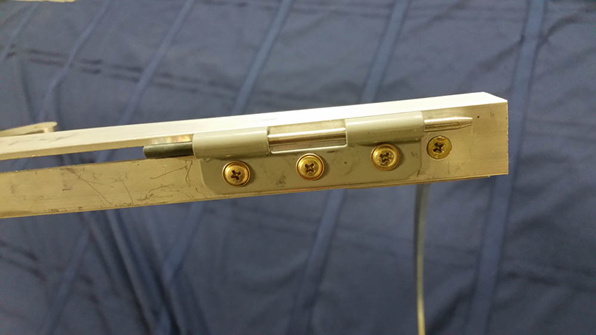
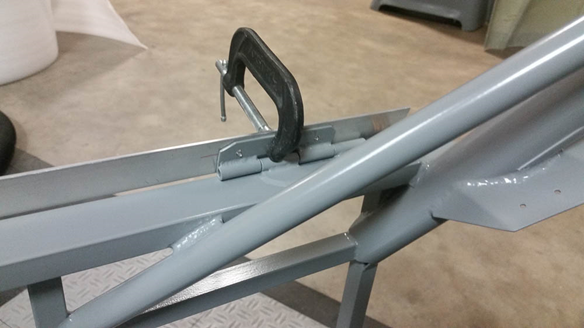
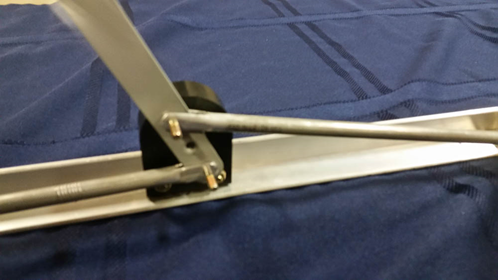
12.Clamp the front hinge in place and drill per plans with the outer edge of hinge 1/32 inside the outer edge of the angle and drill # 30
13.Clamp the aft hinge in place plans with the outer edge of hinge 1/32 inside the outer edge of the angle
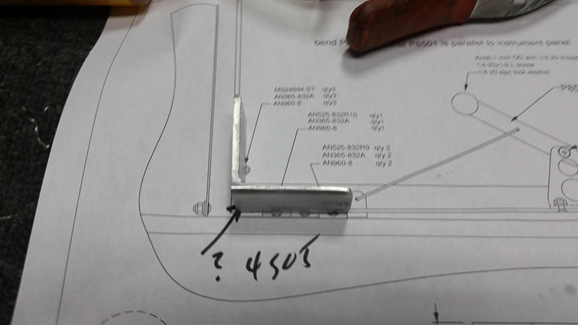
14.. Verify the fit on the fuse hinges per photo to ensure fit. Drill #30
15.Clamp the left and right rail angle on your bench with outside 28 inch’s apart and “square” to each other.
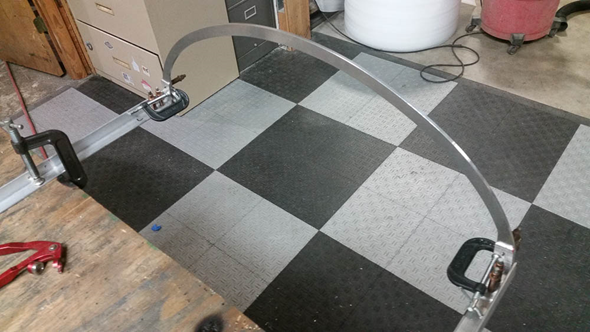
16.Fit and drill the P-F-canopy bow as show and drill to the P4505 #30. Be sure the latch “lug” is on the left side
17.Up drill all holes, deburr and counter sink as needed for proper fasteners per Plans sheet P-F-canopy details.
18.reassemble with fasteners per Plans sheet P-F-canopy details, we recommend using standard “hardware store” 8-32 and 10-32 nuts so you can easily disassemble the frame to paint after it is finished. If you are using the quick release option make sure to install the P8609 Canopy Hinge Pins with the “lugs” in the slots before attaching hinges
19.Fabricate the canopy latch pins per Plans Sheet P-F-canopy detail.
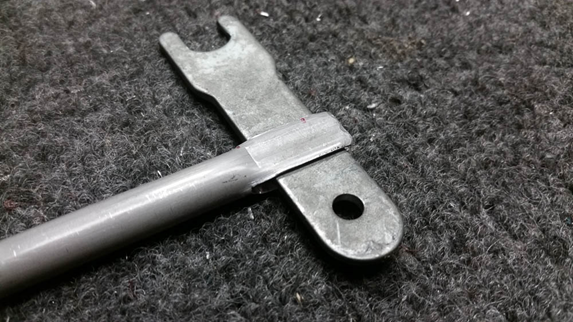
20.Install the P8902 inner latch handle and spacer into the P8906 canopy handle pivot block. You may need to ream the hole in the P8906 so the handle pivots freely.
21.Slide the Latch pins into the P8501 and P8502. Ream / chamfer the holes so the latch pins slide freely but are not excessively loose.
22.Attach the latch pins to the handle with temporary hardware.
23.Pull the handle in to extreme aft position so the handle engages the end of the “forks” of the pins and cannot move further aft. This will prevent the pins from “dropping” out of the P8501 and P8502 once trimmed when retracted.
24.Mark the pins 1/32” outside of the P8501 and P8502, remove from the handle and trim/shape the ends per plans, then reinstall pins
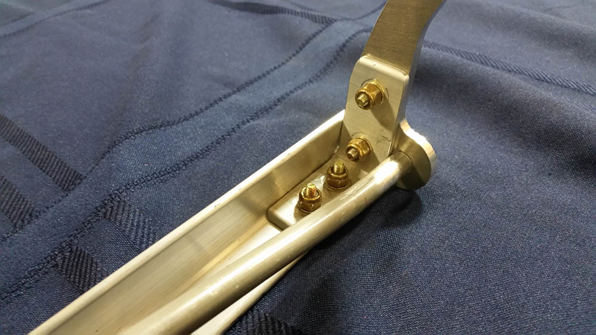
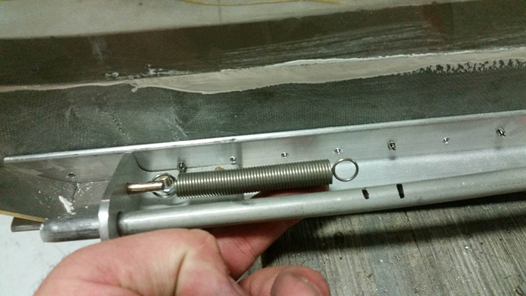
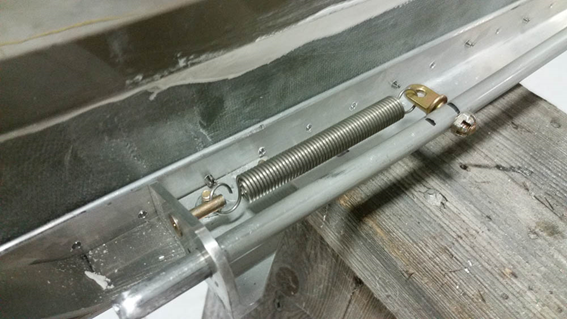
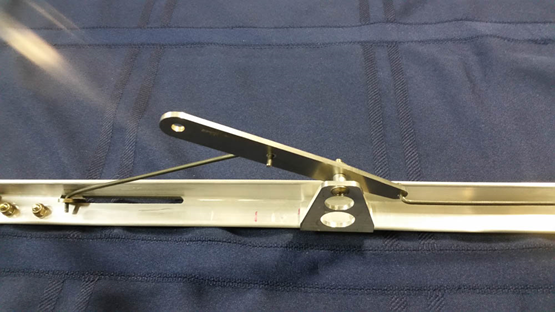
25.Make the Spring mount per plans from the MS24694-S61 and install along with the spring (Mc master Carr# 94135K26).With the release handle in the extreme forward (fully latched ) position, and the spring per photo mark the hole for the AN42B-5 eye bolt . The AN42B-5 eye bolts should be positioned so the spring is stretched approx. ½ when installed.
26.Install the P8506 quick release handle as shown on plan sheet. You may need to slightly grind off the tip of the Ms24694-S50 screws the mount the P8505 the lower tip of the Handel can swing past them.
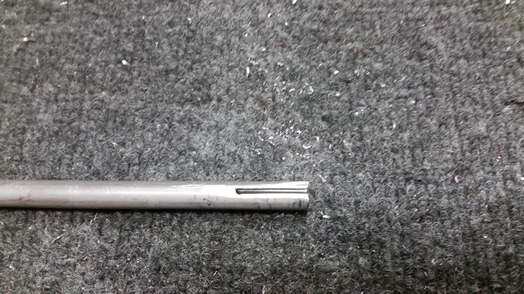
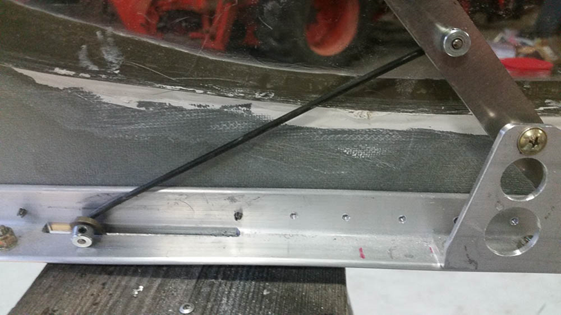
27.Bend the music wire quick release rods per photos. Twist as needed so the fit well and the pins move freely when the handle is operated.( the lever should pull the pins out easily, but you may need to push the pins back forward by hand when install the canopy)
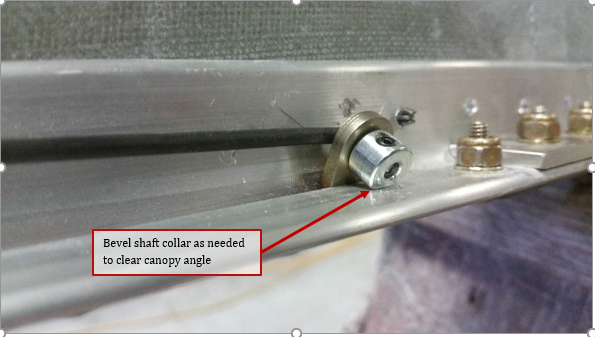
28.Install the shaft collars (McMaster Carr #6432K17) per photos ,you may need to grind the edge of shaft collars as shown below to clear canopy rail
Below are a few additional photos for reference