
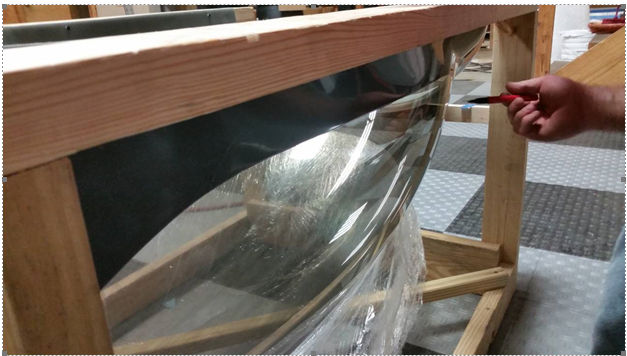
1.Now try fitting the bubble inside the skirt. With two people, one at the rear of the canopy bubble and one at the front, flip the bubble inverted. Squeeze the sides in to clear the sheet rock screws and guide the tail end of the canopy bubble between the lip of the skirt and the rear bulkhead bow.
NOTE: Place something soft below the canopy bubble in case it pops through – you don’t want to scratch the bottom. Or you can tape bubble wrap to the top.
2.You will very likely need to trim more of several places to get the bubble to fit. Typically the sides where the bubble starts to curve upward will need a little more trimming. To avoid over trimming and ruining the bubble, trim a little at a time and then test fit. Continue fitting and trimming unlit the canopy fits inside skirt and has Approx. 1 inch or more edge overlap at all points.
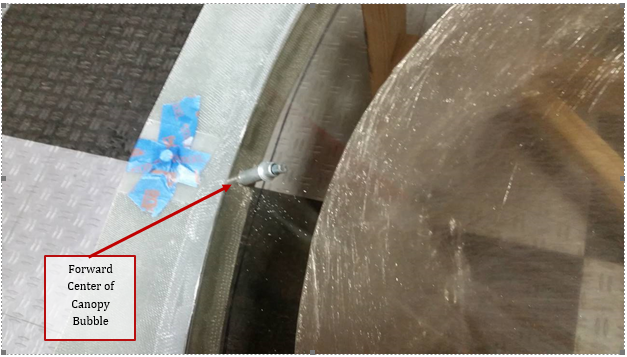
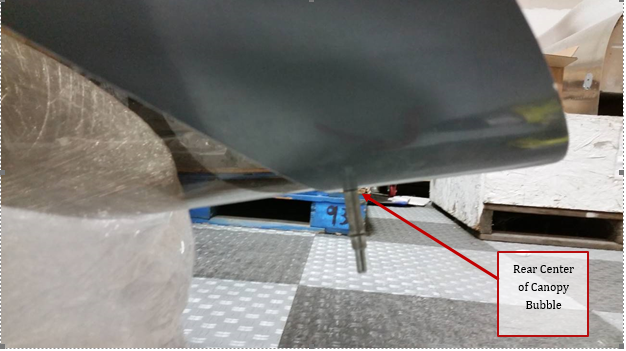
3.On canopy skirt mark the centerline at front and rear, then mark for a hole 3/8-1/2 inch (9.6-12.8mm) from the inside edge.
4.With a second person holding the bubble in position at the front and rear (the sides will be pulled in some) drill and cleco #40 at the aft, then front mark. Use care not to “distort” or flex the skirt out of shape.
5.Hold bubble tight against the frame at each side and verify fit. Remove bubble and trim if needed.
Note: some scraps of 1x2 wood (or similar) cut the length to act as “spreaders” to hold bubble against frame can help while verifying fit and drilling
6. Mark the bubble on the outside along the edge of the skirt.
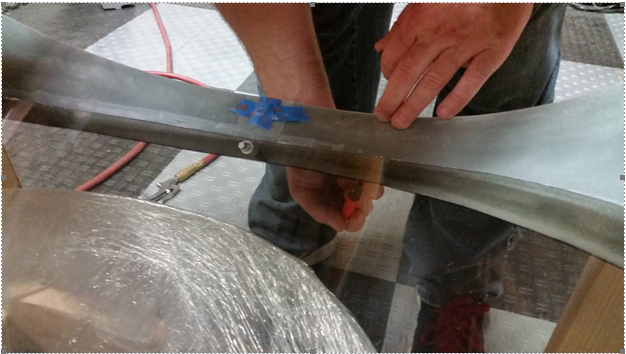
7. Remove the canopy and use the “skirt line” from step 6 to mark a new line for an even ¾” (19.2) overlap on the skirt. We use ¾ inch wide tape at the “skirt line” to mark edge
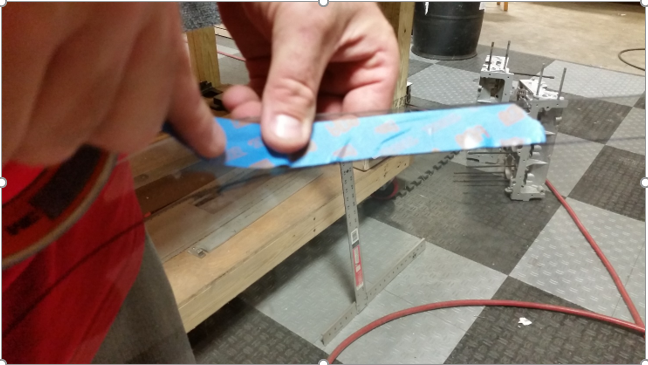
Trim the canopy and smooth the edge to 220 grit or finer finish the edge.
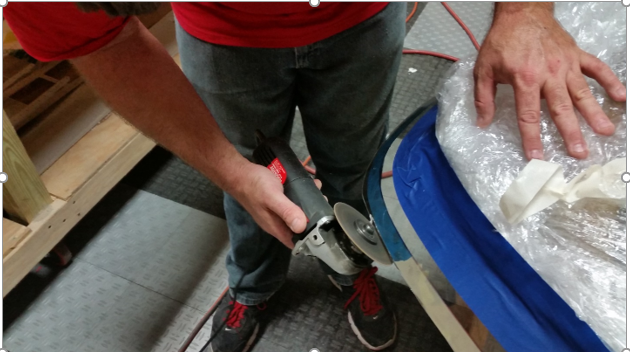
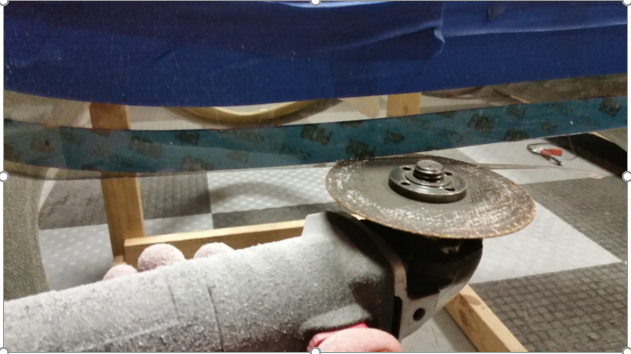
8. Sand the edge of the bubble with progressively finer sandpaper ending with 320-400 grit. This will help eliminate stress risers and possibly cracks.
9. Reinstall the bubble to skirt with clecos .Trial fit the skirt/canopy onto the airframe to verify fit before proceeding with bonding or more clecos. If any objectionable gaps are present around the front you can remove the cleco and try adjusting the position of skirt so the gaps is removed. If not you can correct any gaps later during finishing.
