
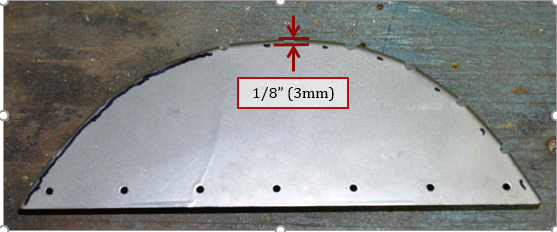
1. Mark around cheek former inboard approximately 1/8” around curved edge.
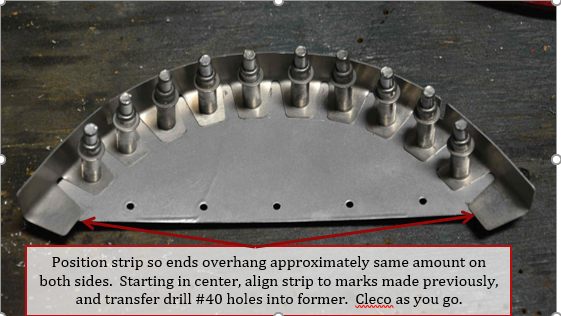
2. Align strip on marks drawn in previous step. Center the strip so there is approximately the same overhang on both ends. Starting at the center start drilling #40 holes, cleco strip in position as you go.
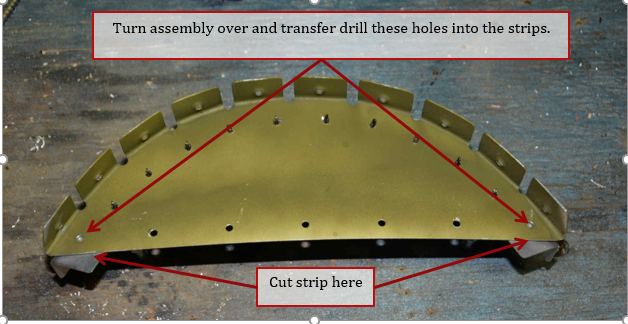
3. Turn assembly over and transfer drill last 2 holes from former into strips.
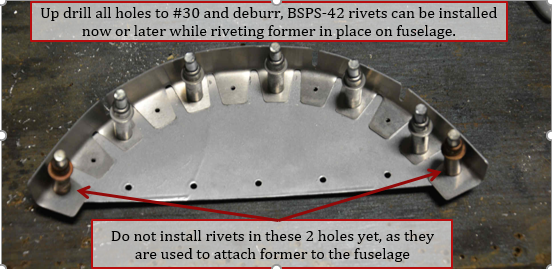
4. Up drill holes to #30 and deburr. Ends of strip can be cut off now. Rivets can be installed now or when installing former on the airframe. Note: the last 2 holes not only attach strip to former but also the former to the airframe, do not install these rivets yet.
5. Cleco assembly and cheek skin in place.
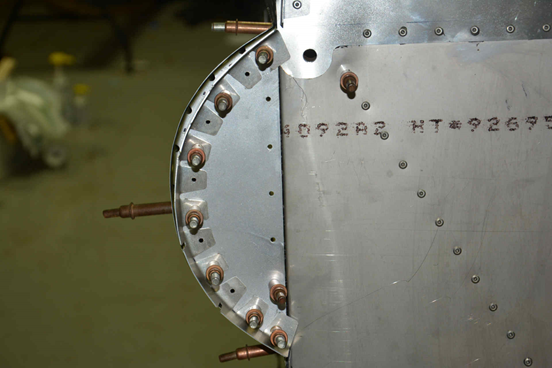
6. Using a straight edge along cheek, bend flanges of strip to be parallel to the straight edge all the way around the cheek former.
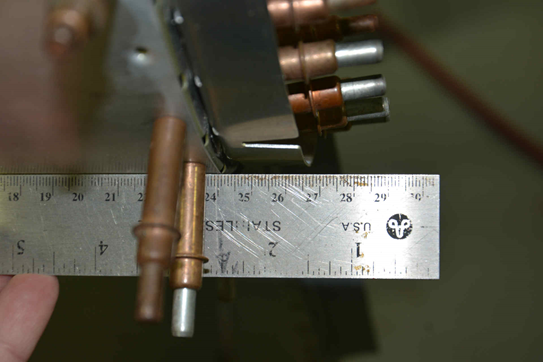
7. The former can be riveted in place using BSPS-42 rivets.
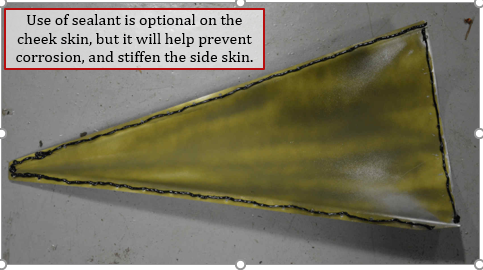
8. The cheek skin can now be installed on the aircraft. Note: I used more of the sealant between the cheek skin and the aircraft skin, while not required, it will help prevent corrosion in this area, and stiffen the side skin.
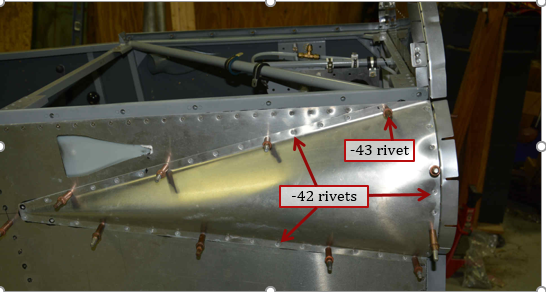
9. Rivet cheek skin in place using -42 length rivets either flush or protruding head. Note: the top most hole on the cheek also lines up with the upper fuselage tube, a -43 rivet is preferred here.
8. Repeat for the left hand side.
