
NOTE: it is recommended not to install firewall and side skins until you have the canopy fitted and most of your avionics and wiring in place.
NOTE: the sealant Aero life single component poly-protech sealant ACS# 09-02544 used to attach the skins to the fuselage along with the rivets is recommended, but optional. It helps minimize corrosion issues, and acts as an adhesive and increases the strength of the bond between the fuselage and skin.
NOTE: a shim might be required under the lower center engine mount bolt hole. Most likely this will be 0.032” thick, but could be more or less. It is easier to transfer drill the 4 holes from the firewall onto a 2”x2” x 0.032” thick 6061-T6 shim now with the firewall off.

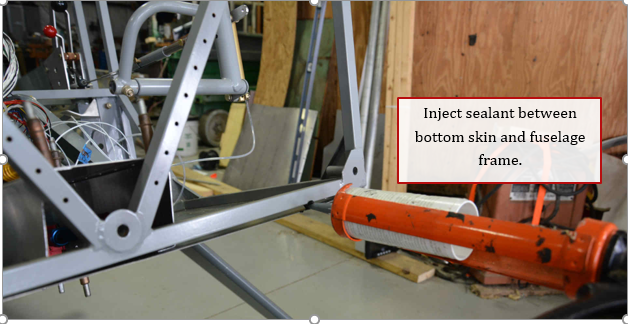
1. Inject sealant between bottom skin and bottom tube of fuselage.
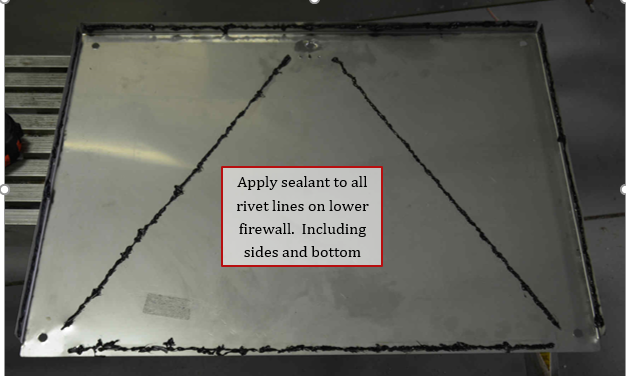
2. Apply sealant to inside of firewall on all rivet rows. (6 rows total)
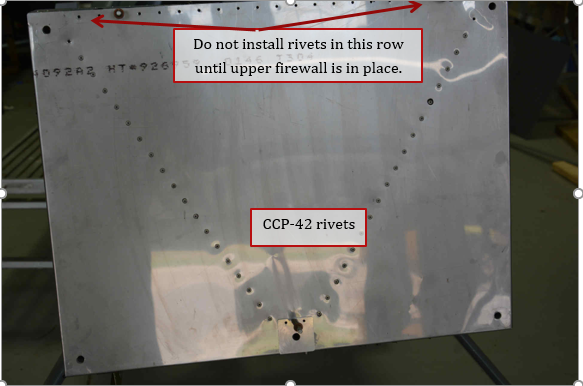
3. Cleco lower firewall in position on fuselage. Note: We left a rivet out at the top of each tube in the fuselage, but used a cleco to hold skin tight in that area. After sealant cured, we injected LPS-3 corrosion treatment in the tubes, then installed the rivet.
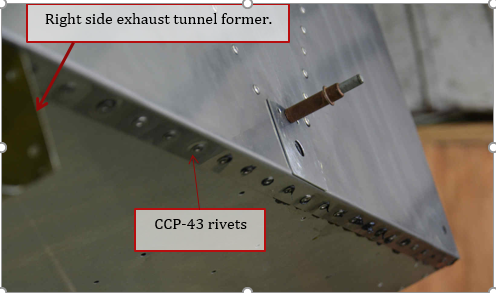
4. Rivet lower firewall to fuselage along bottom tube of fuselage using CCP-43 rivets. Position the exhaust tunnel side formers (see section 6.2.7), the forward most hole in the formers will be picked up by these rivets.
5. Apply sealant to inside lower row of rivets on the upper firewall.
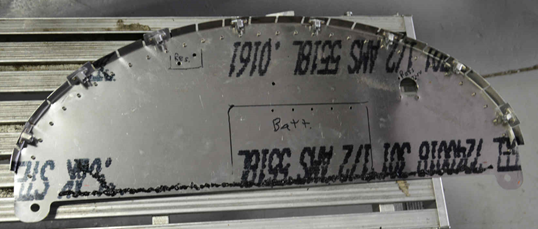
6. Rivet Upper firewall in place using CCP-43 rivets.
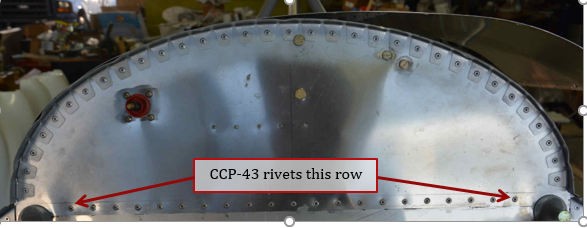
7. Apply sealant right side skin where skin is attached to steel tubes of fuselage frame.
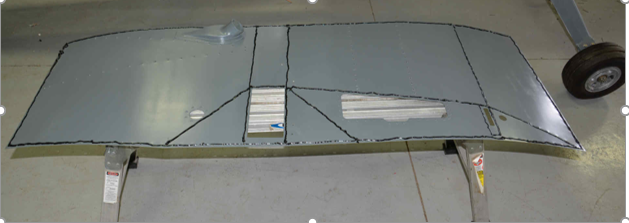
8. Apply sealant between tail cone side skin and fuselage steel tube at beginning of baggage area.
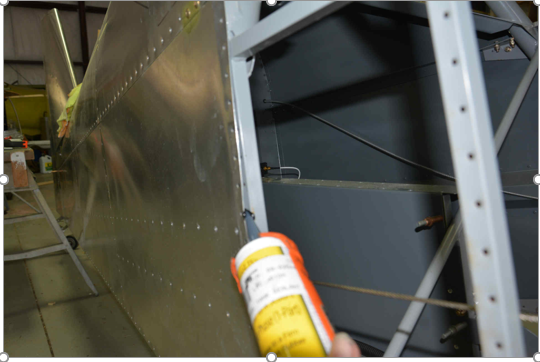
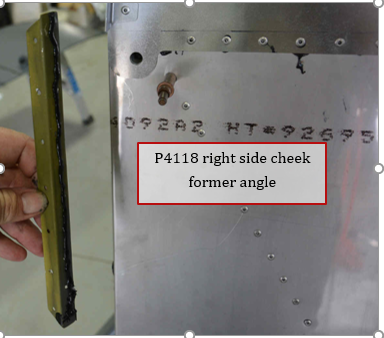
9. Apply sealant to one flange of the cheek former angle P4118 previously drilled for the right side. Sealant should be on the flange between skin and fuselage tube.
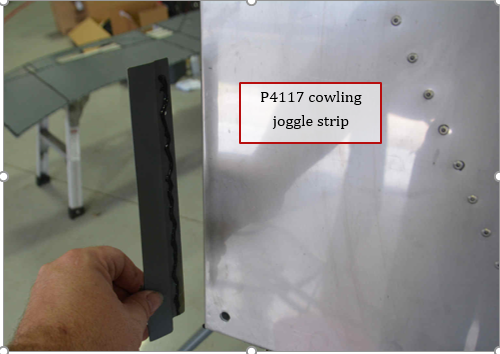
10. Apply sealant to side of the right side cowling joggle strip between strip and steel tube.
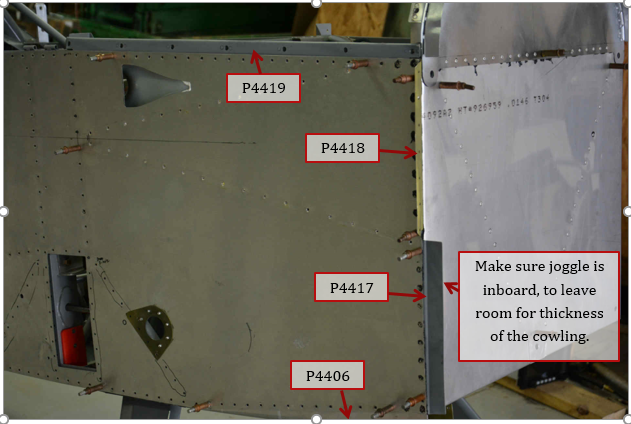
11. Apply sealant to the right upper skin flange strip P4119 and right exhaust tunnel skin P4406. Cleco side skin in place. A second set of hands comes in handy while trying to install the 5 parts at once.
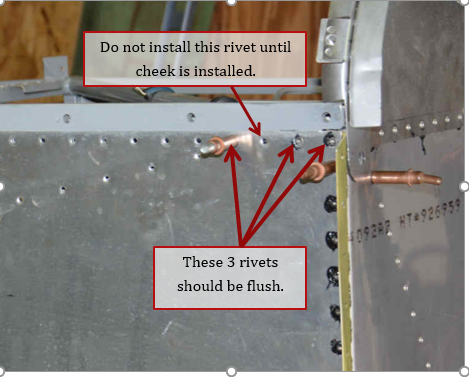
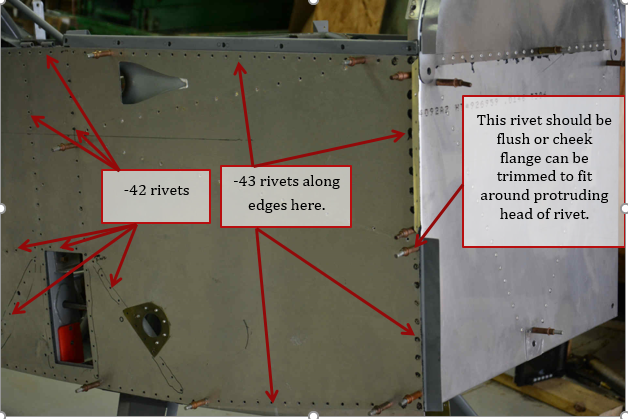
12. Install rivets -43 around the front where there are multiple layers, and -42 rivets rest of the area. Rivets can be flush or protruding everywhere except where noted. The 3 rivets at the top forward corner on each side covered by the cheeks must be flush. Do not install the one rivet that holds the cheek and skin to the tube yet.
13. Repeat for the left side skins.
