
1. Cleco exhaust tunnel former to bottom skin.
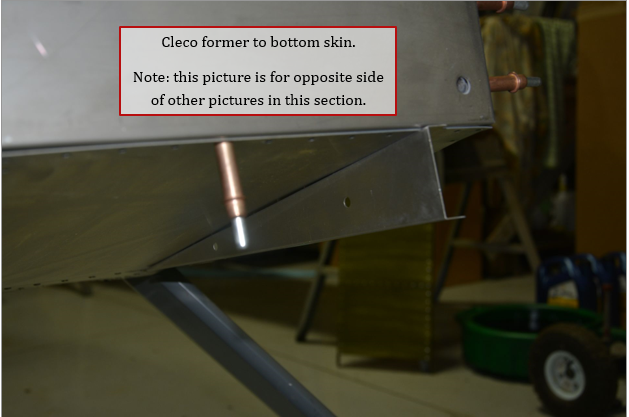
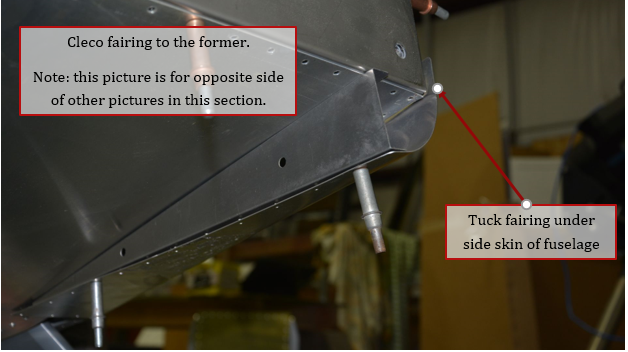
2. Cleco exhaust tunnel fairing to the former, and tuck edge of fairing under side skin of the fuselage. This will help hold the former in position while drawing line in next step.
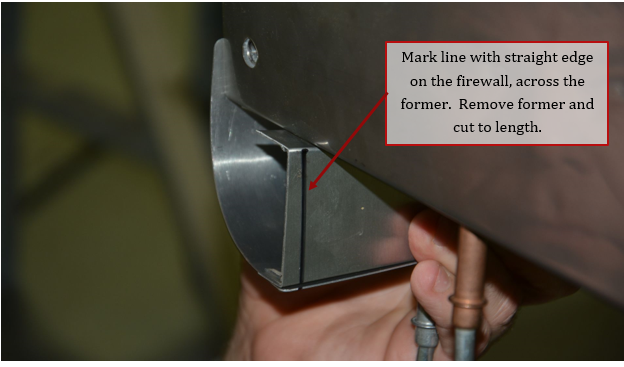
3. Using straight edge along firewall, mark front of former. Remove former and trim to length.
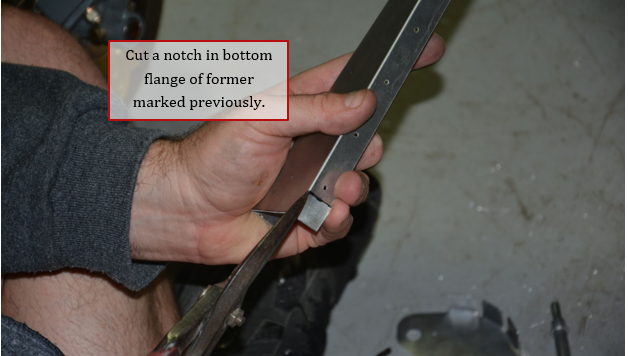
4. With former removed mark bottom flange of former using front former as a guide.
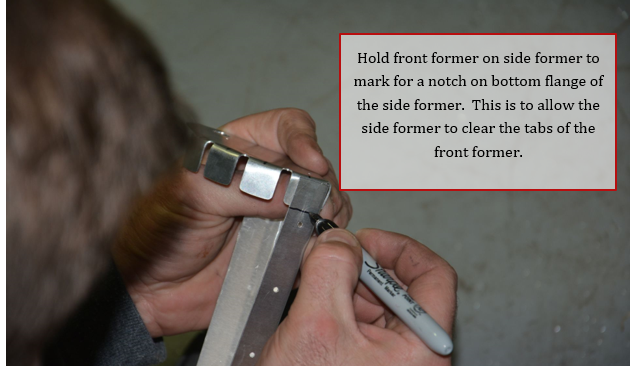
5. Cut notch in bottom flange.
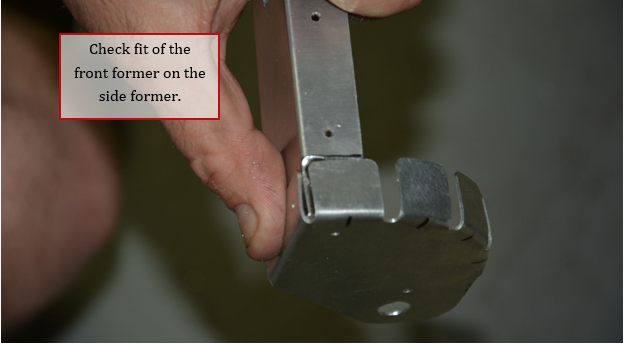
6. Check fit of front former on side former.
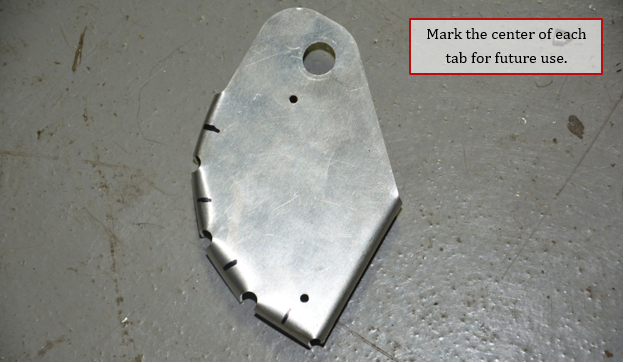
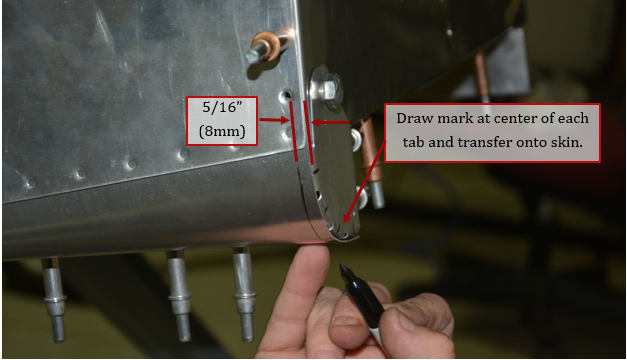
7. Draw a line on the front former of tunnel at the center of each tab.
8. With tunnel former and fairing clecoed in position. Attach front former with a temporary 3/8” bolt through lower engine mount attachment hole.
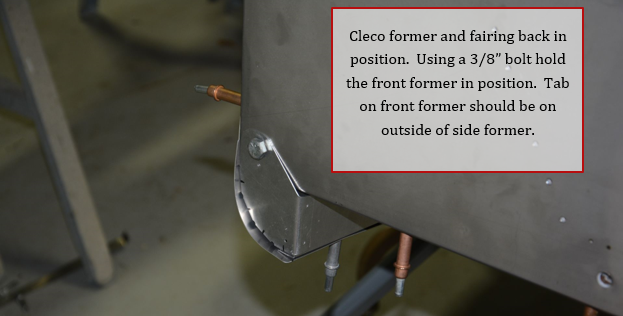
9. Draw line around perimeter of front former to mark the length of the fairing.
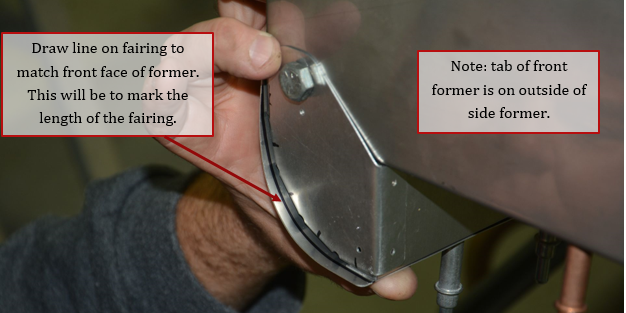
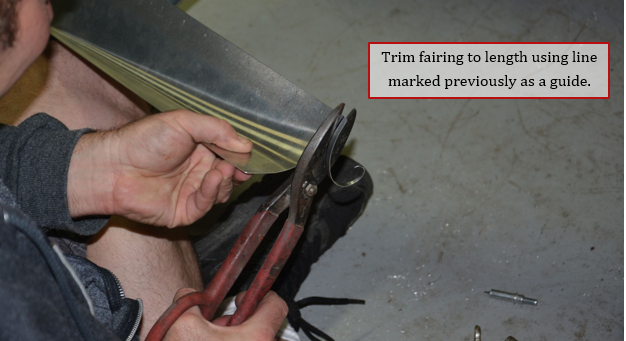
10. Remove fairing and trim to length.
11. Cleco assembly back together and on the fuselage. Position front former again using 3/8” bolt.
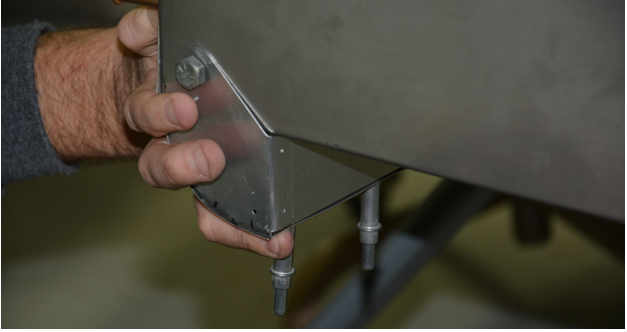
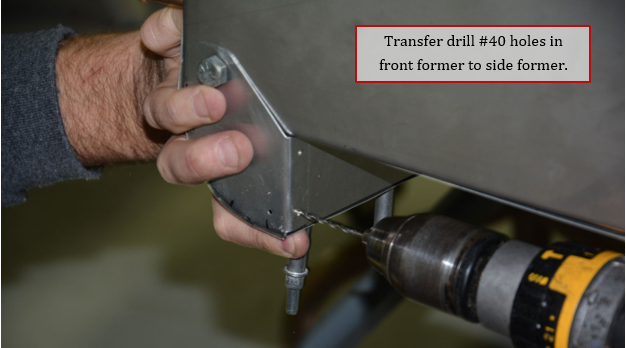
12. Transfer drill #40 holes in front former into side former.
13. Draw line 5/16” from front of fairing and extend marks on front former on to the fairing. These lines will mark the location of the holes for the rivets.
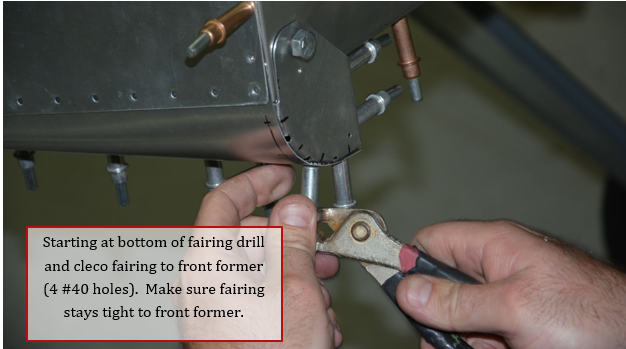
14. Starting at the bottom, drill #40 holes on previous marks through fairing and into front former. Cleco as you move up to keep fairing tight against former.
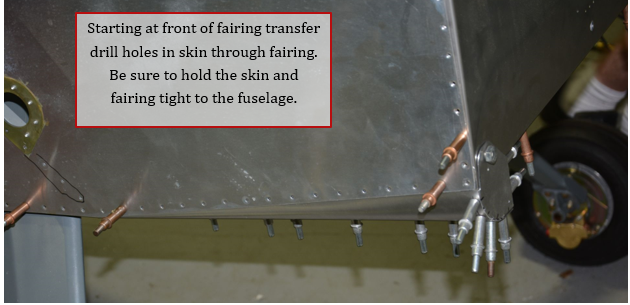
15. Transfer drill holes in skin into fairing. Make sure fairing and skin are tight against fuselage tube.
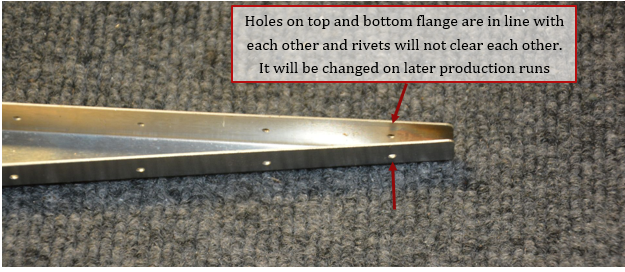
16. Early production aircraft have a exhaust tunnel side formers like this
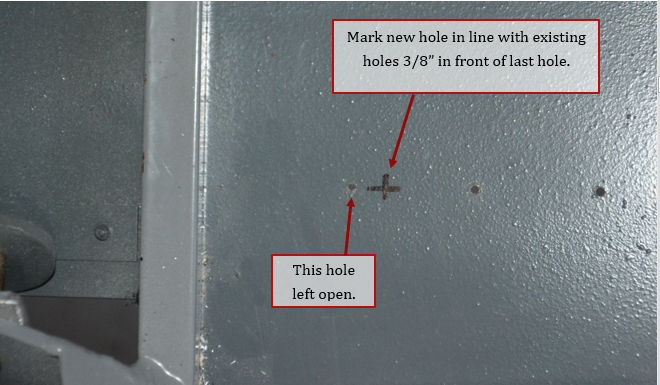
17. Inside fuselage, mark new hole 3/8” in front of last existing hole.
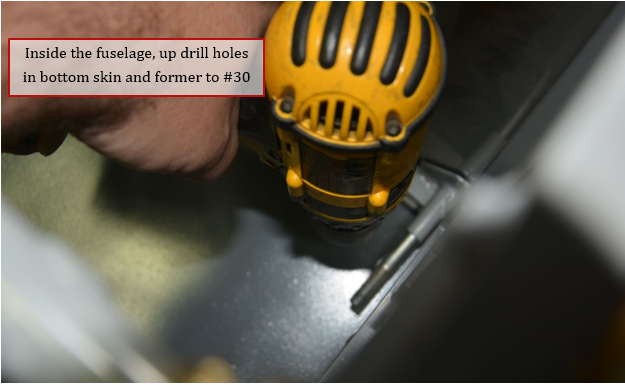
18. Inside fuselage, up drill holes through bottom skin into fuselage using #30 drill bit.
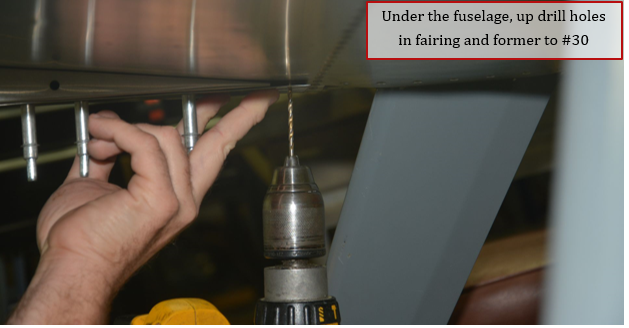
19. Using #30 drill bit up drill holes along bottom of fairing into the formers.
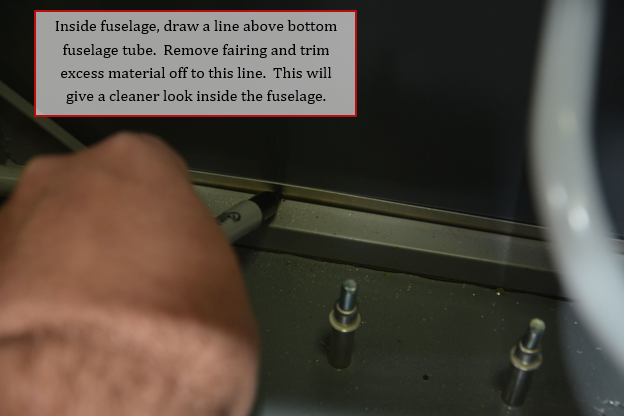
20. Inside fuselage, mark along top of the bottom fuselage tube. Remove the fairing and trim along line. This will give a cleaner look inside the fuselage.
21. Up drill any remaining holes to #30, debur and dimple as required.
22. Repeat this section for tunnel fairing on the other side.
