
1. Make sure tank is completely clean of any debris or tools etc.
2. Final clean the mating area of tank back, skin and aft rib flanges.
3. Tape the aft area of skin and on ends as shown below.
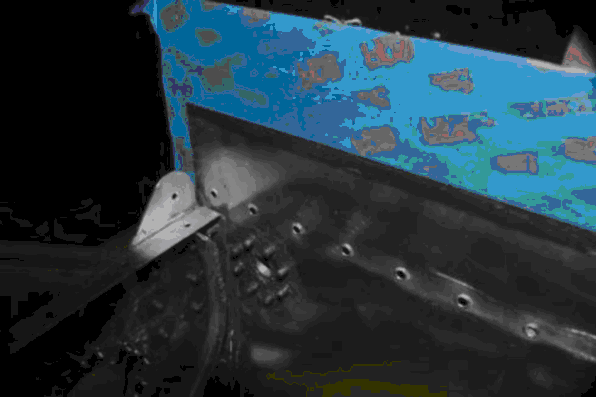
4. Tape along extreme aft edge on the inside of tank back flanges
5. You may wish to run a strip of tape down the outside of the skin along the rivet row so as you apply sealant on inside it doesn’t push through the holes and make a mess.
6. Coat the aft end of ribs with sealant, including an extra “dollop” of sealant across the area where rib meets the skin.
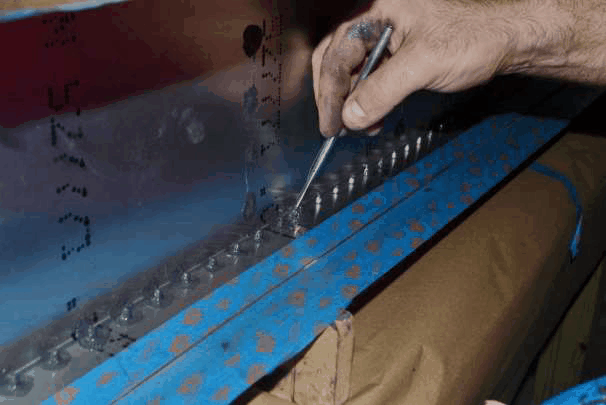
7. Coat along rivet line with a thin coat of sealant extending about 3/8” forward and 1 inch aft of rivet line.
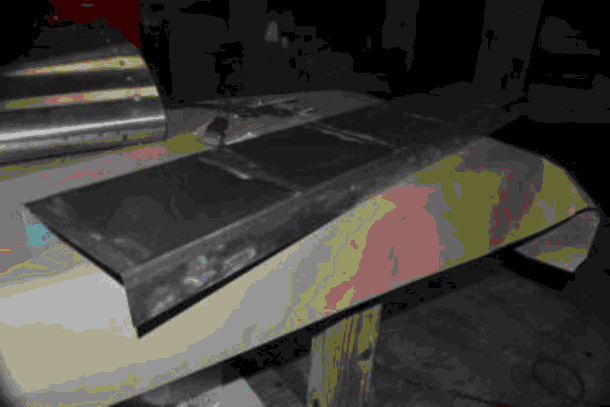
8. On Tank Back Coat ½ inch wide down the rivet rows for ribs on the and the entire top and bottom flange with thin coat of sealant. Take one last look inside and at the sealant and apply in any area needed.
Note: it is easier to remove the tank from the fixture slightly so the skin can be flexed wider while installing the tank back.
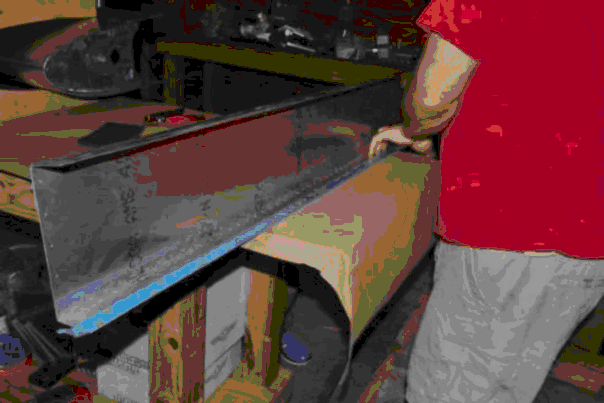
9. Slip tank back into the skin and cleco to the ribs and along skin
10. Dipping each rivet into sealant, install all rivets (“42 length” flush closed end along outside of tank at the skin and “42 length” protruding head closed end into ribs)
11. Clean off any sealant at aft end of tank back flange.
12. Coat the tails of all skin to flange rivets and the heads of tank back to rib flange rivets with sealant.
13. Clean the rivets and outside of skin with a cotton rag, and if needed some 100% acetone. Use care not use too much acetone or to remove all the sealant from around rivet head.
14. Squeeze aft end of tank skin and tank back flange together and clean up and extra sealant. “C” clamps and some scrap blocks of wood can be helpful in this step if needed.
15. Carefully remove the tape and lightly wipe the aft end of flange using care not to let sealant extend more than 1/8 inch past flange.
16. Coat the end ribs where they meet tank back. Go over tank one more time and apply sealant to any area you feel is needed.
17. REPEAT step 15
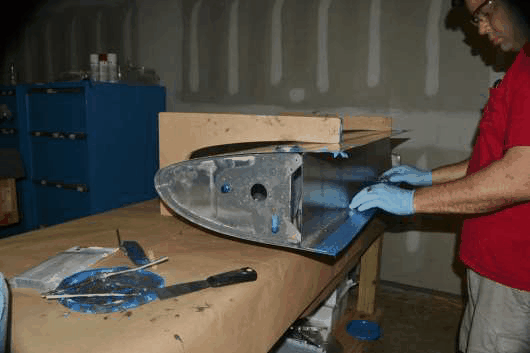
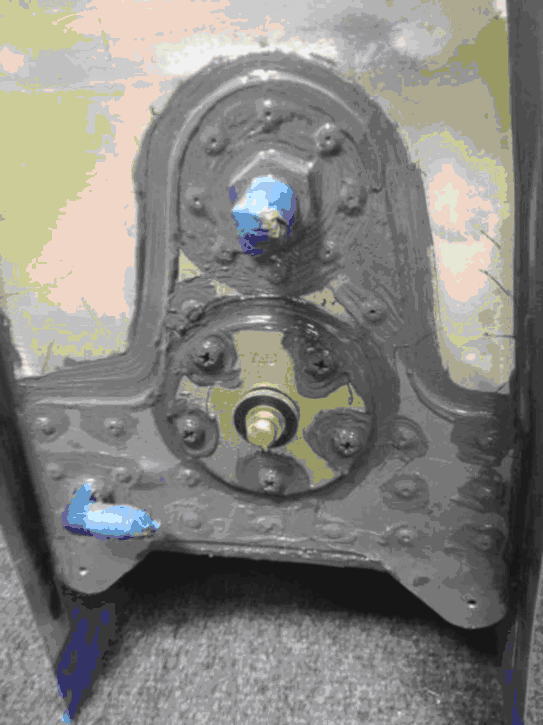
18. Install the fuel sending unit, fully coating the gaskets (if using them) with sealants. Dip each screw in sealant before installing. Coat each head screw head with sealant.
Note: We do not use Gaskets when installing senders. The choice is yours
Note: You may consider inserting a screw driver into each screw after sealant is applied to clean some sealant out of screw head. This make these screws easier to remove if sender needs servicing at a later time.
19. Now sit back and wait. Allow the tanks to fully cure before leak testing! We allow two weeks in a warm humid environment!
Note: after a few days you can use tank to mount into wing if needed so you can proceed with wing construction. Do not rivet tank to wing until fully leak checked!
