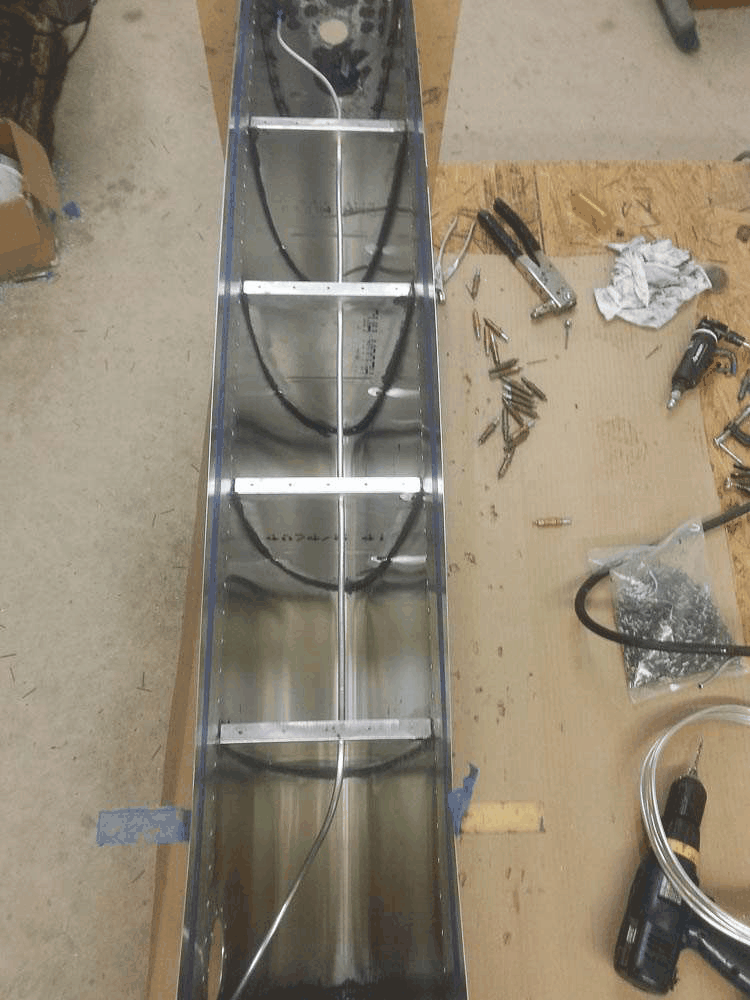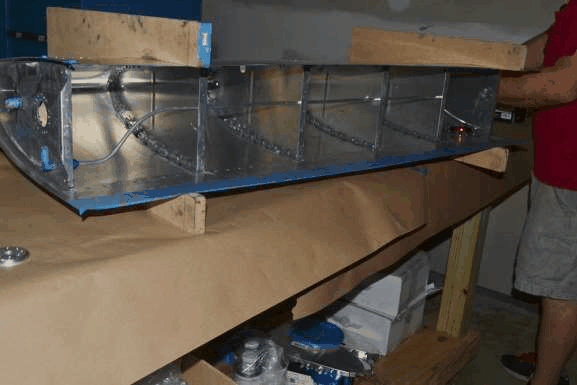
1. Install the ¼ 3003 aluminum vent tube through the tooling holes in rib 2-5 per
photo


2. Slide the AN818-4 nut and AN819-4d sleeve onto tube at vent end. Using proper flaring tool flare the end for the bulkhead fitting, bend and connect to bulkhead
fitting finger tight.
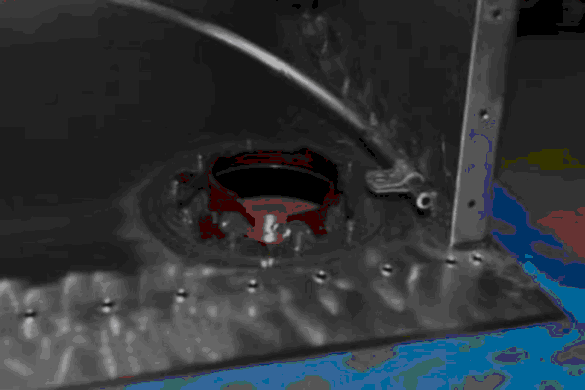
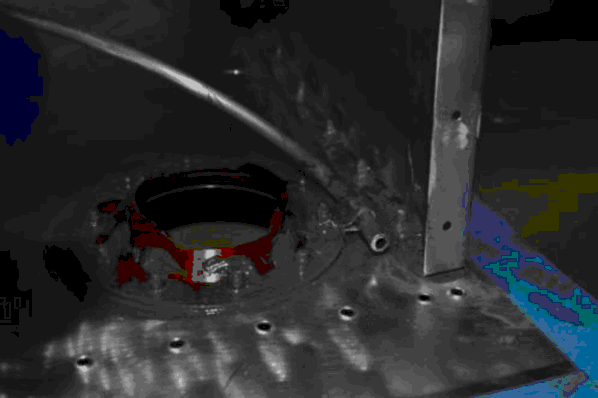
3. Bend the outer end of vent tube and trim per photos so it will rest against the fuel cap flange so it can be fastened with a long rivet , aluminum loop clamp and a “back up washer”

4. Remove the AN883-4D fitting. Final clean the fitting and mating area and install with sealant.
Note: be sure NO sealant gets inside fitting or tubing.
5. Install the AN818-4D nut and tighten making sure the bulkhead fitting doesn’t rotate.
6. Now evenly and completely coat the nut and fittings inside tank. This will prevent nut from loosening and seal the fittings.
7. Smoothly seal the fitting and nut on outside of tank making sure no sealant gets inside tube, on threads, or on flare of fitting.
8. Final clean the fuel cap flange and skin matting area.
9. Apply a thin coat of sealant to flange and skin and cleco in place.
Note verify correct orientation of flange
10. Install the loop clamp over vent tube, dip rivet (flush protruding head 46 length for this hole only) in sealant, and using a backup washer install rivet.

11. Dipping each rivet in sealant, install remaining rivets in cap flange.
Note: make sure no sealant enters the fuel vent tube
12. Clean outside of flange and skin making sure no sealant is on the cap flange where cap seals.
13. Coat the entire inside area of the fuel cap flange and rivets tails with sealant.
14. Now inspect the entire tank carefully for ANY areas that you feel may not seal. Clean any areas (if tack free) and recoat with sealant. Take your time and do a good job!
