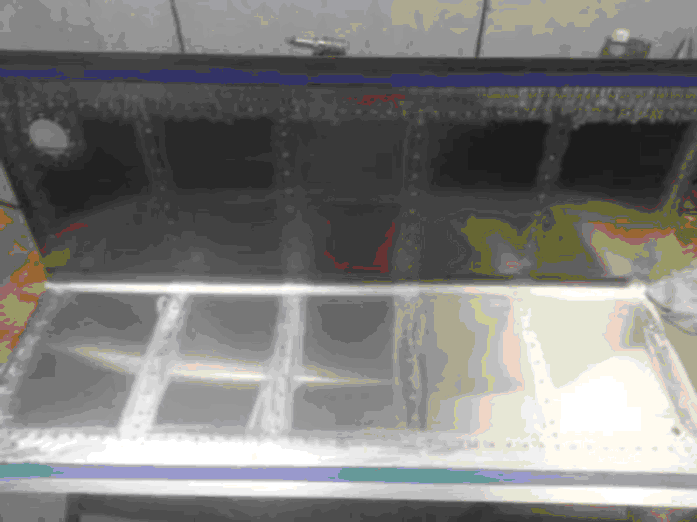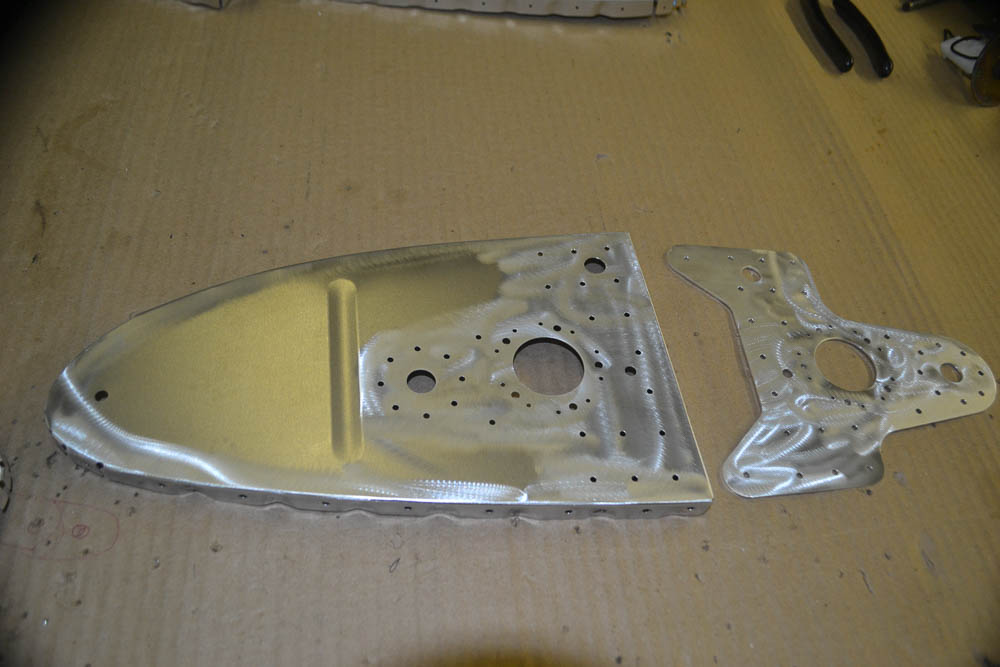
Debur the parts, and dimple if needed if using flush rivets. If using flush rivets machine counter sink the fuel cap flanges. We recommend counter sinking the fuel drain flanges for flush rivets also.
The joining surfaces of parts being sealed must be cleaned, scuffed and then cleaned again to produce a leak free tank.
Use the following steps:
1. Clean the entire surfaces with 100% pure Acetone and clean, lint free towels or cloth rags. The surface must be totally free of oils, wax, marker, etc before moving to the next step!
2. Using a new clean green scotch brite pad (see note below), thoroughly scuff a 1-1.5 (24.5-37 mm) inch area along the centerline of all mating surfaces. Make sure you scuff at least ½” (12mm) outside all mating areas
Note: We use a 90° air grinder with a 2” twist loc arbor and a new 2” twist lock
green pad. You must aim the exhaust air away from your work and possibly wrap a
rag around the exhaust to ensure no air with oil/ water gets on surface your
scuffing! The same arbor/ pad can be used in a battery drill with good results also.

3. Clean then scuff the entire outer flange of each rib. A fine scotch brite belt on your belt sander works very well and is quick easy to use (we get ours from McMaster Carr)
4. Clean then scuff the entire outer flange of the tank back, along each rivet row on the inside, and around each hole on the outside.
5. Clean then scuff the mating surfaces of rib 1,the inner support and the pick-up doubler

6. After thoroughly scuffing, clean the surface again with 100% acetone and lint free towels. You will do a final cleaning directly before applying the sealant.
Note: these steps must be performed with care and attention to detail! Do not rush and complete each step with quality in mind!
