
Dimpling your skins on your Panther is optional. The process of dimpling provides a smoother skin surface and will result in a nicer looking finished product. There are also some that will argue the dimpling of the skin provides more strength.
If you choose to dimple then please note this requires dimpling of not only the skin, but the mating surface will need to be dimpled or countersunk accordingly. If you choose to dimple you will need to use countersunk rivets.
The dimpling step happens after the holes have been updrilled with the #31 (0.120”) drill bit and de-burred.
There are several different methods of dimpling and tools to use depending on the area you are going to dimple.
You will need a set of 120° 1/8” dimple die. These can be purchased from Avery Tools, Cleveland Tools or Sonex.
For the skins most builders choose a C-Frame dimple tool. For tight places a nail dimple tool is used. See the photos below for examples of how the different tools are used with different applications.
For more information on dimpling techniques a good resource is Eaa Video

Simple Dimple Die Explanation by Jeremy Monnett
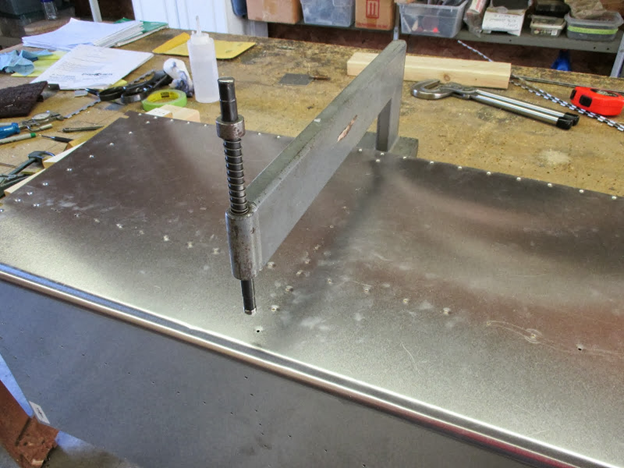
The C-Frame Dimple Tool being used on the Horizontal Stab Skin
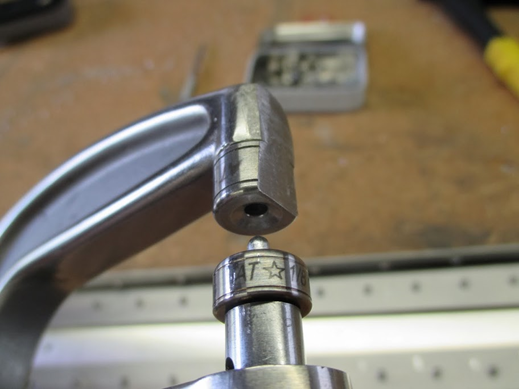
An Example of Modifying the Dimple Die for Easier Access to Tight Spots
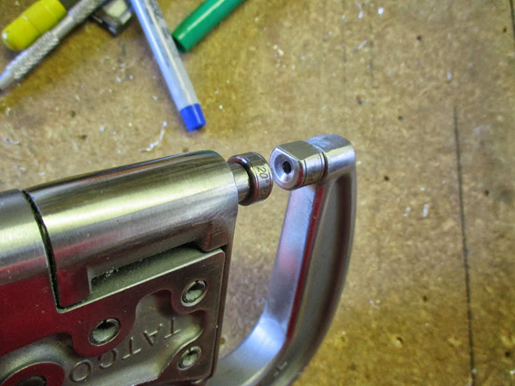
Example of a nail dimpler in use
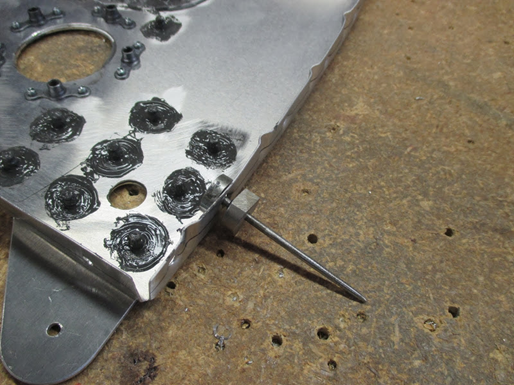
A Nail Dimpler In Use on a Fuel Tank Rib

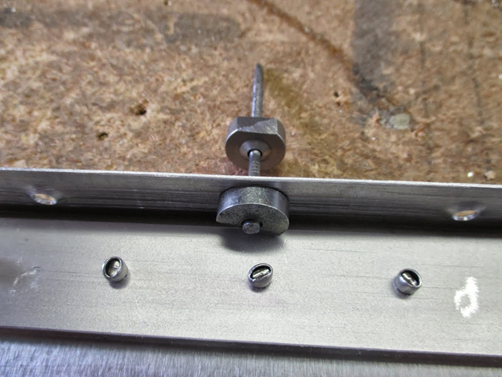
Nail Dimpler In Use on a Horizontal Spar Channel
