1. It is easiest to adjust and set the wings with the forward fuselage side skins and fuel tanks off. However, it still possible to do with those items installed.
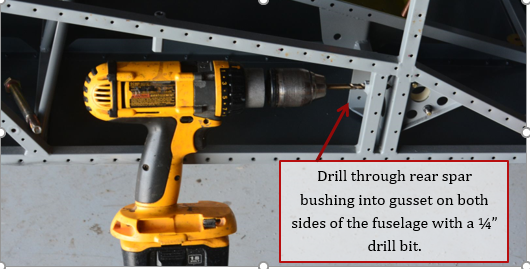
2. If not already complete, use a ¼” drill bit and drill through the center of the rear spar bushing and into the gusset behind the rear spar box on both sides.
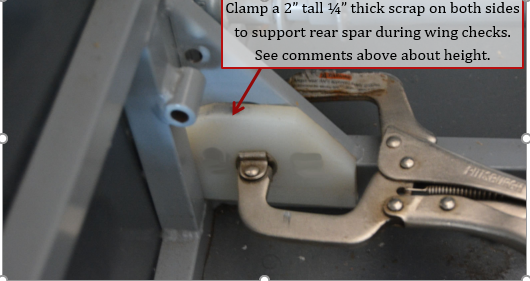
3. Make a temporary shim 2” tall shim out of scrap material approximately ¼” thick, while the length is not important, it helps to have it long enough to use with a clamp. These will be used for initial wing twist checks, so it is important to make both of them the same and as close to 2” tall as possible. Clamp them into position in both rear spar boxes.
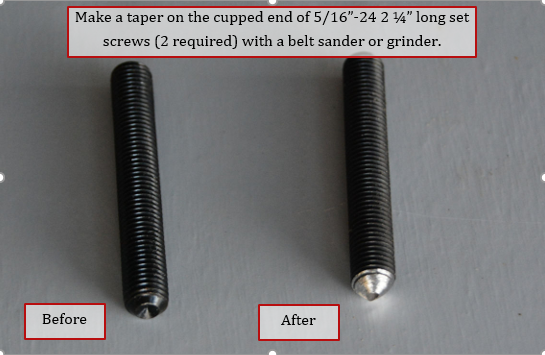
4. Modify the 5/16”-24 x 2 ¼” set screws by tapering the tip more. It is easiest on a grinder or belt sander. Careful with the remaining threads, as you will need to install nuts on the set screw.
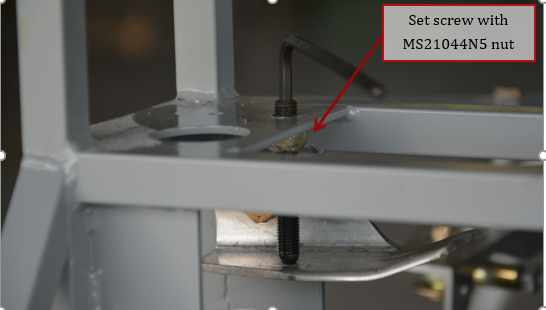
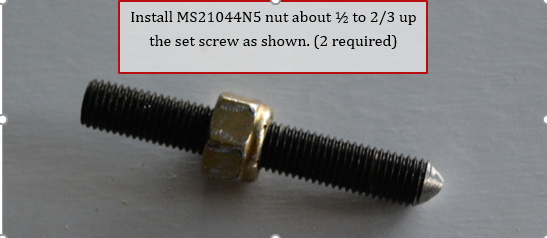
5. Install a MS21044-N5 nut approximately ½ to 2/3 of the way up the set screw; they will be adjusted to final height after the wing is installed.
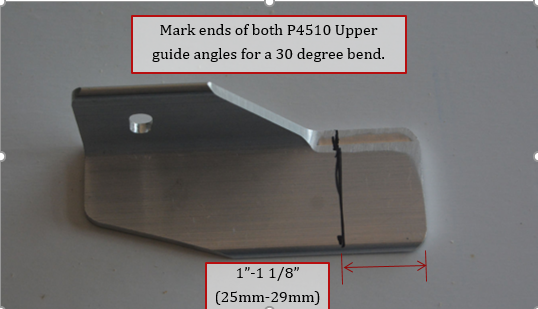
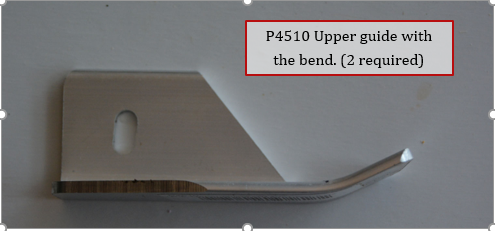
6. Mark the P4510 Upper guide angle approximately 1” to 1.125” from end. The end will be bent up approximately 30 degrees so the spar will have a “ramp” to slide under when inserting the wing.
7. Place the angle in a vice with wood on either side so the angle is not damaged. Pull the top as installed in the vice (see picture below) towards you.
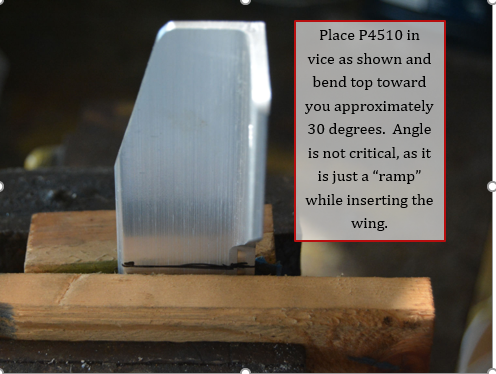
8. Photo of the angle with the end bent.
9. Enlarge hole to 5/16” for both sides of spar box.
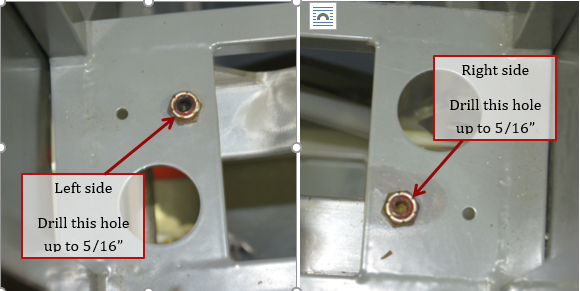
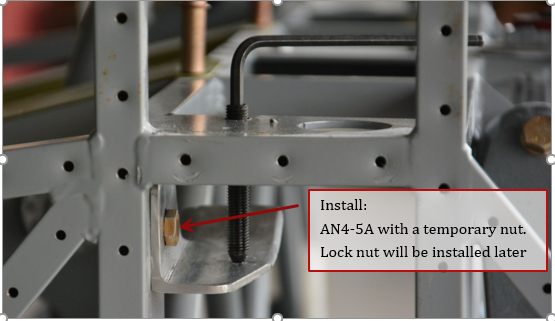
10. Insert the set screw and nut assembly through hole in top of spar box. Install upper guide angle P4510 in its highest position, using AN4-5A bolt, and a temporary nut as you will probably be removing at the start of the front spar guide adjustment. Lightly snug the nut, you will need to move the angle up and down.
