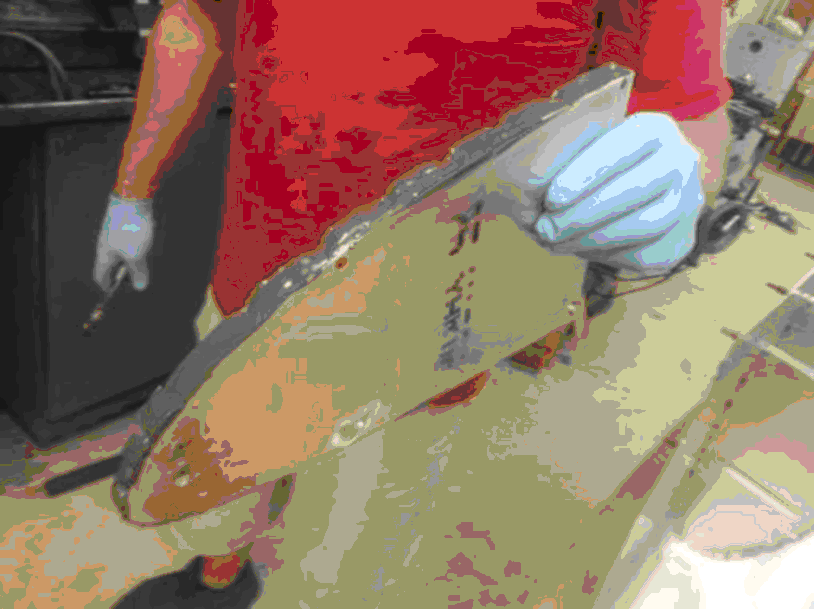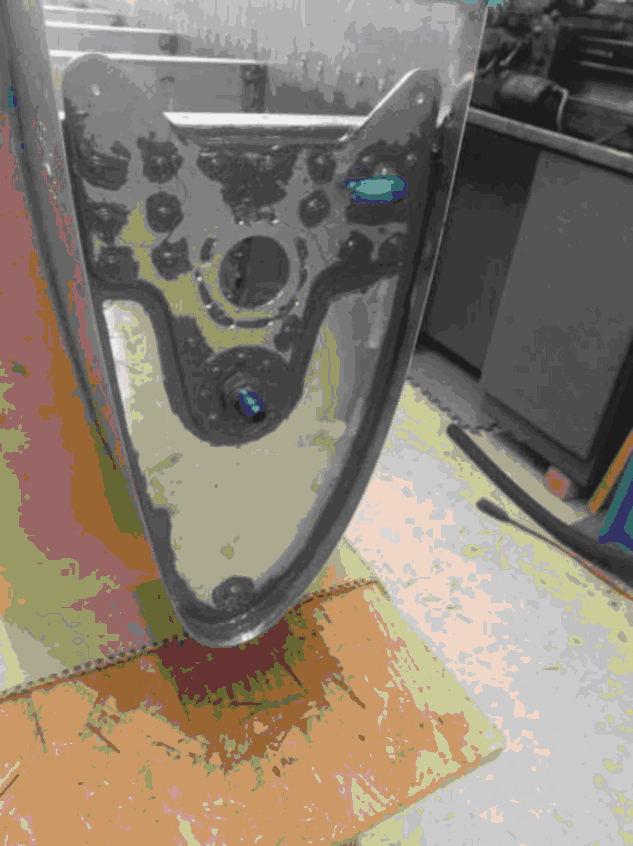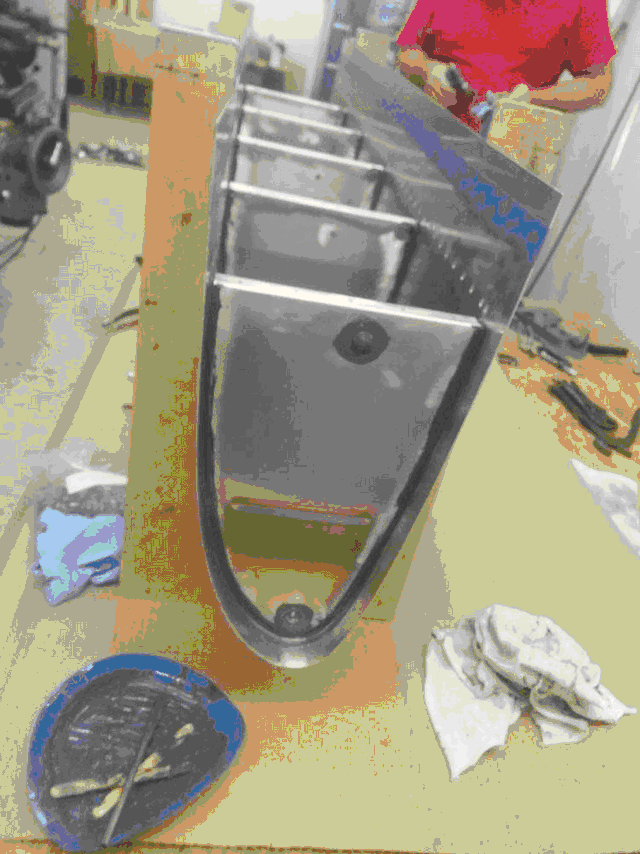
Note: We have used two different methods to install the ribs to skin with sealant. This section explains method 1. Read all the way through this section for detailed steps and rivet info - then See here for method 2
1. Final clean the fuel tank skin as above with 100% acetone and lint free wipes. Do not touch rib mating areas after cleaning. Place right hand tank skin in fixture as before.
2. Clean ribs 2-6 and Cleco in place
Note: Some may choose to use paper and tape to “mask” the areas not being sealed. This will help promote neat work and possibly less clean up later (if your messy). We do not do this, but do work slowly and cleanly as we assemble the tanks. We tape the area aft of the tank back (see photos)
3. Final clean the inner rib with 100% Acetone. Mix about 10 grams of sealant per instructions.
4. With short bristle brush or 1 inch wide “putty knife “apply a thin, even coat around the rib flange where they mate to skin with a little extra near each flute in rib . Apply a thin ½ inch wide cost of sealant around the skin centered on rivet holes.

5. Press rib into skin and cleco. It may take some pressure and a few seconds for the sealant to squeeze out of mating area so clecos can go in. Using the specified closed end rivets (either flush or protruding head “42 length” closed end rivets). Dip a rivet into sealant, and then install into the first hole at front of rib/skin. Continue aft removing any celcos and installing all rivets in rib.
Note: Set these “dirty” clecos on a paper towel and reuse on next rib
Note: With flush rivets you will very likely experience two things.
1. About 10% (or possibly more) of the rivet stems may break above the skins/rivets.
2. Second many of these “proud” rivets stems may actually be a little aluminum from the rivet that has extruded up the stem and into the rivet gun “nose”. This can be helped by using a rivet gun nose piece that fits very snugly around the rivet stem.
Both of the occurrences above are very frustrating at first. Do not be alarmed, proceed calmly and deal with any “proud” stems later.
Note: If the entire rivet stem totally pulls out of the rivet without breaking we recommend drilling it out and replacing it immediately. (Don't wait as you might not remember where it was later)
6. With a cotton rag lightly clean the outside of skin around rivets. Be careful not to “deep” clean or saturate with acetone the area around the rivet.
7. Use the brush to fully coat the back side of each rivet with sealant. Then seal around the nose (fingers area of rib) make sure the flange side has a continuous seal between skin flange and all rivets are fully coated. Use brush to “fillet” the rib to skin on opposite side. Verify a fully sealed rib and rivet tails before proceeding!!!
8. Clean any excess sealant from aft flange and skin where the tank back will mate.
9. Repeat these step on ribs 2-6 using the already dirty clecos.
10. Note: On rib 6 keep the sealant with 1/8 inch on outside end. This will allow the tank to fit. You may wish to use tape to mask this area before installing the rib


11. Go back and verify your work. Time spent now will ensure no leaks later. Think like a liquid and verify the joints are all totally coated.
12. When finished clean clecos in container of Acetone. And let tank dry to “tack free”.
